

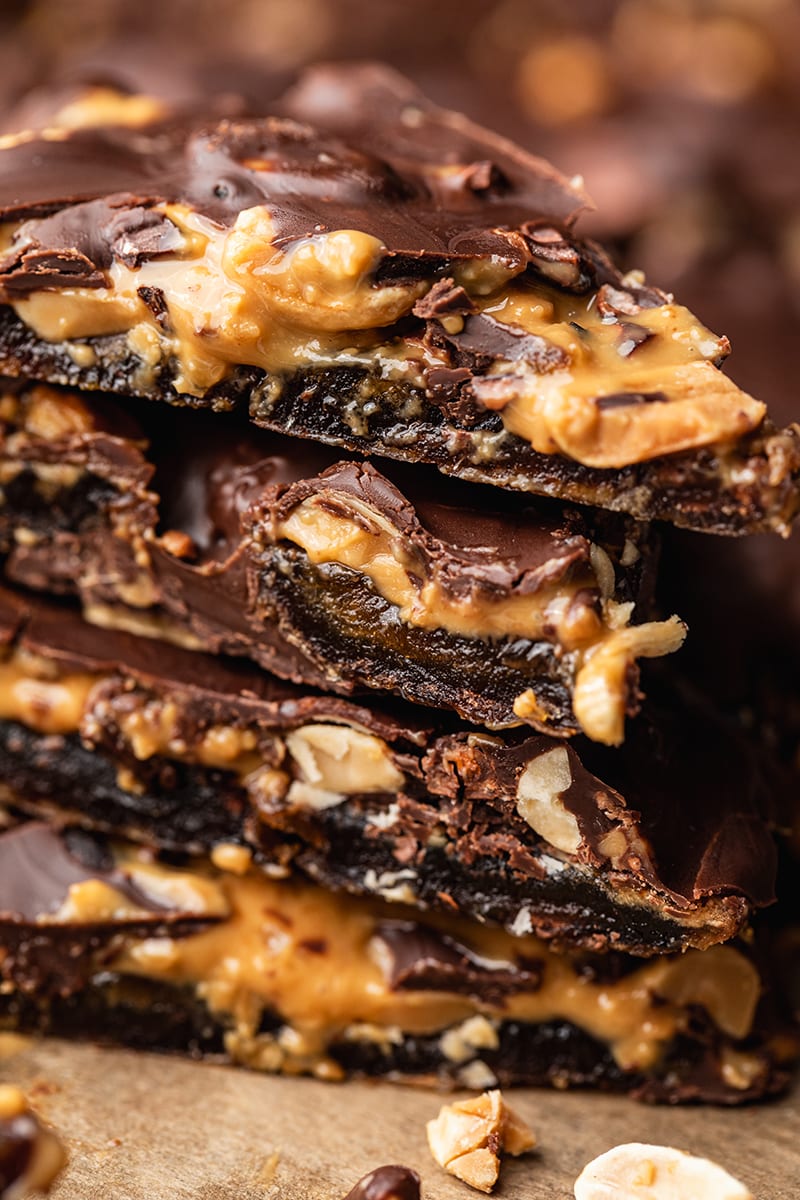
I know Summer is over and we are all starting to crave warm pumpkin things, but I just couldn’t move on without sharing this last ice-cream recipe, because it is simply the best one I’ve ever made! And you know what? There is no season for ice-cream!
Ice-cream is probably one of the product I was missing a lot: not only I wasn’t able to eat dairy ice-cream when I was a child as I was milk allergic, but then it was still impossible to find plant based ice-creams when I turned vegan. Yes, there always was the sorbet option, but I didn’t like sorbets that much, I usually find them too much sweet and nothing compare to the creamy texture of an ice-cream.
I have discovered plant based ice-cream at the same time as nice cream, and I started to interest in. I discovered that many alternatives exist and that it is very easy to make your own vegan ice-cream at home. What a fabulous news! So here the quest for the perfect ice-cream started! I made a lot of experimentations, trying different combinations, different dosages, techniques, and the result was always different but still delicious.
They are a lot of options to do plant based ice-creams, that need more or less ingredients and time, or that are more or less expensive. To my mind, the easiest way to make your own ice-cream base is using a mix of coconut cream, frozen banana and coconut oil. This is what I have done for this recipe, because I wanted to keep it as simple as possible, so as everybody can do it. No exotic ingredients, no expensive equipment needed.
The banana, already frozen, will bring some texture and thickness once blended. The coconut cream will bring the creaminess, and contain good amount of fat to keep your ice-cream smooth and avoid big crystals to form. The coconut oil will help to emulsify the preparation while blending, helping the different element to combine.
The result is a delicious and creamy ice-cream that you can keep for a long time in your freezer. In my experience, the only disadvantage is that this kind of ice-cream tend to heavily solidify when store in the freezer for a long period of time, and then loses some of its creaminess. Still, the best solution is to finish the whole pint in once! – Just kidding, I prefer to say it 🙂
But they are also many other ways to make plant based ice-cream. One I really love is using soaked cashew inspire of the banana! It leads to an awesome thick and smooth texture that stays creamy even if stored in freezer for an extended period of time. It is my favorite one in terms of texture and tasting experience, but it also makes the ice-cream far heavier and more expensive. So I prefer this kind of ice-cream to be used in a dessert or to partner a piece of cake. One scoop goes a long way.
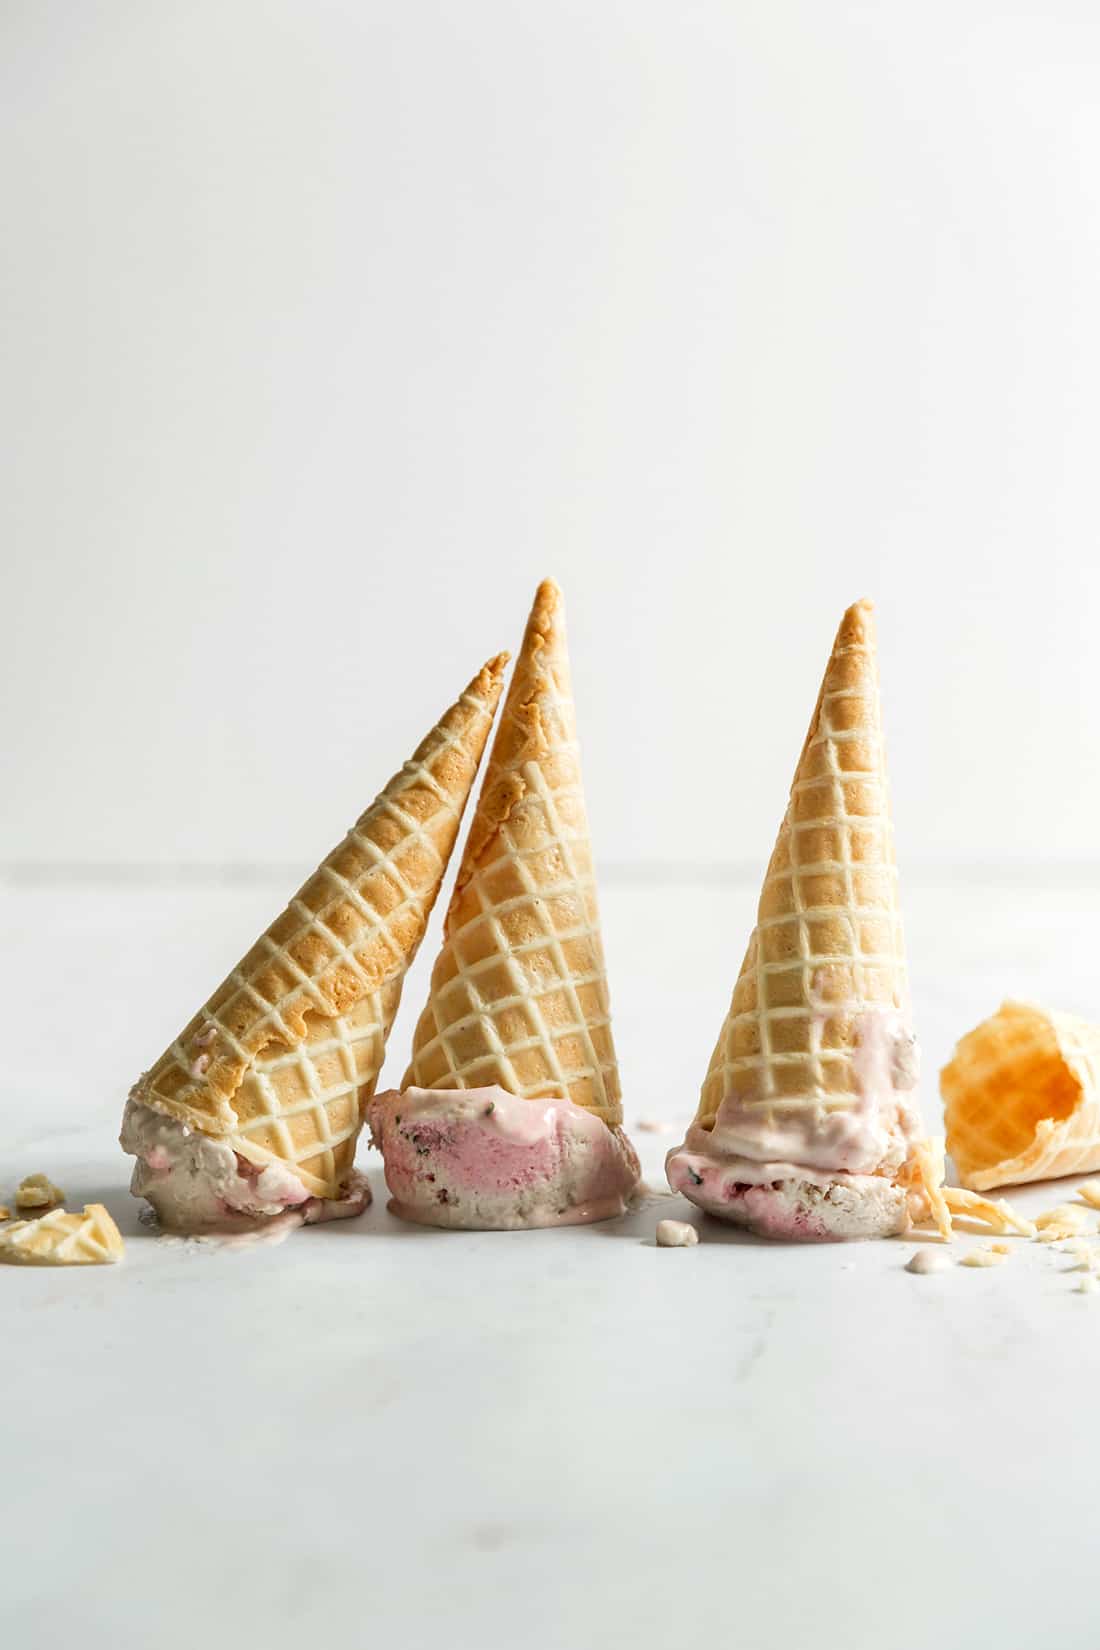
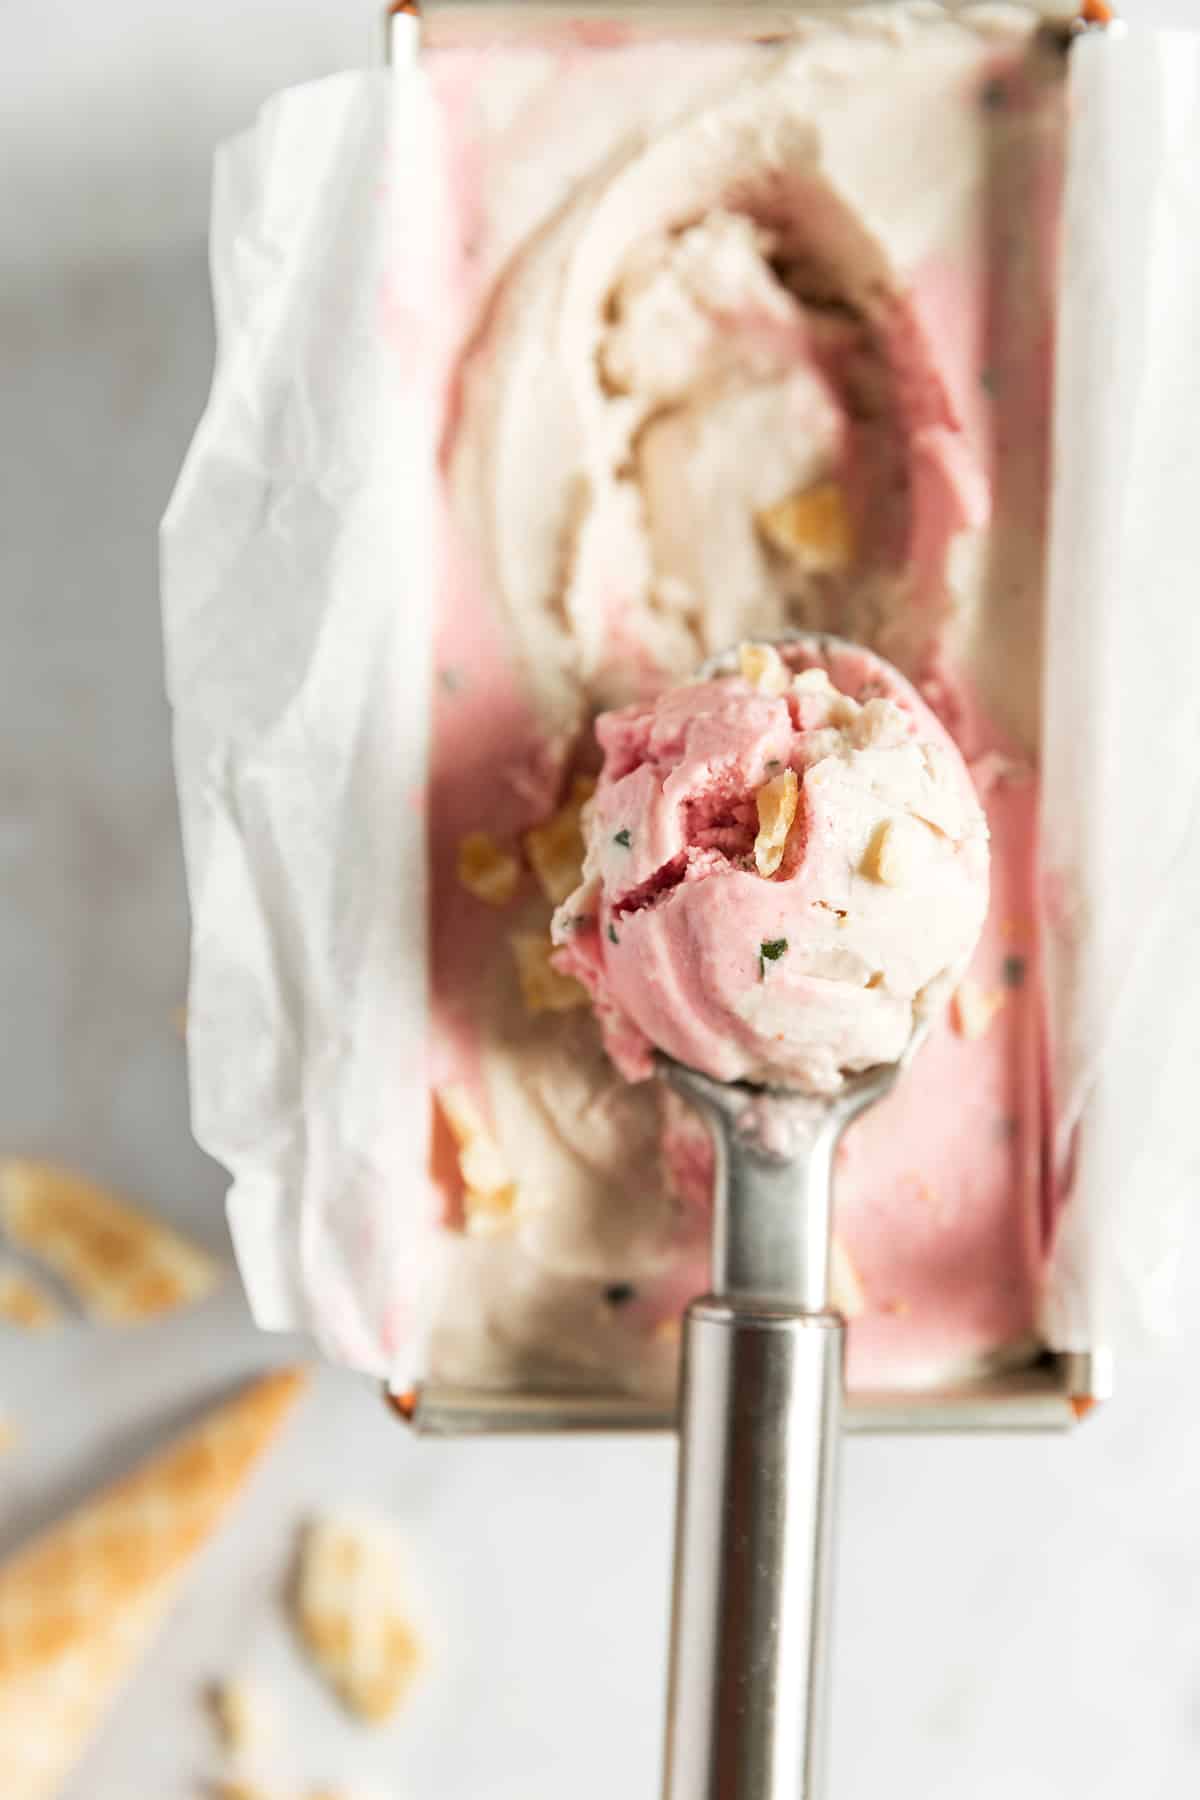
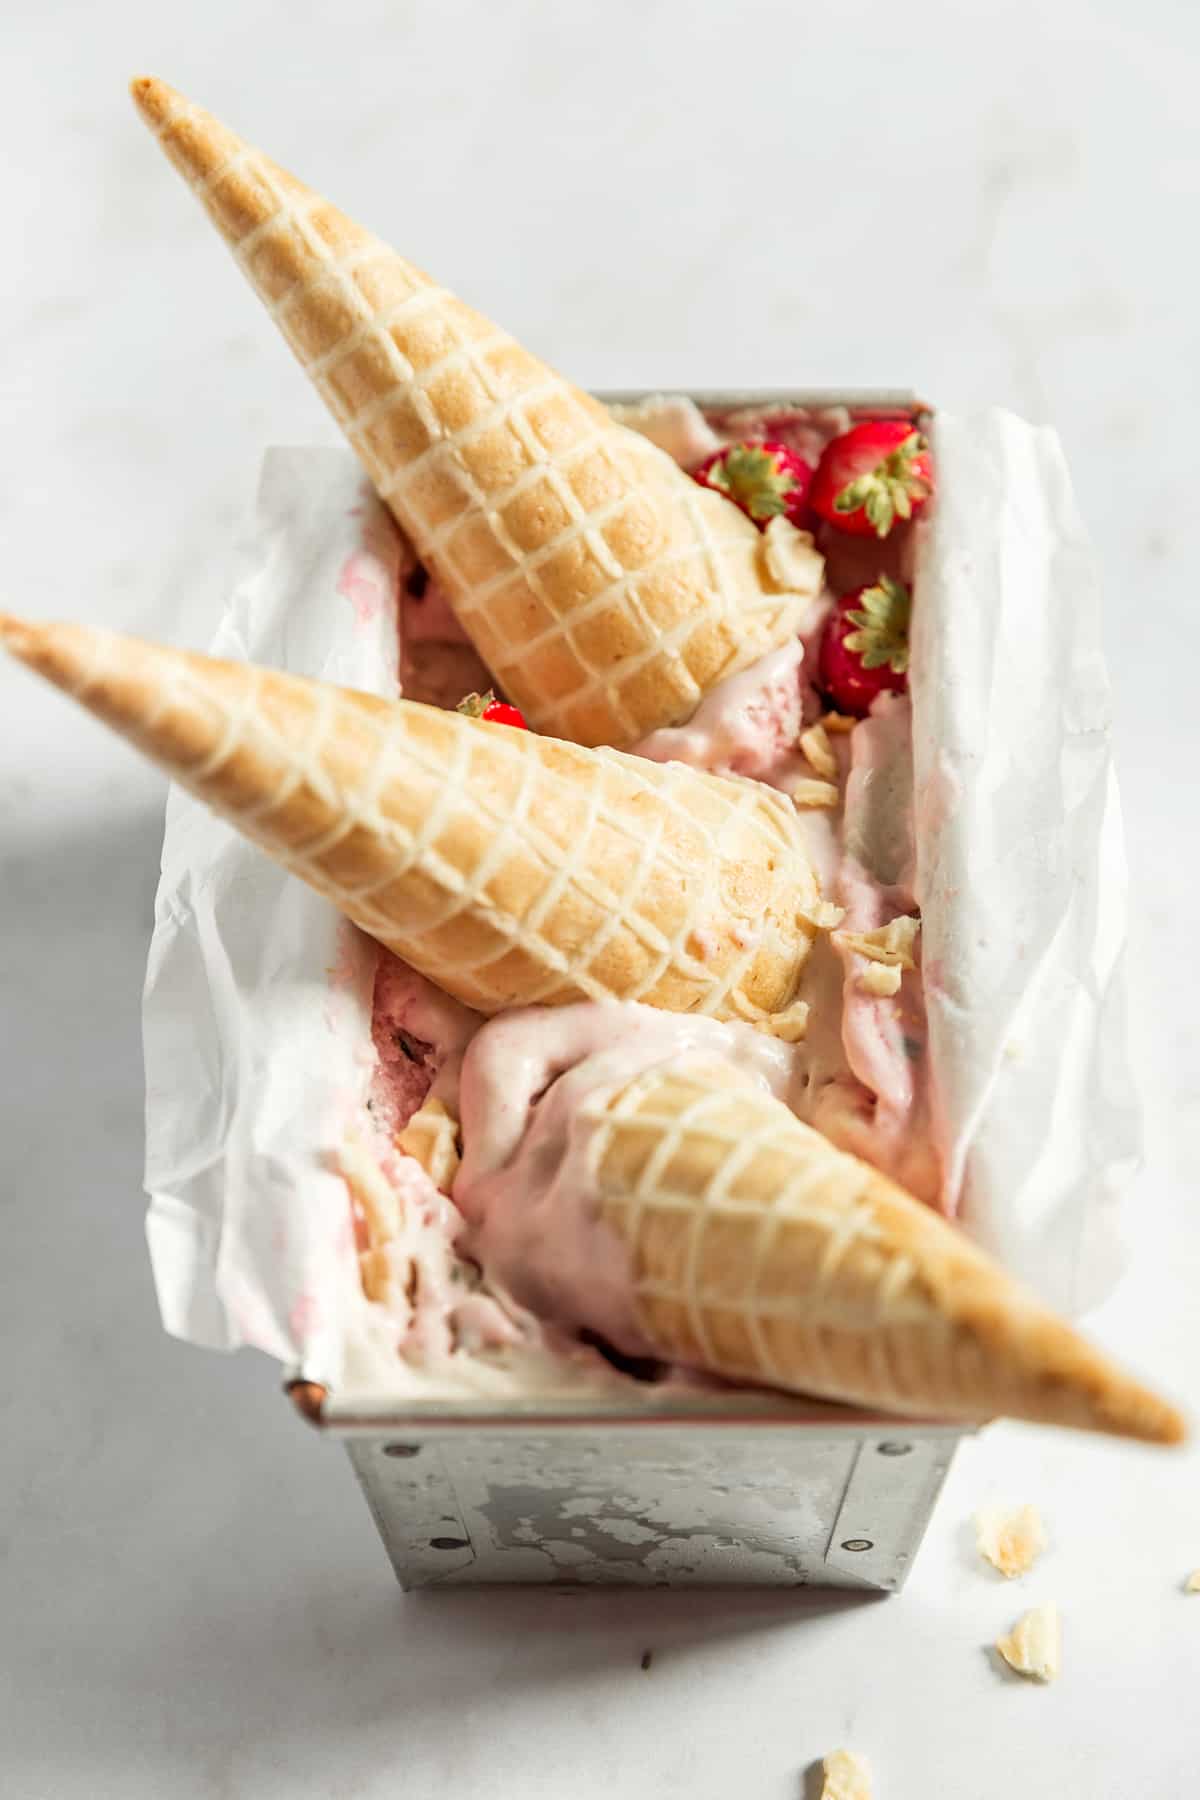
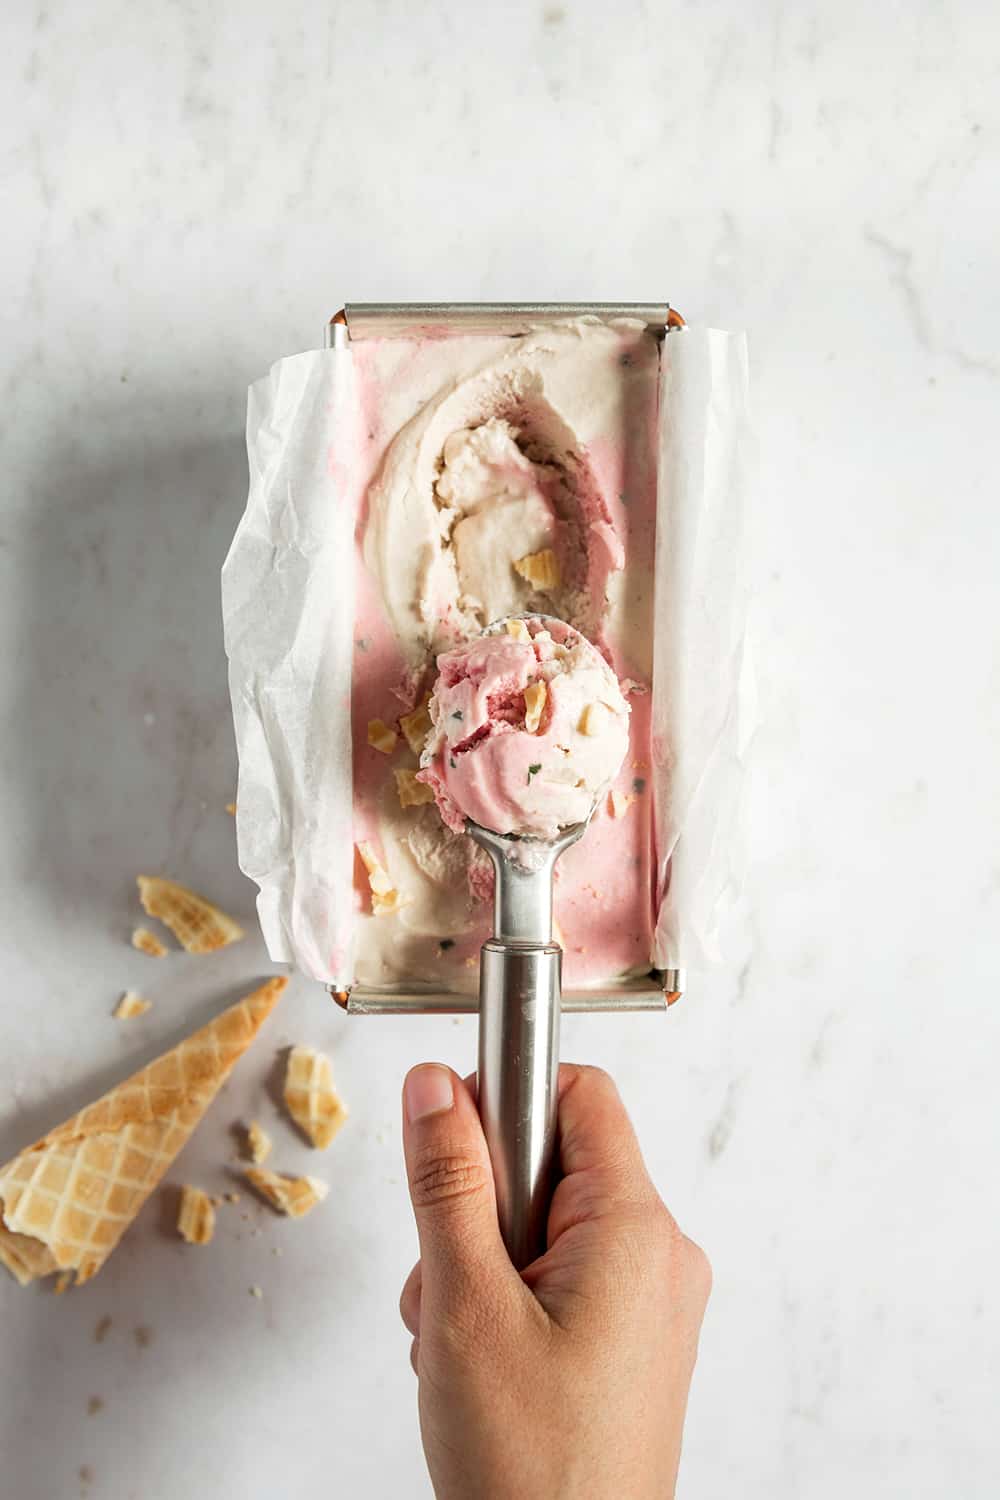
To come back to this strawberry and basil ice-cream, I wanted to create something simple and light for summer, so no cashew involved here. I love the combination of coconut, strawberry and basil! The coconut brings the creaminess that balanced the potential acidity of strawberry, while the fine pieces of basil bring a fresh and original touch! Also I love the visual of this ice-cream with its harmonious swirls of pastel colors, I find it to be very calming and appetizing.
For this recipe, you don’t necessary need an ice-cream maker. Like any other ice-cream you can make the process manually by stirring time to time. It works well, but takes a long time and you will never reach the same texture as with an ice-cream maker. I bought myself an ice-cream maker and it was life changing! Now, I can decide to make ice-cream for dessert just like 20 minutes before! So I do recommend to invest in one if you make lot of ice-creams, or in big quantities, you gonna save a lot of your time.
A last precision: in this recipe, I use carob flour in the strawberry preparation. This is totally optional and carob flour is not an easy ingredient to find – at least in France. It basically works as a thickener and emulsifying agent for any kind of hot or cold preparations and is often used in industrial ice-creams. Carob flour prevent the formation of large crystals during the freezing and keeps the ice-cream smooth and creamy for longer.

Coconut Strawberry and Basil ice-cream
- Prep Time: 2 hours
- Total Time: 2 hours
- Yield: 1 pint 1x
- Category: dessert
Description
This dairy free coconut and strawberry ice-cream with touch of basil is very easy to make, super creamy and low in sugar. A delicious frozen treats to refresh during hot days.
Ingredients
Coconut preparation
- 1 can of full fat coconut milk (store in fridge overnight)
- 1 frozen banana
- 2 tbsp maple syrup
- 1 tbsp coconut oil
For the strawberry preparation
- 1 can of full fat coconut milk (store in fridge overnight)
- 2 cups of fresh strawberries
- 3 tbsp maple syrup
- 1 tbsp coconut oil melted
- 5 leaves of fresh basil (about 1 tsp chopped)
- 1 tsp carob flour (optional)
Instructions
Coconut preparation
- Open the coconut milk can chilled in the fridge overnight and scoop the thick part that has formed on the top: this is the pure coconut cream that has separated from the water.
- Pour the coconut cream in a high speed blender along with the frozen banana and maple syrup and blend until you reach a perfectly smooth and creamy consistency.
- Add the melted coconut oil and blend again for 1 minutes to combine and emulsify the preparation.
- With an ice-cream maker : pour the mixture in your ice-cream maker and proceed following the specific instructions. Don’t make it running too long, you want the ice-cream to stay pretty fluid to shape the swirls. When ready, pour into a container . Store in freezer while you prepare the strawberry mixture.
- Without ice-cream maker : pour the mixture in a large container and put into freezer. Every 20 minutes, remove the ice-cream from the freezer and stir using a fork to break the crystals that are forming. Return in freezer and continue to stir every 20 minutes until the preparation starts to thicken but is still fluid enough to shape the swirls.
Strawberry preparation
- Open the coconut milk can chilled in the fridge overnight and scoop the thick part that has formed on the top.
- Pour the coconut cream in a high speed blender along with the strawberries and maple syrup and blend until you reach a perfectly smooth and creamy consistency.
- Add the melted coconut oil and carob flour (totally optional), and blend again for 1 minutes to combine and emulsify the preparation.
- If you are using carob flour, let stand the preparation for 30 minutes in fridge before moving to the next step, to allow the carob flour to activate and thicken the preparation. Otherwise, move directly to the next step.
- Finely chopped the fresh basil leaves and incorporate them in the strawberry preparation.
- With an ice-cream maker : pour the mixture in your ice-cream maker and proceed following the specific instructions. Don’t make it running too long, you want the ice-cream to stay pretty fluid to shape the swirls. When ready, pour into a container.
- Without ice-cream maker : pour the mixture in an large container and put into freezer. Every 20 minutes, remove the ice-cream from the freezer and stir using a fork to break the crystals that are forming. Return in freezer and continue to stir every 20 minutes until the preparation starts to thicken but is still fluid enough to shape the swirls.
Assembly
- Remove the the two preparations from the freezer. At this step, they have to be thicken but fluid enough to spread and shape some swirls.
- Take a large ice-cream container, and pour in a spoonful of the coconut preparation. Roughly spread, you don’t want everything to be perfect, but don’t want to keep air bubbles neither.
- Pour over a spoonful of the strawberry preparation and roughly swirl using a spoon.
- Repeat the last two step, alternating between white and pink preparations, until you reach the top of the container. Finish by creating beautiful swirls on top.
- Place the container in freezer and allow to firm for 1 hour. Then, your ice-cream is ready! Let it sit at room temperature around 10 minutes before enjoying.
Recette version française
Print
Crème glacée Coco Fraise Basilic
- Prep Time: 20 minutes
- Cook Time: 2 – 4 heures
- Total Time: 0 hours
- Yield: 1 gros bac 1x
- Category: dessert
Description
Cette crème glacée vegan au lait de coco et tourbillons fraise basilic est très facile à réaliser avec ou sans sorbetière. Ultra crémeuse et faible en sucre, c’est le dessert parfait pour les jours d’été.
Ingredients
Préparation au coco nature
- 1 boite de conserve de lait de coco entier (400ml) (placée au réfrigérateur pendant 8h)
- 1 banane congelée
- 2 c.à.s de sirop d’érable
- 1 c.à.s d’huile de coco fondue
Préparation à la fraise
- 1 boite de conserve de lait de coco entier (400ml) (placée au réfrigérateur pendant 8h)
- 250g de fraises fraiches
- 3 c.à.s de sirop d’érable
- 1 c.à.s d’huile de coco fondue
- 5 feuilles de basilic frais
- 1 c.à.c de farine de graine de caroube (optionnel)
Instructions
Préparation au coco nature
- Ouvrir la boite de conserve de lait de coco préalablement laissée au réfrigérateur, et à l’aide d’une cuillère récupérer la couche épaisse qui s’est formée au sommet de la boite: c’est la crème de coco pure qui s’est séparée de l’eau.
- Mettre la crème de coco dans un blender avec la banane congelée et le sirop d’érable et mixer jusqu’à obtenir un mélange parfaitement lisse et crémeux.
- Ajouter l’huile de coco liquide, et mixer pendant environ 1 minutes pour emulsifier la préparation.
- Avec une turbine à glace : verser le mélange dans la turbine à glace et suivre les instructions du constructeur. Ne pas la laissé tourner trop longtemps car on veut ici que le mélange s’épaississe mais reste suffisamment fluide pour pouvoir s’étaler et former des tourbillons. Quand la glace est prête, la verser dans un récipient et la placer au congélateur le temps de préparer le second mélange.
- Sans turbine à glace : verser le mélange dans un récipient et placer le au congélateur. Puis toutes les 20 minutes, sortir le récipient et mélanger à l’aide d’une fourchette pour briser les cristaux de glace qui se forment, puis remettre au congélateur. Répéter ces étapes jusqu’à ce que la glace commence à épaissir mais reste suffisamment fluide pour former des tourbillons.
Préparation à la fraise
- Ouvrir la boite de conserve de lait de coco préalablement laissée au réfrigérateur, et à l’aide d’une cuillère récupérer la couche épaisse qui s’est formée au sommet de la boite.
- Mettre la crème de coco dans un blender avec les fraises grossièrement découpées et le sirop d’érable et mixer jusqu’à obtenir un mélange parfaitement lisse et crémeux.
- Ajouter l’huile de coco liquide et la farine de graine de caroube (complètement optionnel), et mixer pendant environ 1 minutes pour emulsifier la préparation.
- Si vous avez utilisé la farine de graine de caroube, laisser la préparation reposer au frais pendant 30 minutes pour permettre au mélange d’épaissir. Sinon, passer directement à l’étape suivante.
- Hacher finement les feuilles de basilic et les incorporer à la préparation.
- Avec une turbine à glace : verser le mélange dans la turbine à glace et suivre les instructions du constructeur. Ne pas la laissé tourner trop longtemps car on veut ici que le mélange s’épaississe mais reste suffisamment fluide pour pouvoir s’étaler et former des tourbillons. Quand la glace est prête, la verser dans un récipient.
- Sans turbine à glace : verser le mélange dans un récipient et placer le au congélateur. Puis toutes les 20 minutes, sortir le récipient et mélanger à l’aide d’une fourchette pour briser les cristaux de glace qui se forment, puis remettre au congélateur. Répéter ces étapes jusqu’à ce que la glace commence à épaissir mais reste suffisamment fluide pour former des tourbillons.
Assemblage
- Sortir les deux préparations. A cette étape, elles doivent avoir durcie mais doivent restées suffisamment fluides pour pouvoir être versées et couches et former des tourbillons.
- Verser une bonne louche de la préparation coco nature dans un grand recipient à glace. Répartir grossièrement: ici on ne veut pas que tout soit parfait, mais on ne veut pas laisser des bulles d’air non plus.
- Verser au dessus une louche de préparation à la fraise et mélanger grossièrement les couches à l’aide d’une cuillère.
- Répéter les deux dernières étapes en alternant les préparations blanche et rose, jusqu’à atteindre le haut du récipient. Terminer en formant de jolis tourbillons sur la couche du haut.
- Placer le récipient au congélateur pour 1 heure environ, le temps que la glace prenne. Après ça, votre glace est ! Laissez la reposer une dizaine de minutes à température ambiante avant de déguster.


0 Comments
Trackbacks/Pingbacks