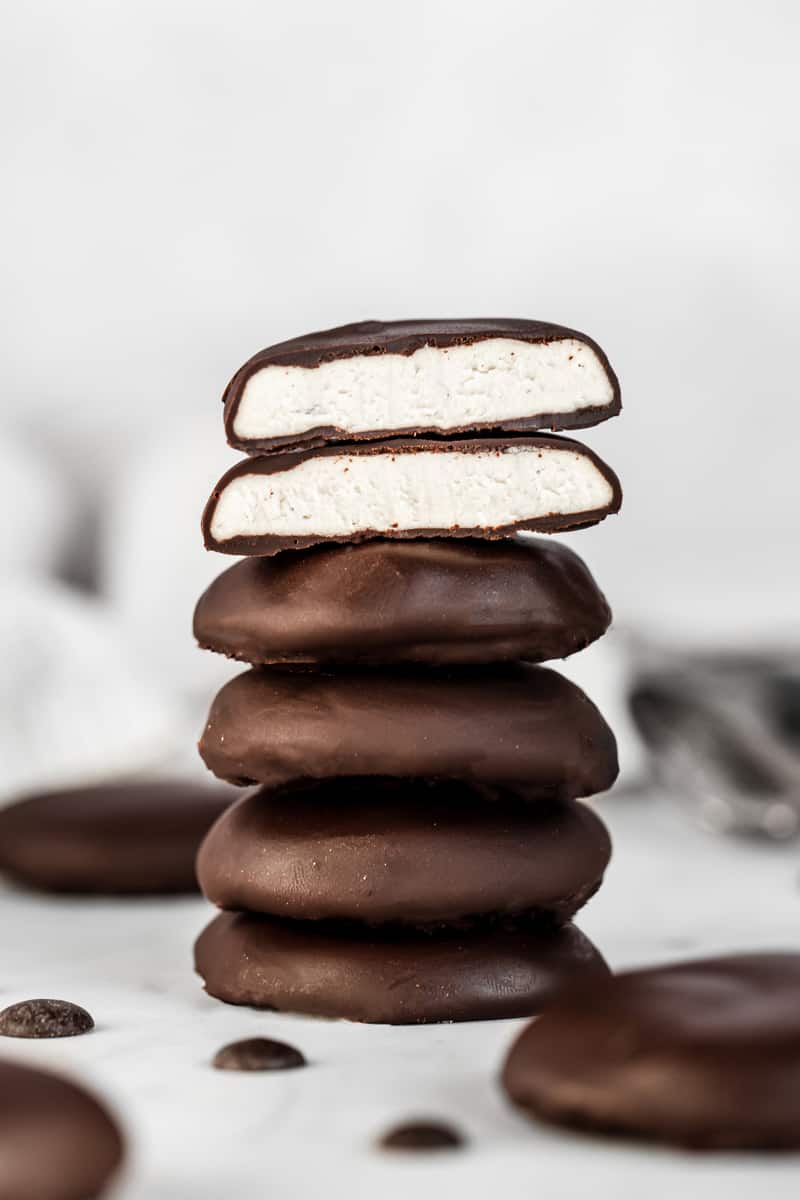
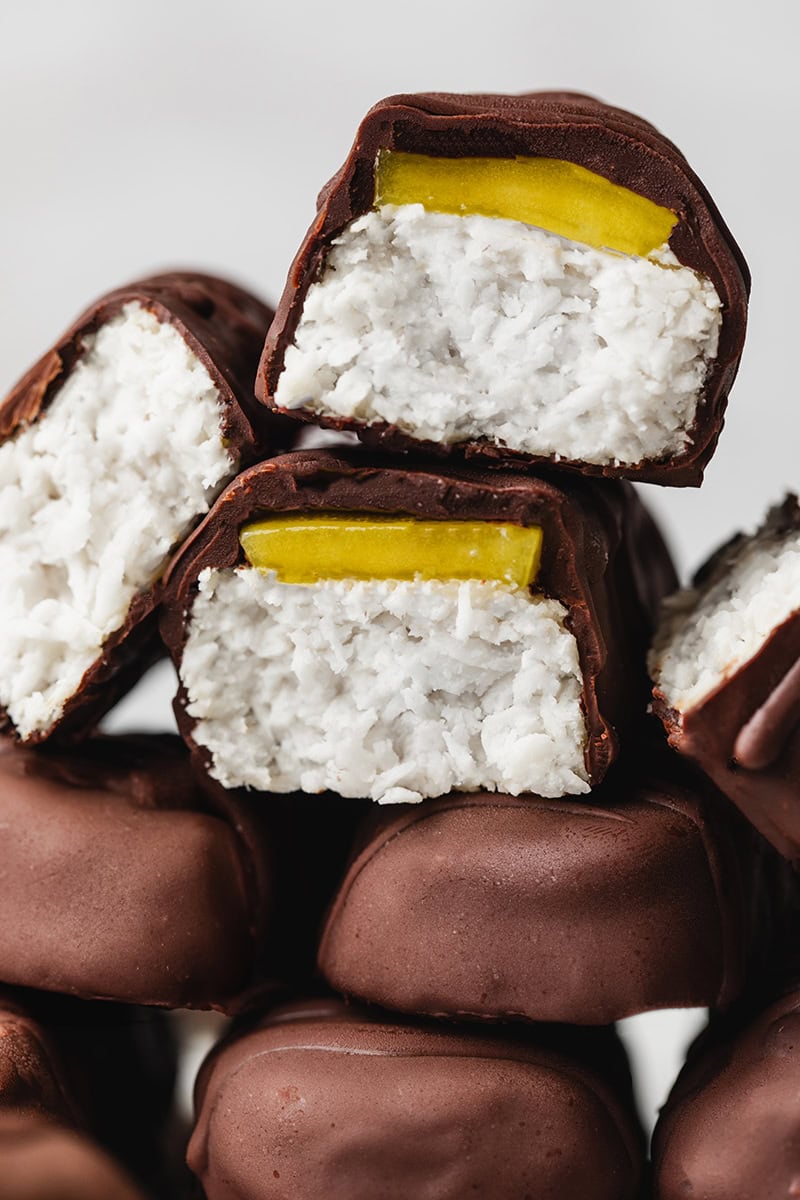
Soft, creamy, deliciously sweet minty filling coated in crisp chocolate. These vegan peppermint patties are an amazing healthy homemade version of the classic candy. They are super easy and fun to make, with only 5 simple ingredients. Make sure you always have a few of these peppermint patties in the freezer for the perfect after dinner treat or unique holiday gift.
This post is sponsored by KORO, a European online shop that promotes healthy, high quality and sustainable products. For more information about the brand and its values, visit their website and enjoy 5% OFF everything on the FRENCH store using the code ALICE5.
Cette recette est sponsorisée par KORO, une boutique en ligne qui propose un large choix de produits sains, responsables et de haute qualité à prix juste. Pour découvrir la marque et ses merveilleux produits, rendez-vous sur leur boutique et profitez de 5% DE REDUCTION avec le code ALICE5.
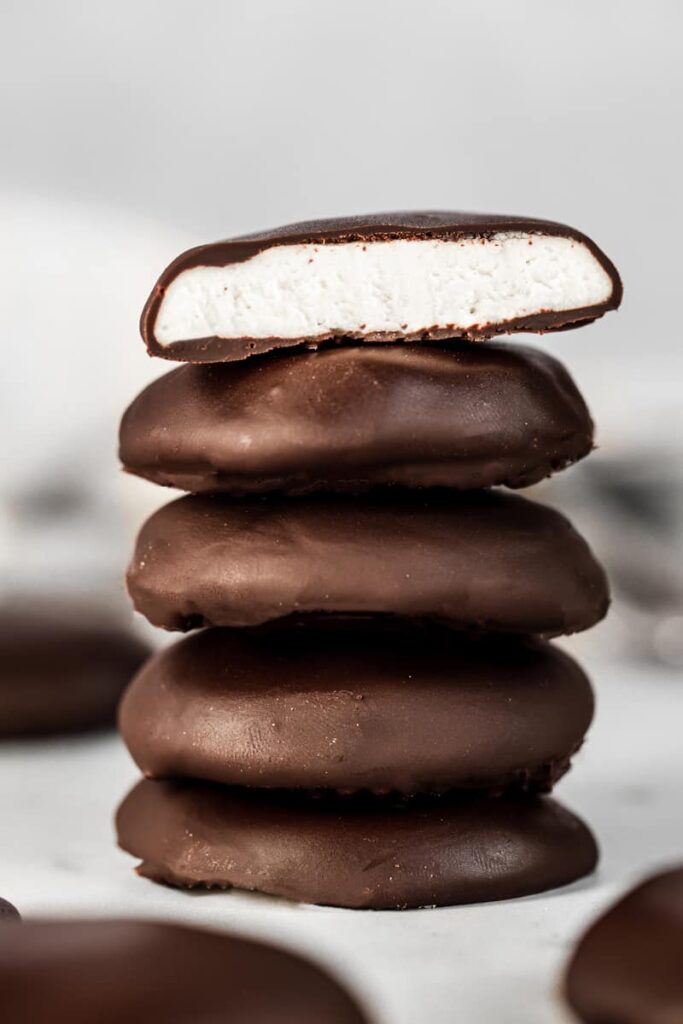
How to make peppermint Patties
You will be surprised to see how quick and easy these homemade peppermint patties are to put together! They only take about 25 minutes to prepare, and all the rest of time is spent in the freezer, completely hands-off! So simple and delicious you’ll never buy peppermint patties again.
Make the filling
The first step to make vegan peppermint patties is to prepare the filling. All you need is 5 simple ingredients you probably already have in your kitchen and a high-speed blender or a food processor.
- Cashews, use raw cashew and not roasted or salted.
- Maple syrup, use quality maple syrup. You can also sub for any other liquid sweetener lice agave.
- Coconut or almond milk, I prefer coconut milk for a very creamy texture and smooth taste.
- Coconut oil, you can use either natural or deodorized coconut oil if you don’t like the coconut flavor.
- Peppermint extract or essential oil, they both work in this recipe, just make sure to adapt the quantities.
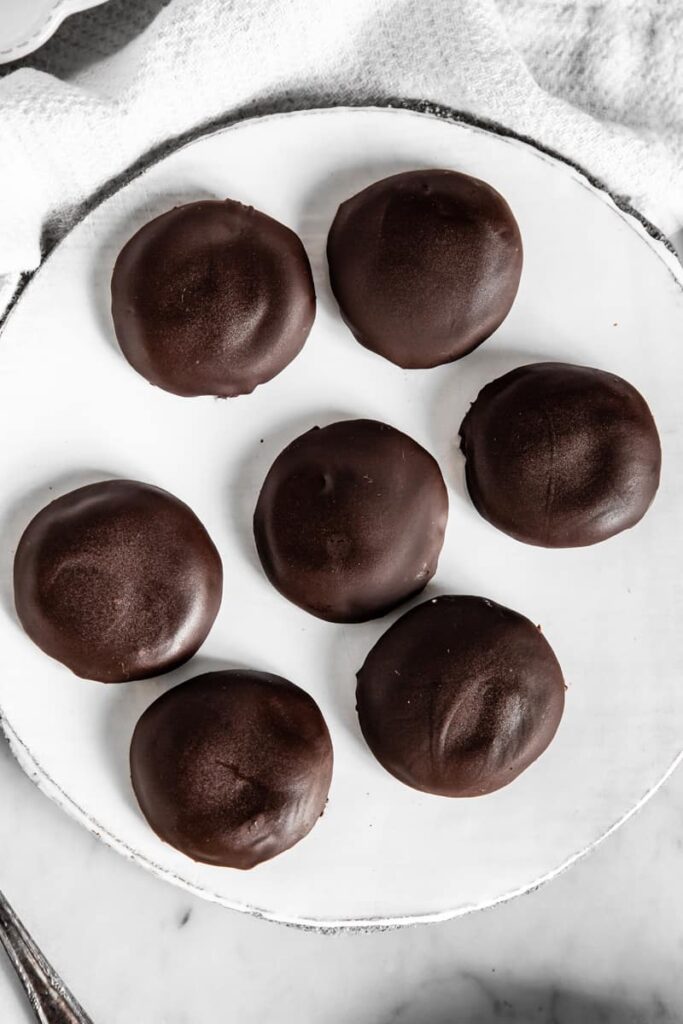
The first step to make peppermint patties is to soak the cashews. The day before, place them in a bowl and fully cover with water. Cover and let soak overnight at room temperature. If you’re short in time, you can also soak the cashews for 30 minutes in boiled water. However, if your blender isn’t very powerful, I recommend soaking overnight for the best results. After soaking, drain and rinse thoroughly the cashews.
To make the filling, first add the soaked cashews, maple syrup, and milk into a high-speed blender or a food processor. Blend on high speed until you get a smooth cream. If necessary, don’t hesitate to stop and scrape down the sides of the bowl as many times as needed during the process.
Next, mix in melted coconut oil – you can simply melt 30-45 seconds in microwave, and peppermint extract or essential oil, and blend to combine. Now it’s the moment to taste the preparation and adjust the quantity of peppermint extract or oil depending on your preference. Be careful when adding peppermint flavor, usually a little goes a long way. Also keep in mind that the flavors will intensify during the resting freezing time.
At this stage the mixture should be smooth and a little runny, but not too liquid neither. Before shaping the patties, I highly recommend to transfer the cream to a container and place in freezer for 20 minutes to set a bit. It will be easier to work with then.
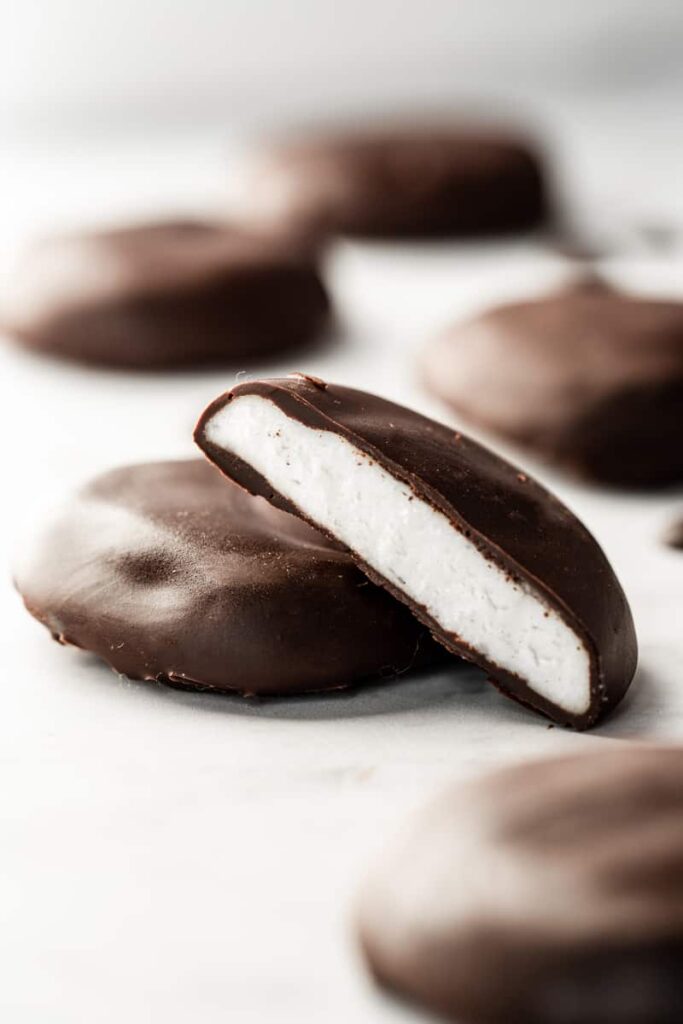
Shape the peppermint patties
Once the filling has firmed, remove from freezer and quickly stir to homogenize. Then you have 2 options to shape the patties :
- Option 1 – if you don’t have candy liners & my favorite one : Draw about 2 inch diameter circles on a piece of parchment paper and lay down on a baking sheet. I recommend lining your sheet pan with parchment paper so nothing sticks. Using a spoon, pour the cream into each circle, spread with the back of the spoon to fill the disc and gently smooth the surface. The patties must be about 1/6″ thick. Place in freezer to set for 45 minutes, or until firm to the touch.
- Option 2 – with mini cupcake or candy liners : Pour about 1 tablespoon of cream into mini cupcake or candy liners. Place in freezer to set for 30 minutes, or until firm to the touch. Then pop out the patties out of the liners, set on a lined baking sheet and return to the freezer for 10 minutes to firm up even more.
Thanks to coconut oil, which is solid at room temperature, the peppermint patty filling shouldn’t take too long to become solid in the freezer. Make sure the filling patties are completely set and solid before moving to the chocolate coating!
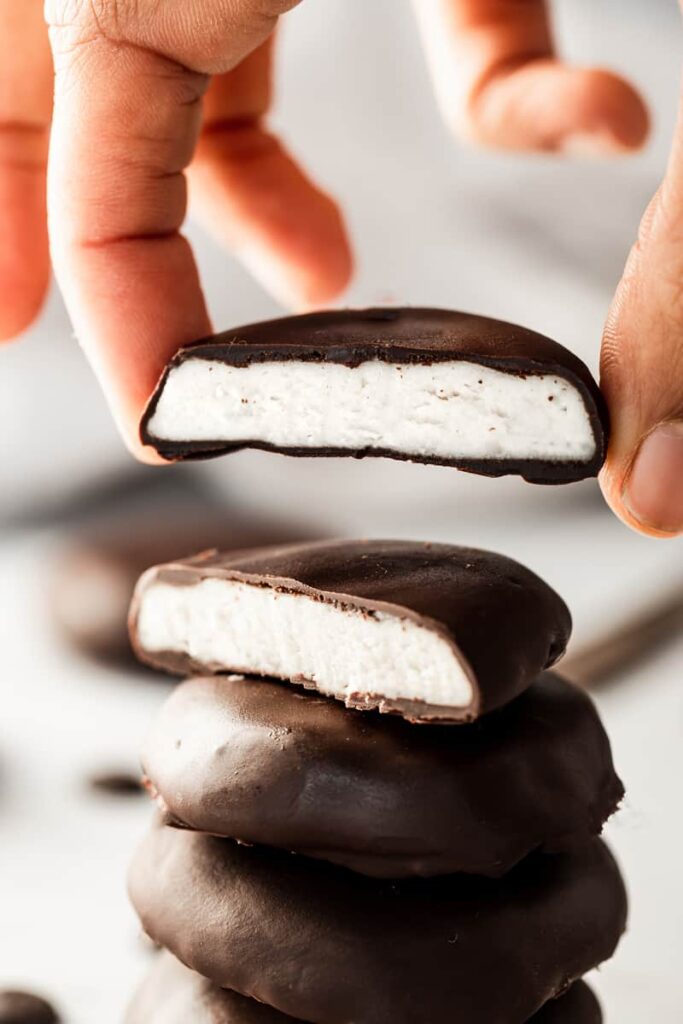
Make the chocolate coating
While the filling patties are setting in freezer, prepare the chocolate coating. This part couldn’t be easier, all you need is dark chocolate or chocolate chips and a tablespoon of coconut oil. The coconut oil is optional but helps to get a smooth and crispy chocolate shell.
You can either melt the chocolate and coconut oil over a double boiler or in microwave. If using the double boiler method, allow the chocolate and coconut oil to melt without stirring. Then whisk until fully melted and smooth. For the microwave option, place the chocolate and coconut oil in a microwave-safe bowl. Zap them in 30 second increments until mostly melted.
Once the chocolate is nice and melty, and the filling patties are fully set, it’s time to assemble! For this step, try to work fast but calmly to avoid the patties to melt and get a beautiful smooth chocolate shell. There’s nothing complicated here, just make sure to organize your work station before starting.
Prepare a baking sheet lined with a parchment paper. It’s important to use parchment paper and don’t place coated peppermint patties directly on a hard surface or they’ll stick.
First, dip each patty in the melted chocolate to completely cover. You can use two forks, or one place the patty on a fork and use a tablespoon to pour more chocolate on, as you prefer. Lift up the fork and shake off excess chocolate. Gently lay the patty on the parchment paper-lined pan.
Once you’ve dipped all your peppermint patties, place them back in the freezer for 10 minutes to set, or until chocolate is firm.
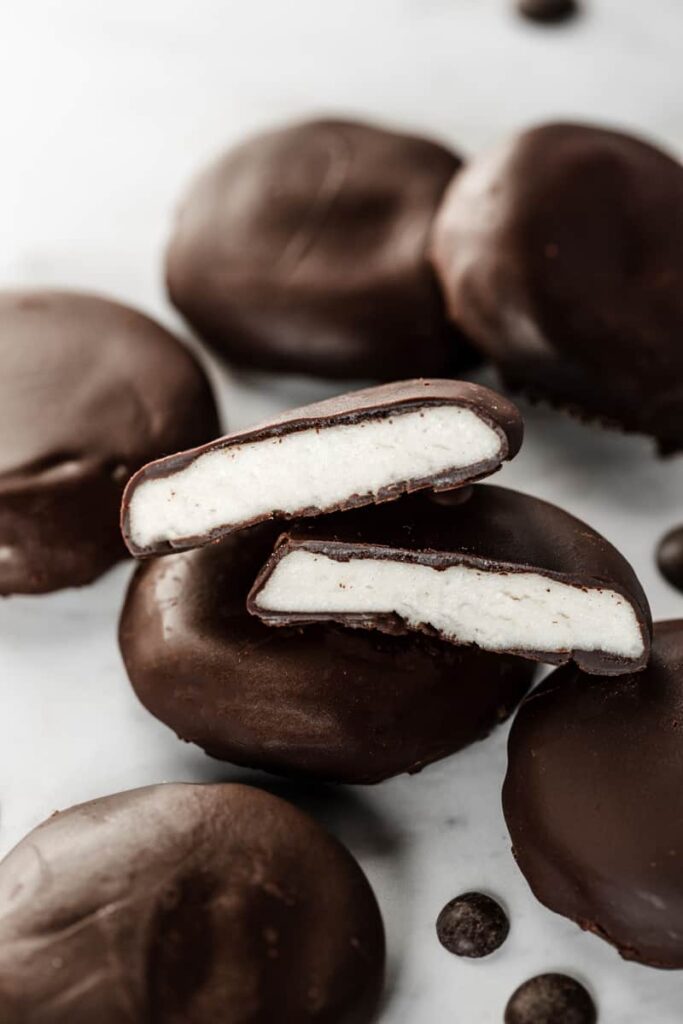
Tips to make perfect Peppermint Patties
- Soak the cashews before using. This step helps to soften the cashews and make easier to blend in to a perfectly creamy mixture. This is especially important if your blender is not very powerful. You can easily damage a blender by mixing hard food. If you have enough time, the ideal is to soak the cashews overnight in water at room temperature.
- Don’t fear to taste the filling and adjust the flavors. This is true for any recipe, but especially for this one! In fact, the taste can highly varies depending on the product you use for the peppermint flavor. You can use either peppermint extract or peppermint essential oil for this recipe. Don’t hesitate to taste the cream and adjust the quantity of peppermint regarding your preferences.
- Use good quality dark chocolate for coating. The chocolate shell is a very important part of the recipe, to balance the intense flavor of the peppermint cream, add softness and bring a crunchy texture. You can either use dark chocolate chips or melt down quality dark chocolate bar. In either case, use high quality chocolate, with at least 70% cocoa. If you’re vegan, make sure the chocolate doesn’t contain any dairy. This is often the case with industrial chocolate chips.
- Allow to fully set in freezer before coating. If you want a beautiful, clean and smooth chocolate coating, make sure the cream patties are completely set and solid before dipping into melted chocolate. Else, the warm chocolate will make the cream to melt and things will get pretty messy.
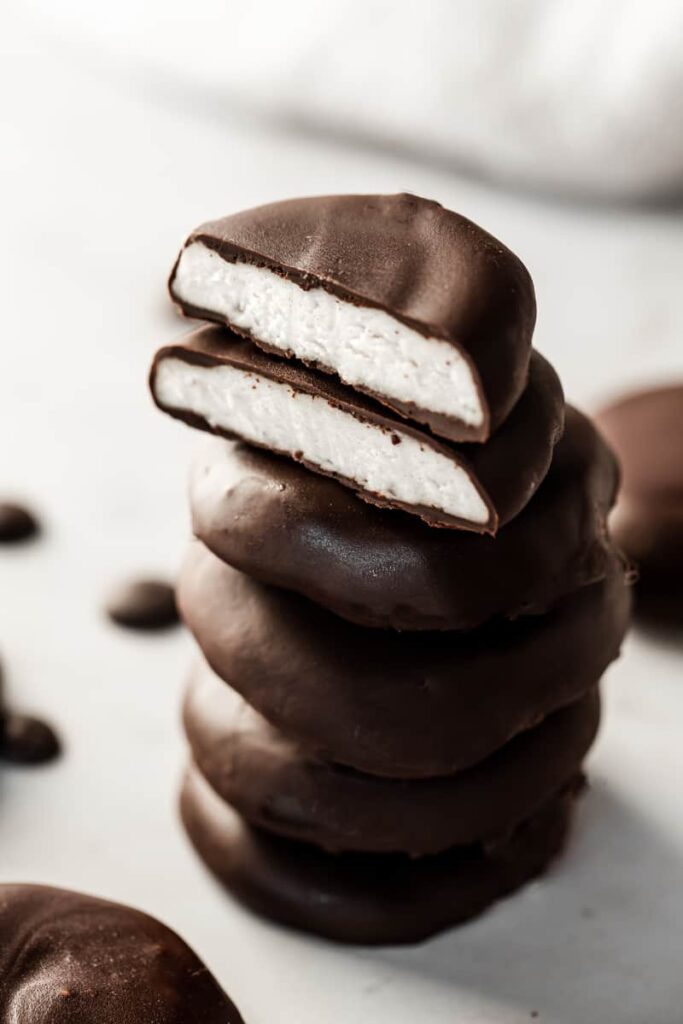
Storing and freezing
These vegan peppermint patties are the perfect little treat to keep in your fridge for a healthy dessert or sweet snack, whenever you like. They also make a great holiday gift. Everybody will remember these super creative and delicious Peppermint creams at Christmas.
Not only these peppermint patties are quick and easy to make, but they store perfectly in the freezer for to 2 weeks up to 1 month, so you can prepare a big batch ahead of time. To store peppermint patties, simply put them in an airtight container and place in the freezer. I like to enjoy them straight out of the freezer, while they’re still cold and the chocolate is crunchy. If you don’t want to serve them cold, remove from the freezer and let set at room temperature 5 minutes before serving. The filling will be deliciously creamy.
I don’t recommend to leave peppermint patties at room temperature for too long. The chocolate will start to melt quickly and the whole experience will be less exciting.
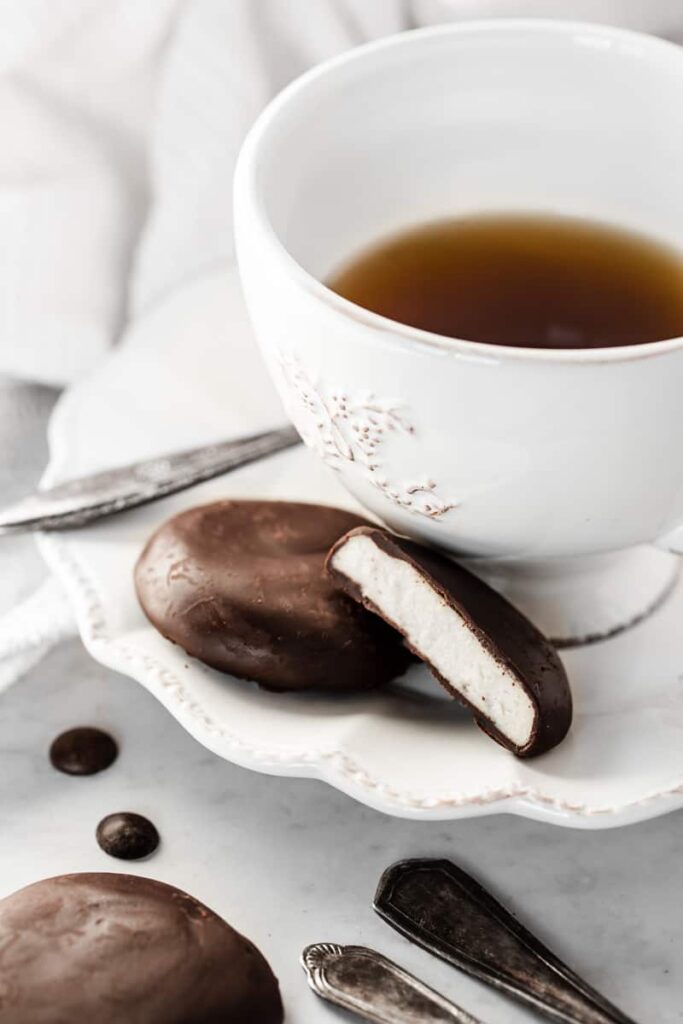
For more easy no-bake desserts, check out these recipes:
- 8-Ingredient Coconut Matcha Macaroons GF
- Healthy Gooey Mendiant Krispie Treats GF
- Coconut Chocolate Schoko-Bons Slices GF
- Healthy Carrot Cake Slices GF
- Coconut cream and Cookie dough Square GF
- Easy 6-Ingredient Yogurt Granola Popsicles GF
I love to see your creations! Don’t forget to tag me @alicepages on your photos on Instagram and give your feedback in the comments below if you make this recipe at home! Your opinion is my best reward.
Print5-Ingredient After Eight Peppermint Patties
Only 5 ingredients to make these delicious homemade vegan peppermint patties. They are made of a creamy minty filling, dipped in rich chocolate. The perfect fresh and healthy after dinner treat or holiday gift.
Ingredients
- 1/3 cup raw cashews
- 2 tbsp maple syrup
- 2 tbsp coconut or almond milk
- 3 tbsp melted coconut oil
- 1/2 tsp peppermint extract or a few drops of peppermint essential oil*
- 1/2 cup vegan dark chocolate chips
- 1 tbsp coconut oil
Instructions
- Place cashews in a bowl and fully cover with water. Cover and let soak overnight at room temperature, or for 30 minutes in boiled water for an express version. If your blender isn’t very powerful, I recommend soaking overnight for the best results.
- Drain and rinse thoroughly the cashews after soaking.
- Add the soaked cashews, maple syrup, and milk into a high-speed blender. Blend on high speed until perfectly smooth. Then add melted coconut oil and peppermint extract/oil, and blend to combine. Taste and adjust the quantity of peppermint extract. It can vary depending on the flavor concentration of the product you’re using (see notes).
- At this stage the mixture must be smooth and a little runny but not too liquid. Transfer the cream to a container and place in freezer for 20 minutes to firm a bit. It will be easier to work with then.
- Once firmed, remove from freezer and stir. Then you have 2 options to shape the patties:
- Option 1 : Draw 2 inch diameter circles on a piece of parchment paper and lay down on a baking sheet. Using a spoon, pour the cream into each circle, spread with the back of the spoon to fill the disc and gently smooth the surface. The patties must be about 1/6″ thick. Place in freezer to set for 45 minutes, or until firm to the touch.
- Option 2 : Pour about 1 tablespoon of cream into mini cupcake or candy liners. Place in freezer to set for 30 minutes, or until firm to the touch. Then pop out the patties out of the liners, set on a lined baking sheet and return to the freezer for 10 minutes to firm up even more.
- Meanwhile, prepare the chocolate coating. Melt the dark chocolate chips with the remaining 1 tablespoon coconut oil over a double boiler, or microwave in 30 second increments until melted.
- Once firmed, remove the patties from freezer. Dip each patty in the melted chocolate with a fork. Tap off excess chocolate and set back on parchment paper. Place back in freezer for 10 minutes to set, or until chocolate is firm.
- Peel away the patties from parchment and transfer to a serving platter. Enjoy chilled for the best experience. Patties will keep in an airtight container in the freezer for up to 2 weeks.
Notes
- You can use either peppermint extract or peppermint essential oil for this recipe. You can find peppermint extract in the baking aisle of the supermarket and peppermint essential oil in most health stores. If using peppermint extract, start with 1/2 tsp and add more to taste if needed. If using peppermint essential oil, a few drops can go a long way.
Recette version française
PrintChocolats à la crème de menthe façon After Eight
Ces palets crémeux à la menthe enrobés de chocolat sont très facile à réaliser avec seulement 5 ingrédients. Frais, légers, fondants à coeur et craquants à l’extérieur, ils sont parfaits à déguster après un repas, ou pour offrir pendant les fêtes.
Ingredients
- 50 g de noix de cajou
- 45 g de sirop d’érable
- 30 g de lait de coco ou d’amande
- 45 g d’huile de coco fondue
- 1/2 c. à c. d’extrait de menthe poivrée ou quelques gouttes d’huile essentielle de menthe poivrée
- 80 g de pépites de chocolat
- 15 g d’huile de coco
Instructions
- Placer les noix de cajou dans un grand volume d’eau. Couvrir et laisser tremper toute une nuit à température ambiante. Pour une version express, faire tremper les noix de cajou dans de l’eau portée à ébullition pendant 30 minutes. Cependant si votre blender n’est pas très puissant, je recommande de suivre la première option.
- Egoutter et rincer soigneusement les noix de cajou.
- Placer les noix de cajou, le sirop d’érable et le lait dans un blender, et mixer à pleine puissance jusqu’à obtenir une crème parfaitement lisse. Puis ajouter l’huile de coco fondue et l’extrait de menthe poivrée, et mixer de nouveau. Goûter la préparation et ajuster la quantité de menthe poivrée. Ell peut varier fortement en fonction de la concentration du produit utilisé (voir notes).
- A ce stade, la préparation doit être onctueuse, fluide mais pas trop liquide. Verser la crème dans un récipient et placer au congélateur pendant 20 minutes afin qu’elle se raffermisse et qu’elle soit plus facile à travailler.
- Une fois que la crème épaissie, sortir du congélateur et remuer un coup. Puis 2 options sont possibles pour former les palets:
- Option 1 : dessiner des cercles de diamètre 5 cm sur une feuille de papier sulfurisé. Placer la feuille sur une plaque et déposer une cuillère de crème au centre de chaque cercle. Etaler la crème avec le dos de la cuillère de façon à remplir le disque et former un palet d’environ 5 mm d’épaisseur. Placer au congélateur pendant 45 minutes, ou jusqu’à ce que les palets soient solides au toucher.
- Option 2 : Verser une cuillère de crème dans des petits moules à chocolat, sur une épaisseur d’environ 5 mm. Placer au congélateur pendant 30 minutes. Puis démouler et déposer les palets sur une plaque ou un plat chemisé de papier sulfurisé et placer au congélateur 10 minutes.
- Pendant ce temps, préparer la couverture en chocolat. Faire fondre le chocolat avec l’huile de coco au bain-marie ou au micro-onde.
- Sortir les palets bien solides du congélateur. Déposer un palet sur le bout d’une fourchette et le tremper dans le chocolat fondu pour l’enrober complètement. Retirer l’excédent de chocolat et déposer le palet sur la plaque chemisée. Faire de même avec tous les palets. Puis placer au congélateur pendant 10 minutes pour que le chocolat durcisse.
- Retirer du congélateur et détacher délicatement les palets de la plaque. A déguster bien frais. Les palets se conservent jusqu’à 2 semaines au congélateur dans un récipient hermétique.
Notes
- Vous pouvez utiliser de l’extrait de menthe poivrée ou de l’huile essentielle de menthe poivrée. L’extrait de menthe poivrée se trouve au supermarché au rayon patisserie, alors que l’huile essentielle de menthe poivrée se trouve le plus souvent au rayon santé / complément alimentaire, en magasin bio ou en parapharmacie. Si vous utilisez de l’extrait de menthe poivrée, commencez avec 1/2 cuillère à café et augmenter si besoin. L’huile essentielle étant beaucoup plus concentrée, quelques gouttes suffisent.
- Pour la couverture en chocolat, j’ai utilisé les pépites de chocolat noir 72% sucrées au xylitol KoRo. Mais vous pouvez utiliser n’importe quel autre chocolat de votre choix. Privilégiez un chocolat noir de qualité, avec une teneur en cacao d’au moins 70%.






0 Comments