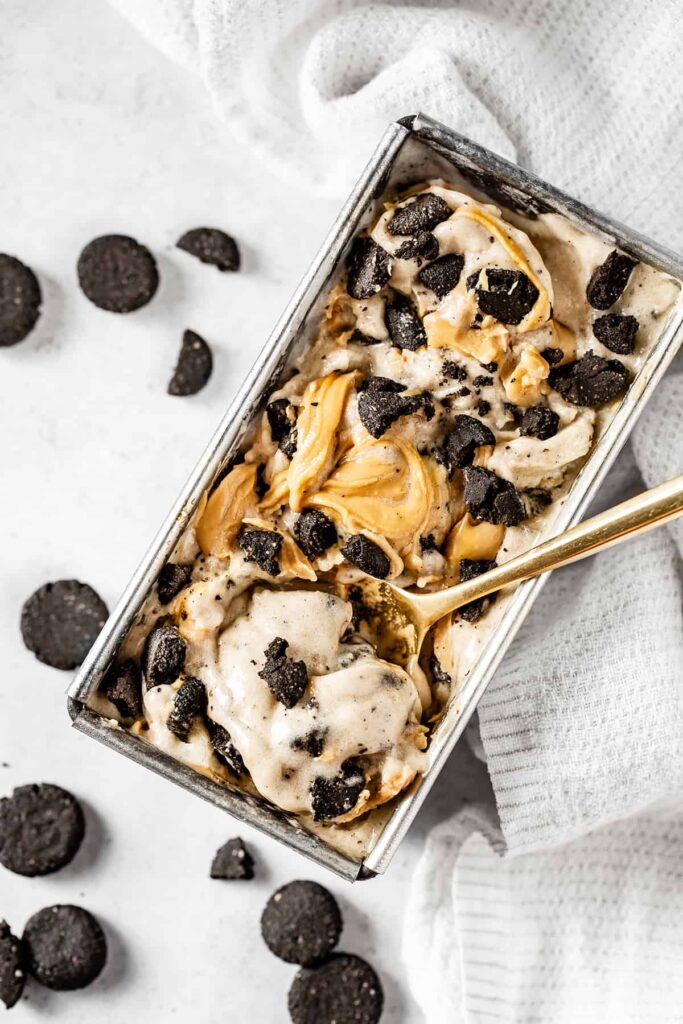
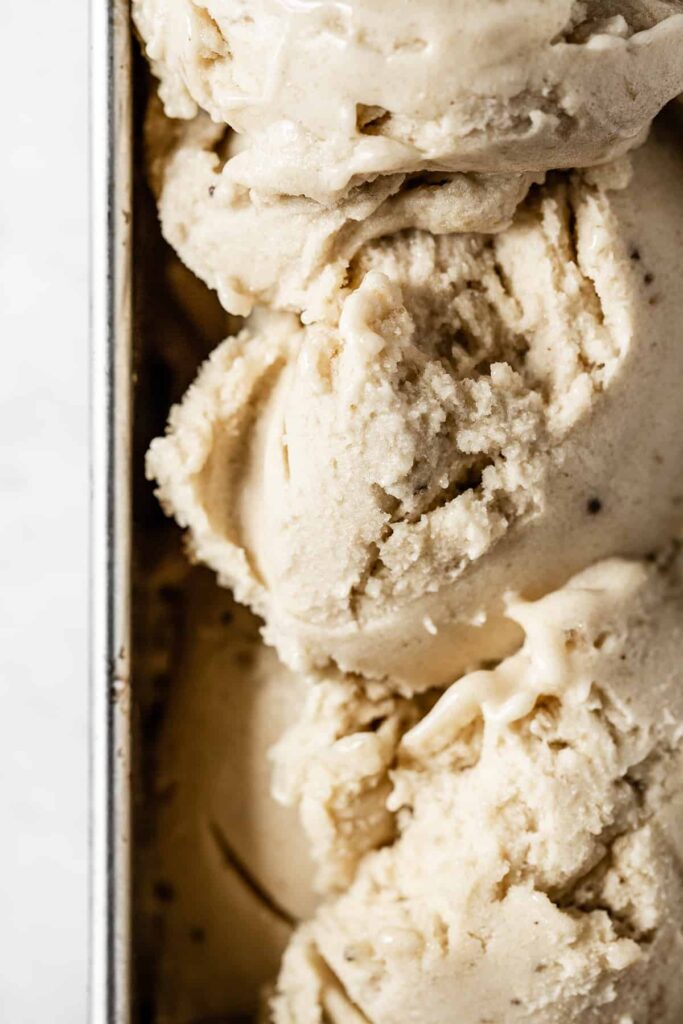
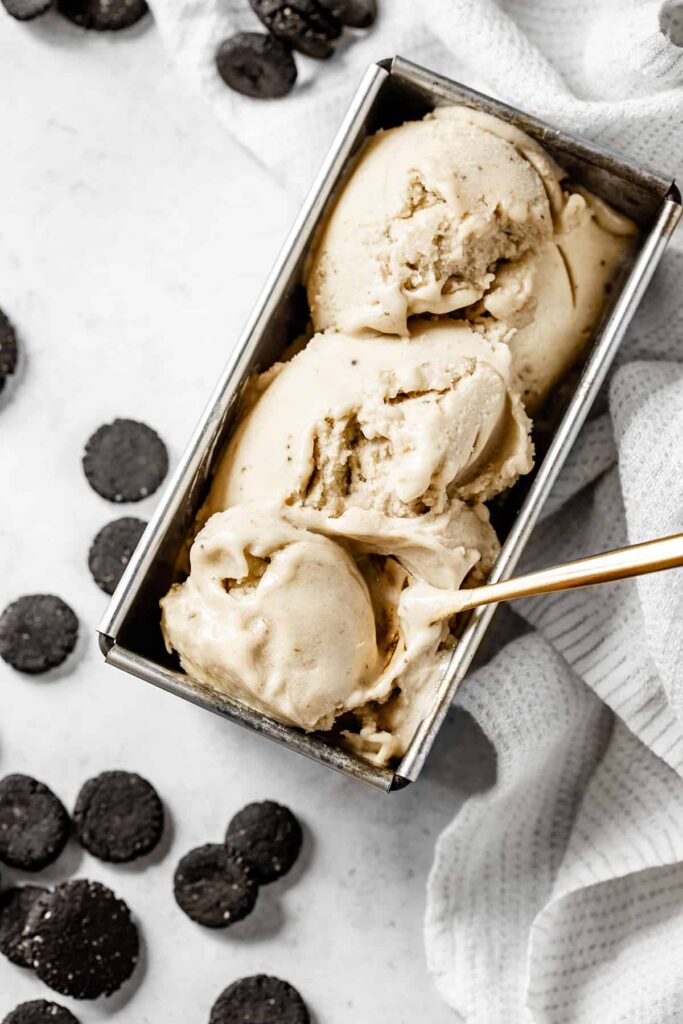
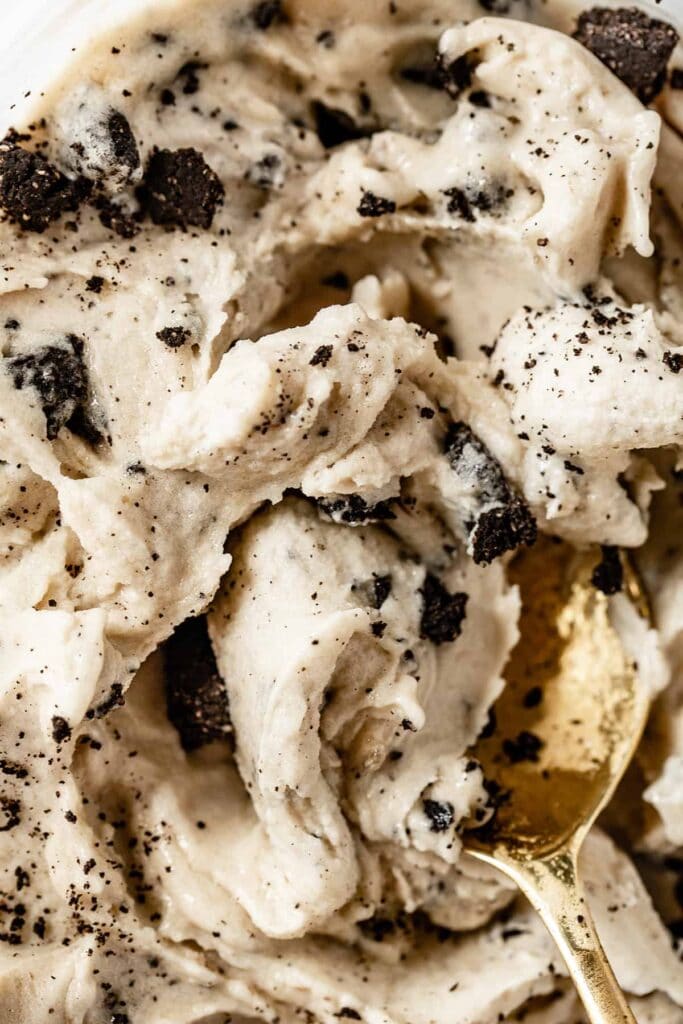
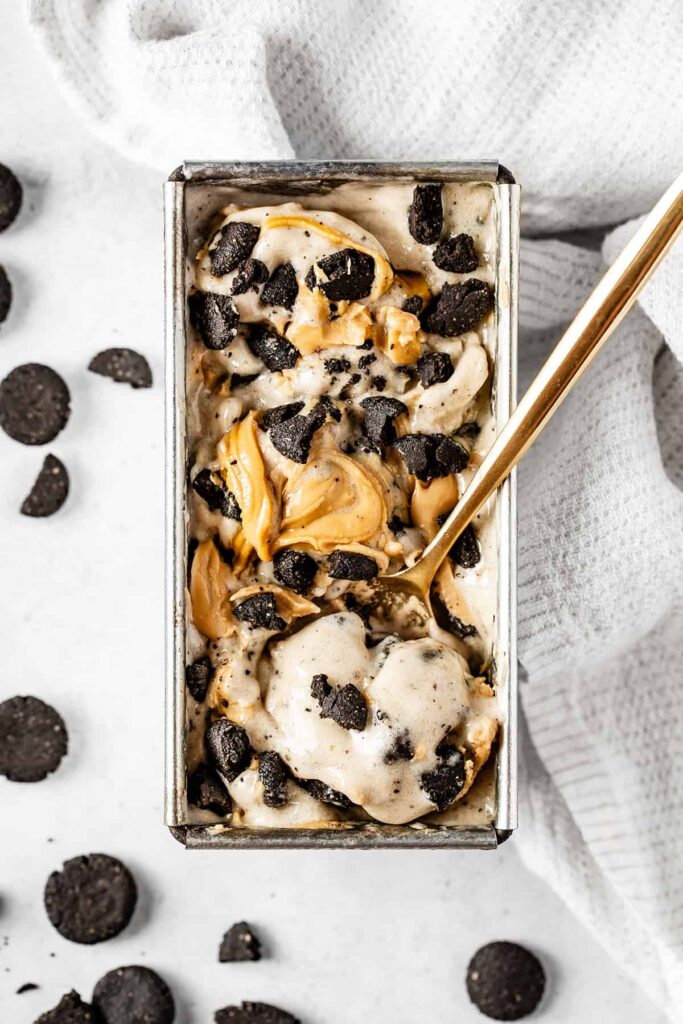
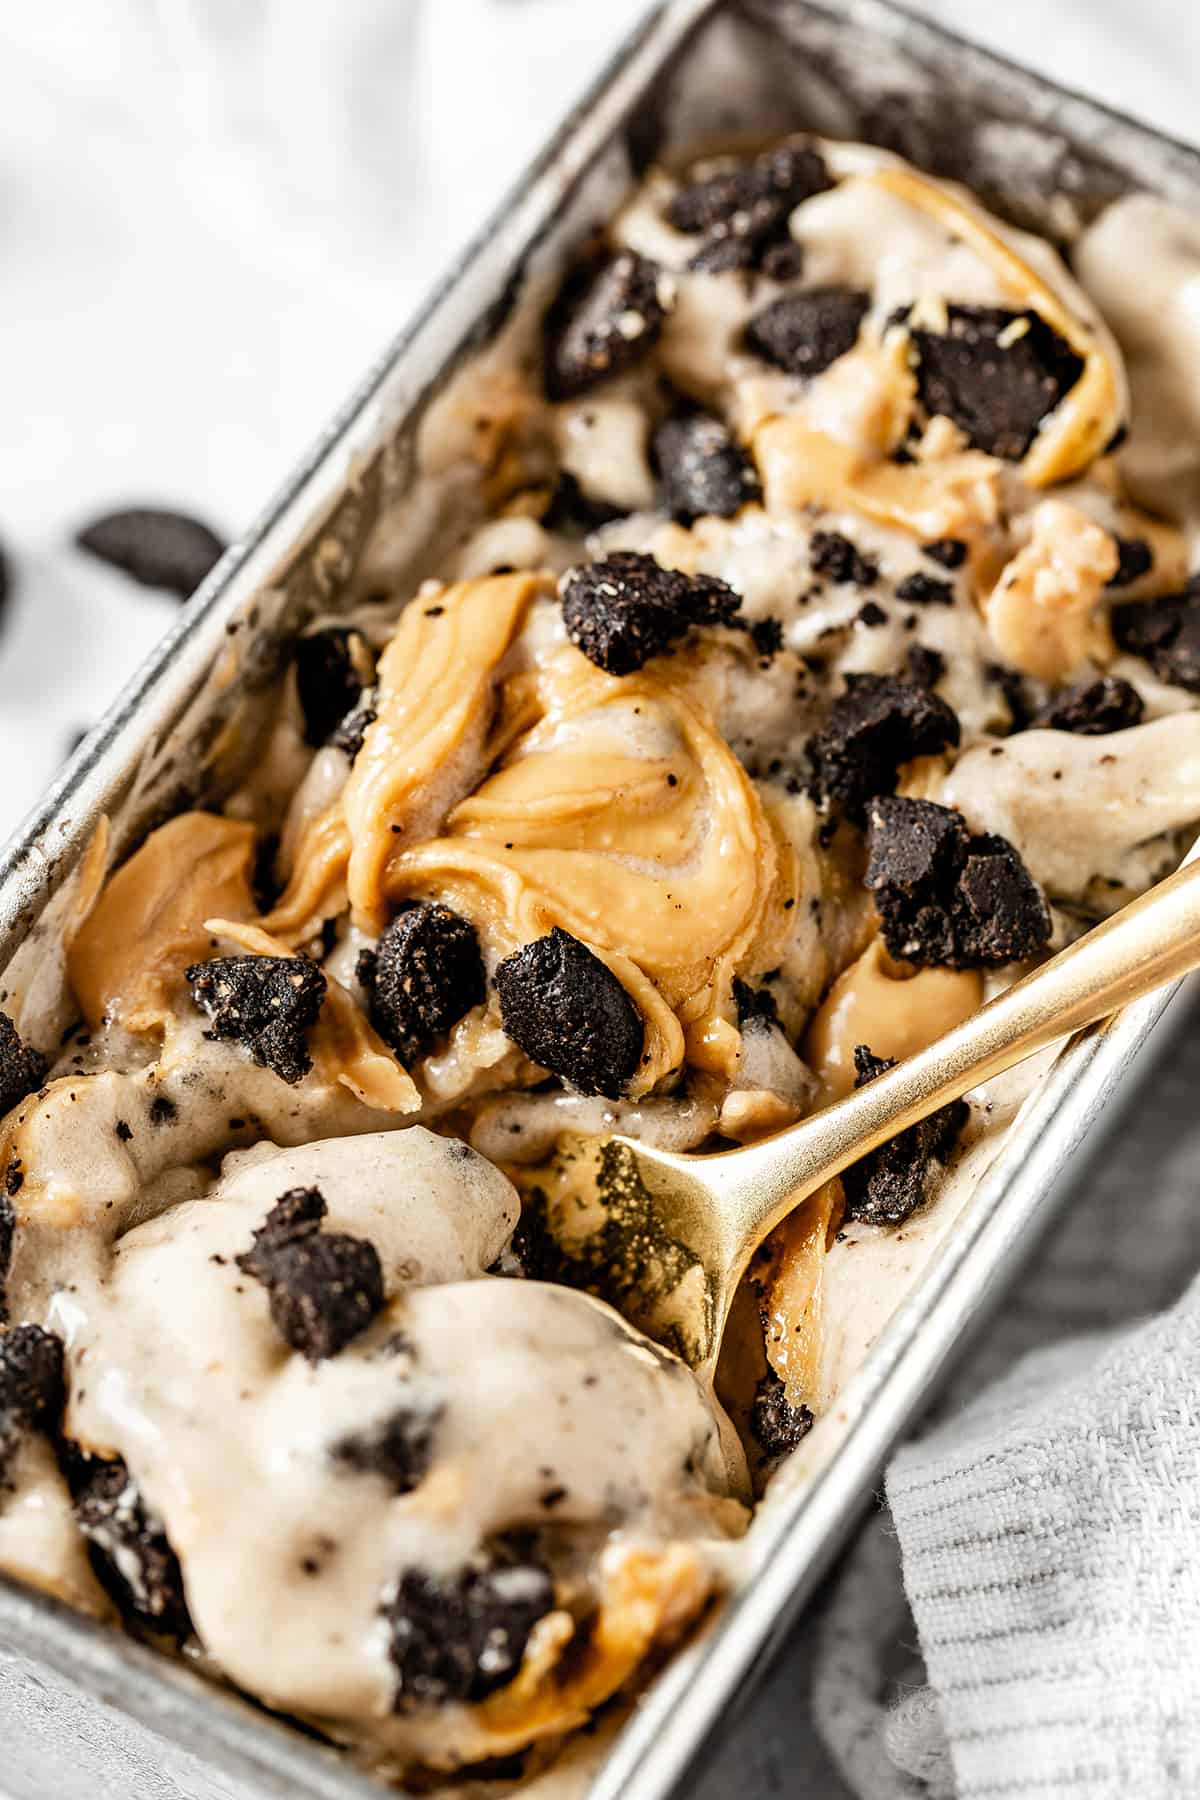
Vegan super rich and creamy banana ice cream loaded with swirls of peanut butter and whole bites of homemade crunchy Oreo style cookies. This unreal dairy free and gluten free peanut butter cookie ice cream is a dessert on its own, with delicious flavors and textures. It is made of a SUPER creamy vanilla ice cream that requires only one ingredient. Yes, that’s right – just one simple ingredient and no ice cream maker needed! A healthy and seriously decadent twist on your favorite Ben and Jerry’s ice cream flavor.
This post is sponsored by KORO, a European online shop that promotes healthy, high quality and sustainable products. For more information about the brand and its values, visit their website and enjoy 5% OFF everything on the FRENCH store using the code ALICE5.
Cette recette est sponsorisée par KORO, une boutique en ligne qui propose un large choix de produits sains, responsables et de haute qualité à prix juste. Pour découvrir la marque et ses merveilleux produits, rendez-vous sur leur boutique et profitez de 5% DE REDUCTION avec le code ALICE5.

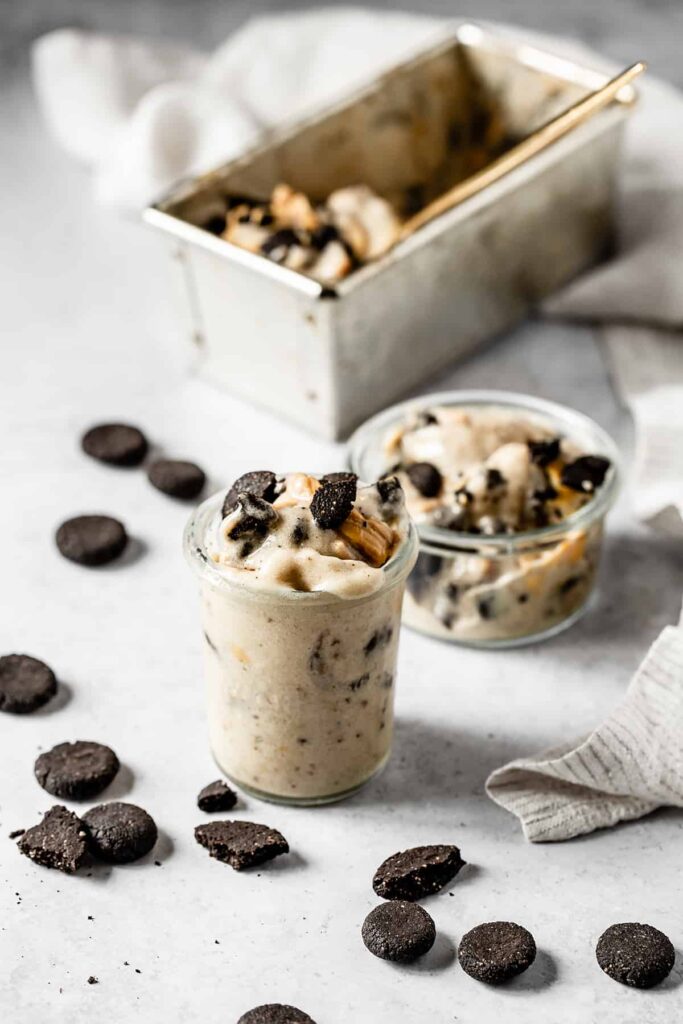
1-ingredient creamy ice cream without an ice cream maker
Making your own ice cream at home is not very complicated, but it can take time and involve a lot of steps, especially if you don’t have an ice cream maker. Good news, you can make the creamier ice cream ever in a few minutes, with just one ingredient and no ice cream maker! Yes, that’s right! This peanut butter cookie ice cream recipe calls for only one ingredient you probably already have in your kitchen and gonna change your life.
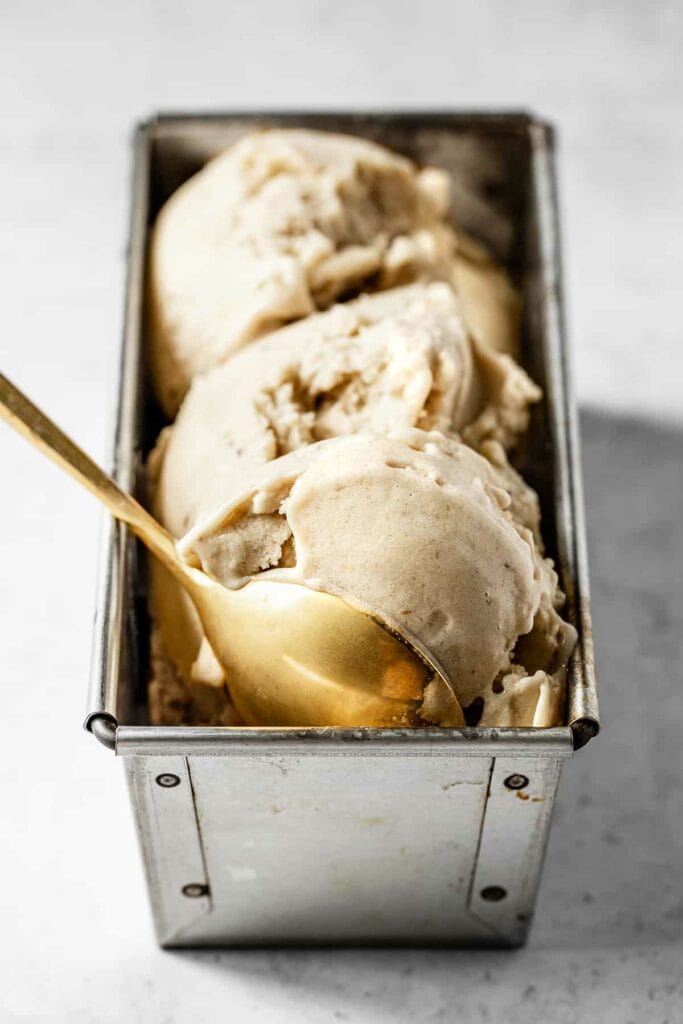
The magic of bananas
You’ve probably already guessed it. This one magic ingredient is nothing else than banana. Banana is a fabulous product widely used in plant based and healthy cuisine because of its various amazing properties.
Bananas have different level of ripeness, ranging from 1 to 8 (or 15 depending on the studies), with one being the most underripe and 8 – 15 being the most overripe. Each level of ripeness is characterized by specific properties and particular uses.
Underripe bananas are characterized by a green skin and a firm flesh. Underripe bananas contain a high pourcentage of starch and less sugar than ripe bananas. For anyone trying to avoid food with high sugar content or suffering from diabetes, green bananas are a great option. However, they are not the best to be used into recipes.
As a banana ripens, the starch begins to turn to sugar. That’s why ripe yellow bananas have a sweeter taste. Their flesh is still firm but softer, they are easier to digest and contain higher levels of antioxidants. Slightly overripe bananas are a great option to consume everyday if you don’t suffer from diabetes. I like to consume them as a snack or for toppings on my bowls.
The last level of ripeness is overripe banana, with a fully brown skin and very soft flesh. At this stage you can believe that the banana is rotten and can’t be consumed anymore, but don’t be fooled! Overripe bananas are probably the best! They are soft, very sweet, full of antioxidants and can be used in many delicious recipes. Because of their texture and natural sweetness, overripe bananas are perfect to make cakes -hello banana bread, cookies … or ice cream!
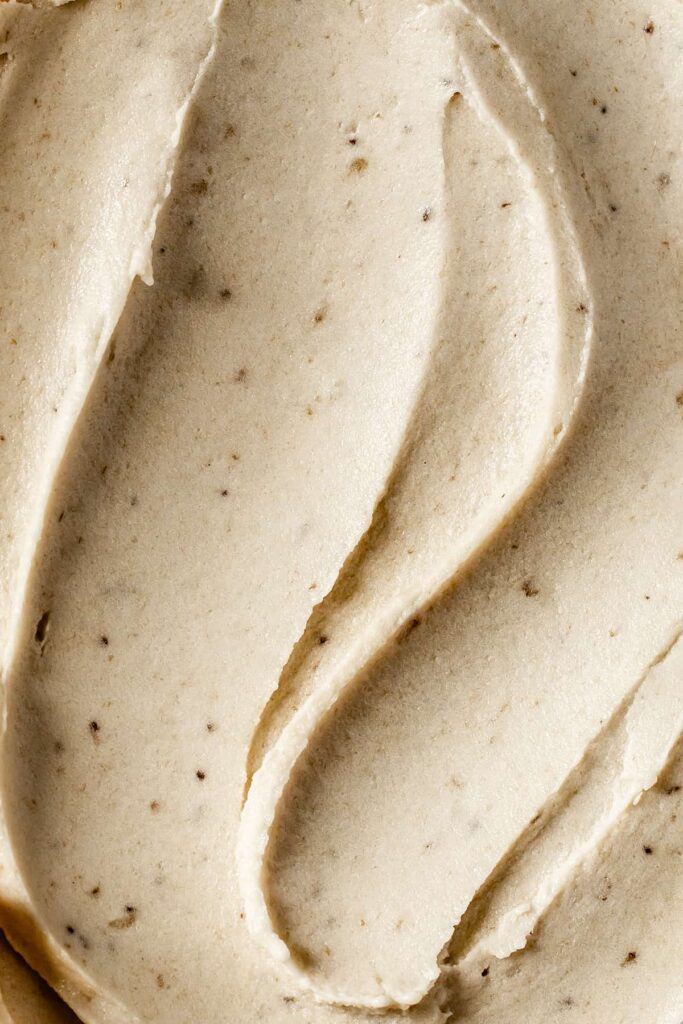
How to freeze bananas for ice cream
First step for this peanut butter cookie ice cream is to make the ice cream base. For that, you need to freeze bananas. Freezing bananas is a very important step to get a super rich, creamy and thick ice cream texture. If the bananas are not frozen properly or not long enough, your ice cream will be runny, more like a smoothie.
To make ice cream, we’re using ripe bananas. Make sure the banana is very ripe, soft, with yellow skin and large brown dots. For this recipe we’re using four bananas to make about 6 – 8 servings, but feel free to increase the quantities. However, I don’t recommend to reduce the quantity of ice cream as it can make the blending process difficult.
Peel the banana and slice into small pieces. It doesn’t really matter what shape or size the pieces are in, as long as they are evenly sized and not too thick. If you don’t have a very powerful blender or food processor, I recommend to cut the banana into small pieces to make the blending easier.
Then place the banana pieces in a freezer-safe container or a freezer bag. Try to arrange the pieces in a single layer, to make sure they will freeze evenly and quickly. Also it makes it easier to separate the banana pieces once frozen.
Place in the freezer and freeze until completely solid, at least 6 hours or ideally overnight. Actually, the longer the better. It’s very important that the bananas are really hard for a super creamy ice cream texture. It is worth the way!
Freezing bananas is the longer step of this recipe. My tips is to always make sure to keep a bag of sliced bananas in your freezer ready to use. That can save your life when a sudden ice cream craving hits you!
Food processor vs. blender
Now that the bananas are frozen, it’s time to mix them to create this dreamy creamy ice cream! For this recipe, you can either use a high speed blender or a food processor. They both work well, but there are a few things to consider before choosing the right equipment for you.
A powerful high-end blender would work perfectly to make a creamy ice cream in only a few minutes. However, frozen bananas are very hard and can the blending process can be demanding for your blender. So if you don’t have a heavy-duty blender, I don’t recommend to use it for ice cream. From my experience, I’ve already broken two blenders in making banana ice cream. Now I’ve invested in a high-end blender that I can use for basically everything, and the result is amazing.
If you don’t have a powerful blender, I really recommend to use a food processor. Food processors have a lower rotation speed than blender, but more torque. As a consequence, it will probably take more time to get the right creamy consistency but you don’t risk to break your food processor. A food processor is well suited to this task, with enough room for the banana to get fully creamy and a little bit aerated.
Blending, blending, blending
Once you have chosen the best equipment for you, it’s time to blend these frozen bananas. Transfer the frozen banana pieces into the food processor or high speed blender. If possible, use the “pulse” mode of your equipment to break up the banana pieces with more control and without creating too much heat.
At first the banana pieces will look crumbled or smashed, and not creamy at all. It’s normal, this process takes time. Scrape down the food processor or blender and keep pulsing.
When the mixture starts to look gooey, switch to blending. It will get a little smoother. Keep blending until the magic happens and the banana mixture shift toward a perfectly thick and cream texture. This can take up to 3 – 4 minutes depending on your equipment, so be patient!
During all the process, don’t hesitate to stop the blender and scrap down the edges of the bowl as many times as necessary. If you have difficulties to blend the frozen bananas and get a creamy texture, even after a few minutes, you can add a dash of coconut milk to help the process.
GF crispy cookies with an oil-free option
The best part about this peanut butter cookie ice cream is probably the cookies! They bring delicious flavor and crunchy texture, to turn a simple ice cream into a super decadent dessert! These cookies are really a recipe on their own. They are so delicious and easy to prepare that I could definitely make a batch to eat on their own.
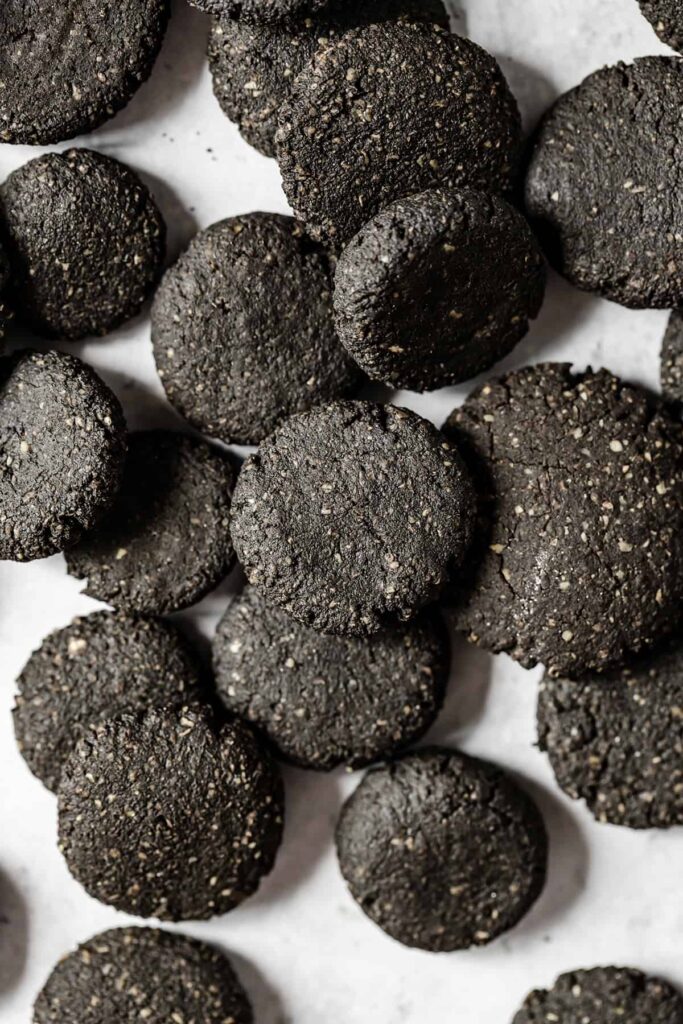
The idea was to recreate the famous Oreo cookies in a homemade and healthier version. These cookies are vegan, gluten free, refined sugar and can even be made oil free! To make them GF, I’ve used a mix of oat flour and almond meal. This is my favorite gluten free flour blend to make cakes and cookies. Oat flour and almond meal can be found easily at the grocery store, but are also very simple to make at home. For more details about how to make your own oat flour and almond flour, refer to my No bake Brookie Bars where I’m sharing all the tips.
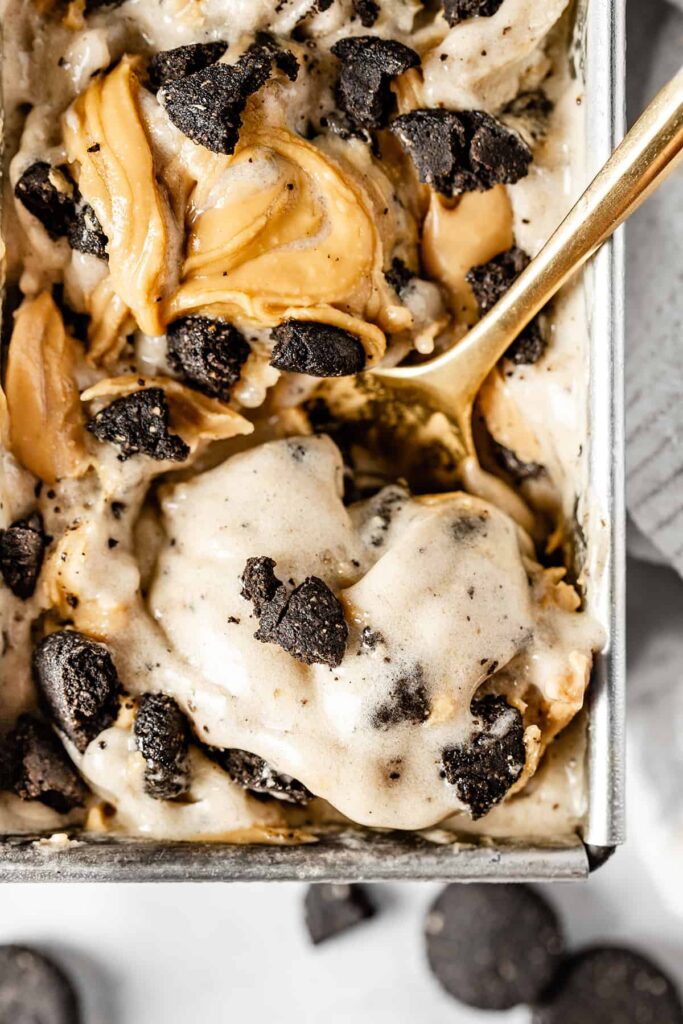
One amazing thing about these cookies is that they are very crispy, and they stay crispy even once folded into the ice cream! This is thanks to the coconut oil. Coconut oil is solid at room temperature. So when the baked cookies cool down, the coconut oil solidify and gives the cookies all their crunchiness. However, if you are oil free or want to experiment with something else, you can substitute the coconut oil for aquafaba. Aquafaba is the name given to the liquid leftover from cooked chickpeas. It can be used to replace eggs or oil in many recipes, as in these amazing Salted Caramel Brownie Cookies.
Whatever you’re using, make sure the cookies have completely cooled down before adding to the ice cream.
For more vegan ice creams, check our these recipes:
- Healthy Vegan Snickers Ice cream, a totally decadent dessert
- Summer Strawberry Basil Coconut Ice cream, made of tasty fresh strawberries
- Brownie Peanut butter Ice cream, with big chunks of fudgy brownie
- Fudgy Hazelnut and Chocolate Popsicles, added sugar free
- Granola and Yogurt Popsicles, ice cream for breakfast ?
I love to see your creations! Don’t forget to tag me @alicepages on your photos on Instagram and give your feedback in the comments below if you make this recipe at home! Your opinion is my best reward.
PrintHealthy Peanut Butter Cookie Banana Ice Cream
Vegan super rich and creamy banana ice cream loaded with swirls of peanut butter and whole bites of homemade crunchy cookies. A healthy and decadent twist on your favorite ice cream!
Ingredients
Ice cream
- 4 ripe bananas, sliced and frozen
- 1 tsp vanilla extract
- optional: 1/4 cup plant based milk (coconut milk)
- 4 tbsp Organic KoRO smooth peanut butter
Cookies
- 1/3 cup oat flour (see notes)
- 1/3 cup almond meal (see notes)
- 2 tsp ground flax seeds
- 2 tbsp cocoa powder
- 1 tsp of activated charcoal powder (for color)
- 1 pinch of salt
- 2 tbsp maple syrup
- 1 tbsp melted coconut oil (or aquafaba / chickpea brine for a oil-free version)
Instructions
Ice cream
- Peel the bananas and chop into small pieces. Place the banana pieces in a freezer-safe container or a freezer bag. Freeze until solid, for at least 6 hours or ideally overnight.
- Place the frozen banana pieces into a small food processor or a high-speed blender and pulse to break up. At first the banana will look crumbly, but keep pulsing until you get a perfectly smooth and creamy ice cream texture, with no chunks. This process can take a few minutes. Scrape down the food processor as often as necessary. Add the vanilla extract and pulse just to combine. If you have difficulties to blend the bananas, add a splash of plant based milk (ideally coconut milk) to help the process.
- Transfer the banana ice cream to a freezer-safe container and freeze for one hour until firm.
Cookies
- Preheat the oven to 350 degrees F and line a baking sheet with baking paper.
- Mix the oat flour, almond meal, ground flax seeds, cocoa powder, charcoal powder and salt in a large mixing bowl.
- Add the maple syrup and melted coconut oil, and mix to combine until a black dough forms. The dough should be a little wet but not too sticky to be shaped. If the dough is too dry, as a little more maple syrup. If too sticky, add a little oat flour.
- Using your hands, divide the dough in small bite-size pieces and roll between your hands to form balls. Arrange the balls of dough on the lined baking sheet, and with the palm of your hand gently press on top to flatten and shape little round cookies. Bake for 10 minutes.
- Remove from the oven and transfer the cookies to a cooling rack. Allow to completely cool down. The cookies will dry and become very hard while cooling down.
Assembly
- Once the cookies are dry and hard, finely crush half of the amount into small pieces. Roughly crush the remaining cookies into bigger pieces.
- Remove the chilled ice cream from the freezer and give it a good whisk. Fold in all the finely crushed cookies and mix to incorporate. Keep the roughly crushed cookies for the layering.
- Transfer about one third of the ice cream into a serving container or an ice cream tray or a loaf pan, drizzle peanut butter on top and sprinkle with some roughly crushed cookies. Then cover with an other third of the ice cream, drizzle peanut butter and cookies. Repeat these steps until all the ice cream is used. Finish with a generous drizzle of peanut butter and cookie bites.
- Place in the freezer for at least 2 hours to firm up before serving. Once the ice cream is fully frozen it will be quite firm. Set out for 10 minutes before serving to soften.
Notes
- To make your own oat flour for the cookie dough simply grind rolled oats in a blender or food processor until finely ground. To make your own almond meal, grind some whole blanched almonds in a blender or food processor until you get a grainy meal.
- To make the cookies, you can use either coconut oil or aquafaba in the same quantities. The aquafaba or chickpea brine is the liquid leftover from cooked chickpeas. The easiest way to get aquafaba is directly from a can of chickpeas.
- The activated charcoal powder will give the cookies a black color, Oreo style. However it is not necessary to the recipe and you can omit it.
Recette version française
PrintCrème glacée à la banane, beurre de cacahuète et cookies
Cette crème glacée à la banane super onctueuse renferme des tourbillons de beurre de cacahuète et de gros morceaux de cookies croustillants. Une parfaite alternative saine et ultra décadente, très facile à préparer.
Ingredients
Crème glacée
- 4 bananes mûres, tranchées et congelées
- 1 c. à c. d’extrait de vanilla
- optionnel: 60 ml de lait végétal (lait de coco de préférence)
- 4 c. à s. de beurre de cacahuète bio KoRo
Cookies
- 30 g de farine de flocons d’avoine (voir notes)
- 25 g de poudre d’amande (voir notes)
- 6 g de graines de lin moulues
- 20 g de cacao en poudre
- 1 c. à c. de charbon actif en poudre (pour la couleur)
- 1 pincée de sel
- 40 g de sirop d’érable
- 20 g d’huile de coco fondue (ou d’aquafaba pour une version sans huile)
Instructions
Crème glacée
- Peler les bananes et les découper en petits morceaux. Disposer les bouts de banane à plat dans un récipient allant au congélateur ou un sac congélation. Placer au congélateur pendant au moins 6 heures ou idéalement toute une nuit, jusqu’à ce qu’ils soient bien durs.
- Placer les bananes congelées dans un petit mixeur ou un blender et pulser afin de les briser en très petits morceaux. Racler les bords du bol à l’aide d’une maryse et continuer à mixer jusqu’à obtenir une texture parfaitement lisse et onctueuse, sans morceaux. Cela peut prendre plusieurs minutes. Puis ajouter l’extrait de vanille et mixer brièvement. Si vous rencontrez des difficultés à obtenir une texture crémeuse, ajoutez un peu de lait végétal (idéalement du lait de coco) pour faciliter le mixage.
- Verser la crème glacée dans un récipient ou un bac à glace et placer au congélateur pendant une heure.
Cookies
- Préchauffer le four à 180°C et chemiser une plaque de papier cuisson.
- Dans un saladier, mélanger la farine de flocons d’avoine, la poudre d’amande, les graines de lin moulues, le cacao en poudre, la charbon et le sel.
- Ajouter le sirop d’érable et l’huile de coco fondue et remuer à l’aide d’une spatule jusqu’à obtenir une pâte. La pâte doit être légèrement humide mais pas trop collante pour pouvoir être facilement modelée avec les mains. Si la pâte est trop humide, ajouter un peu de farine de flocons d’avoine. Si elle est trop sèche et s’effrite, ajouter un peu d’huile de coco.
- Rouler la pâte en petites boules de la taille d’une noisette. Disposer les boules de pâte sur la plaque de cuisson et les aplatir délicatement avec la paume de la main afin de former des petits cookies. Enfourner pour 10 minutes.
- Retirer les cookies du four et laisser complètement refroidir sur une grille. Les cookies vont continuer à sécher et durcir tout en refroidissant.
Assemblage
- Une fois que les cookies sont bien secs et durs, écraser la moitié de la fournée en petits morceaux. Casser l’autre moitié des cookies en plus gros morceaux.
- Quand la glace s’est bien raffermie, retirer du congélateur, remuer pour lui donner une texture onctueuse et incorporer les cookies écrasés en petits morceaux. Réserver les gros morceaux de cookies pour l’assemblage.
- Placer environ un tiers de la crème glacée dans un bac à glace ou un moule à cake métallique. Garnir d’un filet de beurre de cacahuète et parsemer de morceaux de cookies. Puis recouvrir complètement de crème glacée et répéter l’opération. Procéder ainsi jusqu’à épuisement des ingrédients. Terminer avec une couche de beurre de cacahuète et des morceaux de cookies.
- Placer la glace au congélateur pour au mois 2 heures, jusqu’à ce qu’elle soit bien ferme. Sortir la glace du congélateur 10 minutes avant de servir.
Notes
- Pour les cookies, réalisez votre farine de flocons d’avoine en mixant simplement des flocons d’avoine entiers dans un blender jusqu’à obtenir une poudre fine. De même, réaliser votre propre poudre d’amande en mixant des amandes entières émondées en petits grains.
- Pour des cookies sans huile, remplacez l’huile de coco par de l’aquafaba dans la même quantité. L’aquafaba est l’eau de cuisson ou de conservation des pois-chiches. Vous pouvez l’obtenir directement en ouvrant une boite de conserve de pois-chiches.
- Le charbon actif en poudre apporte une couleur noire intense aux cookies, à la façon des Oreos. Cependant, il n’est pas nécessaire à la recette.



0 Comments
Trackbacks/Pingbacks