

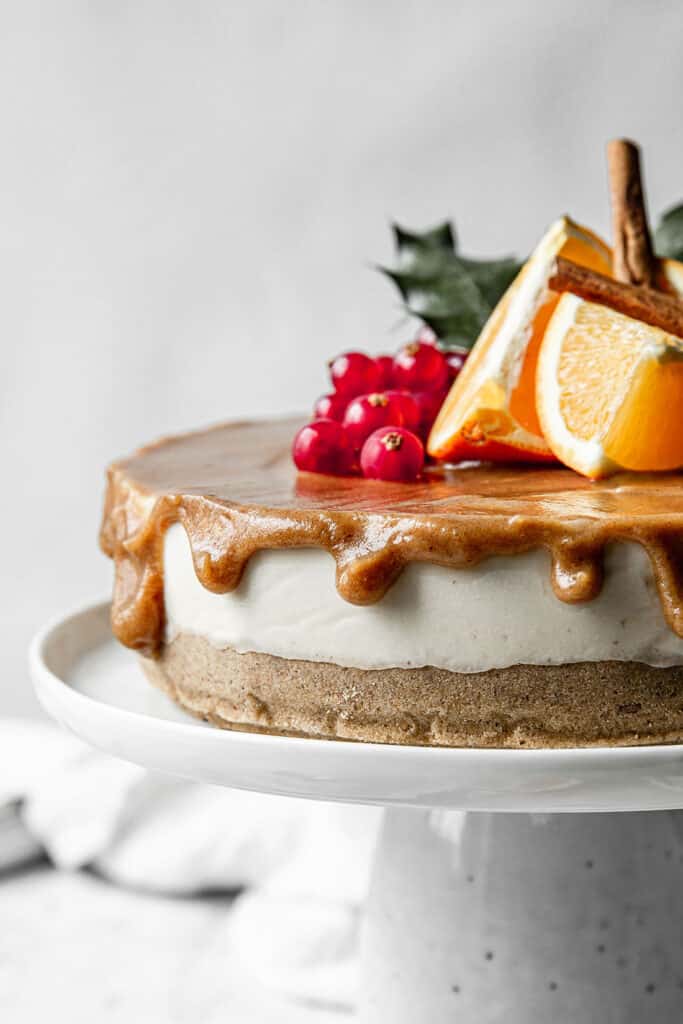
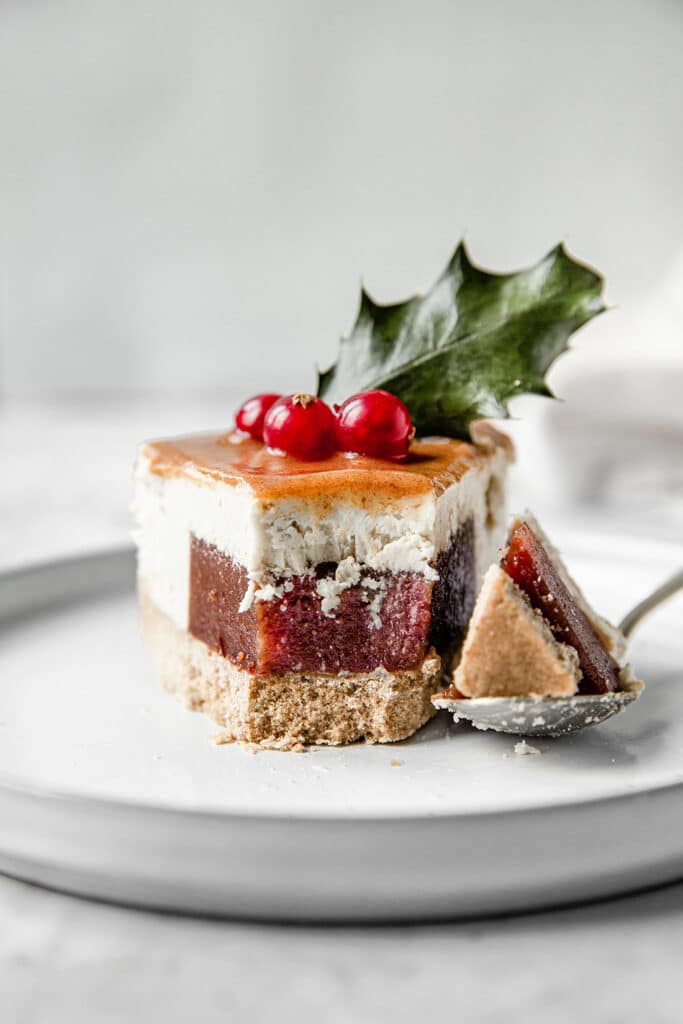
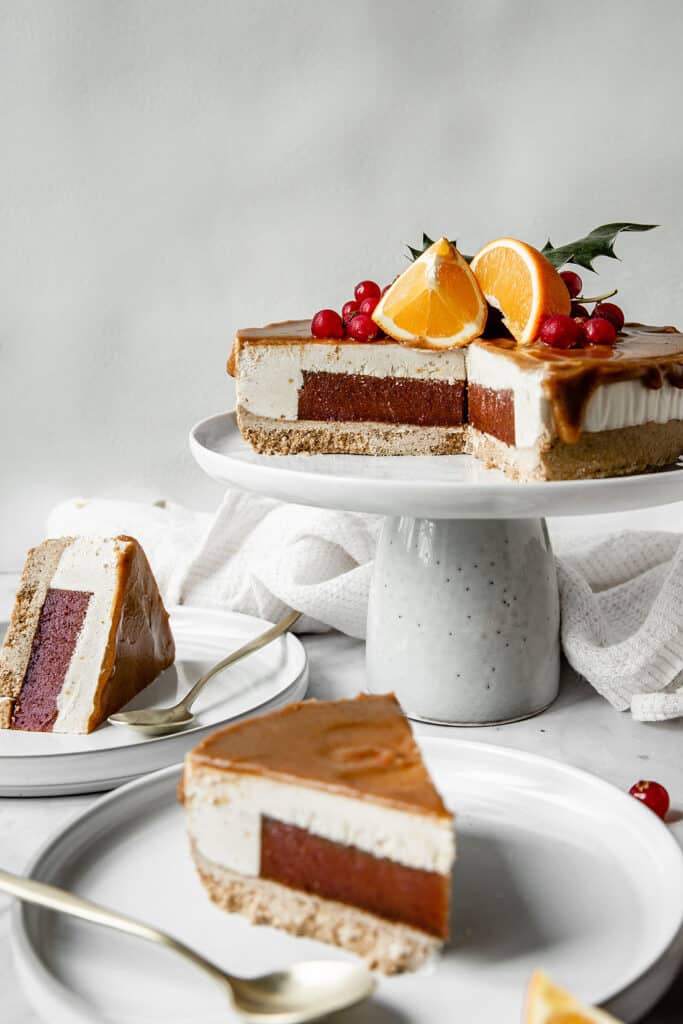
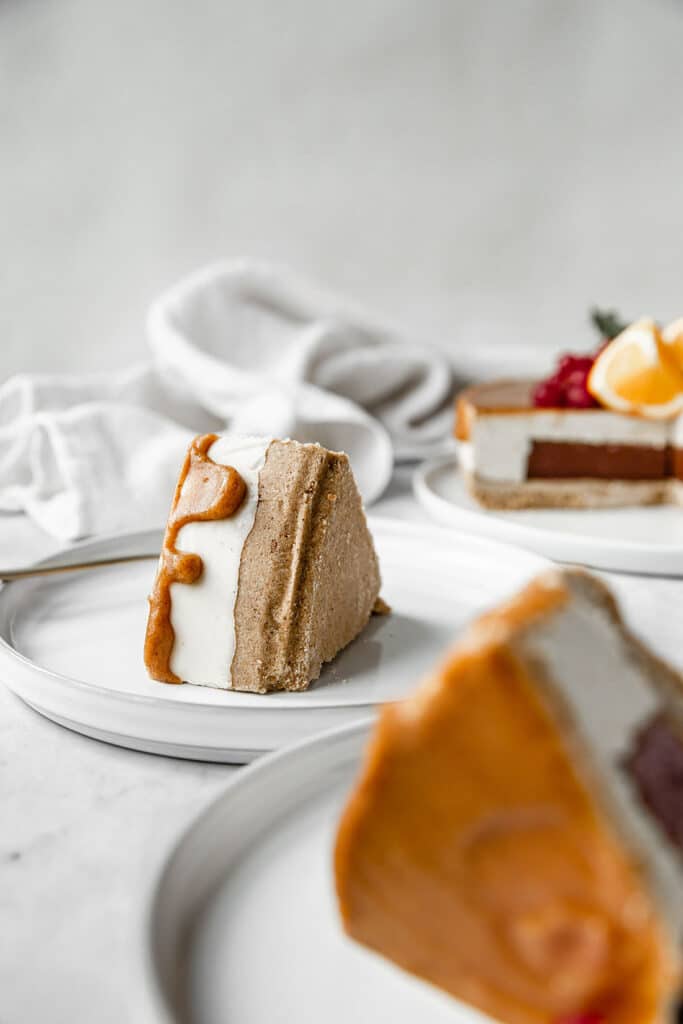
If you’re looking for a delicious and impressive dessert for your festive menu, this vegan gingerbread cranberry and orange cheesecake is made for you. It is composed of a homemade gingerbread cookie crust and a smooth cashew cream that hides a punchy cranberry and orange jelly. And the cherry on the cake, it is topped with an amazing caramel sauce, so sweet and thick you’ll never believe it is sugar free! All your favorite Christmas flavors are combined in this beautiful dessert that everybody will love.
If you’re looking for more festive deserts and treats, make sure to check these recipes
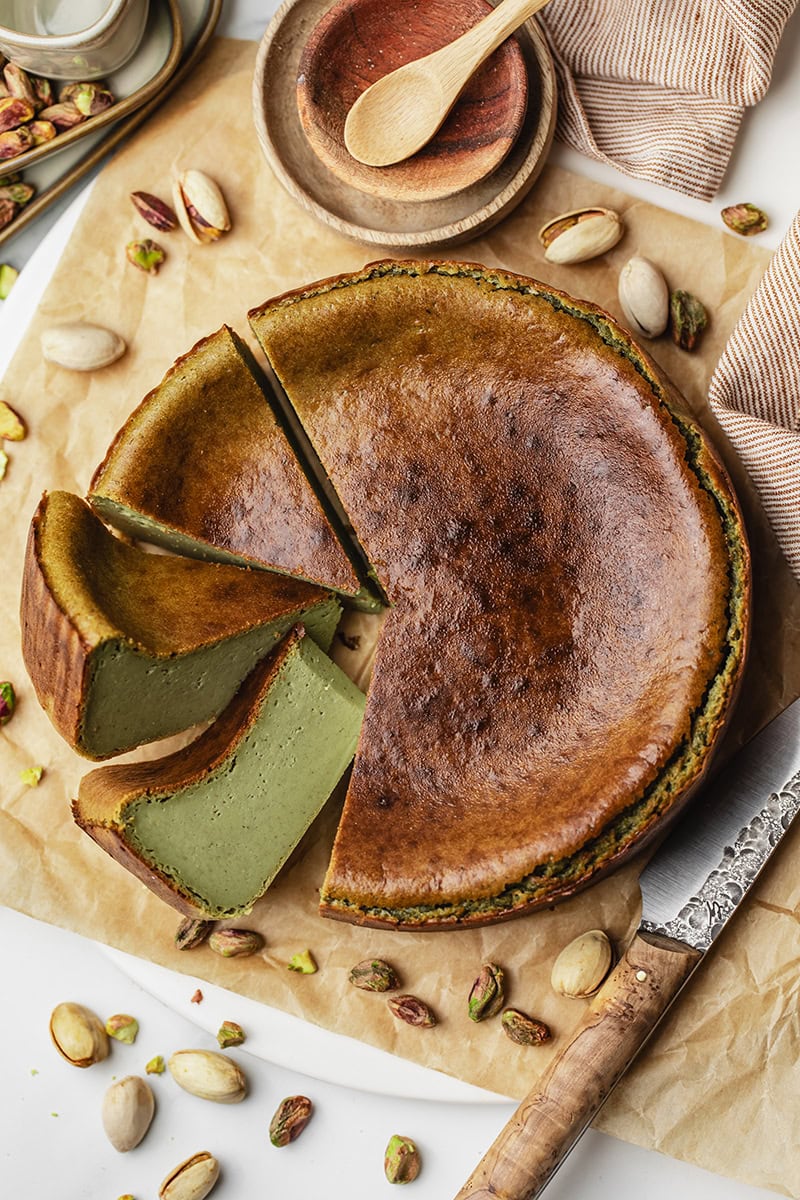
- Lemon and poppy seed raw cheesecake, a fresh and light desert
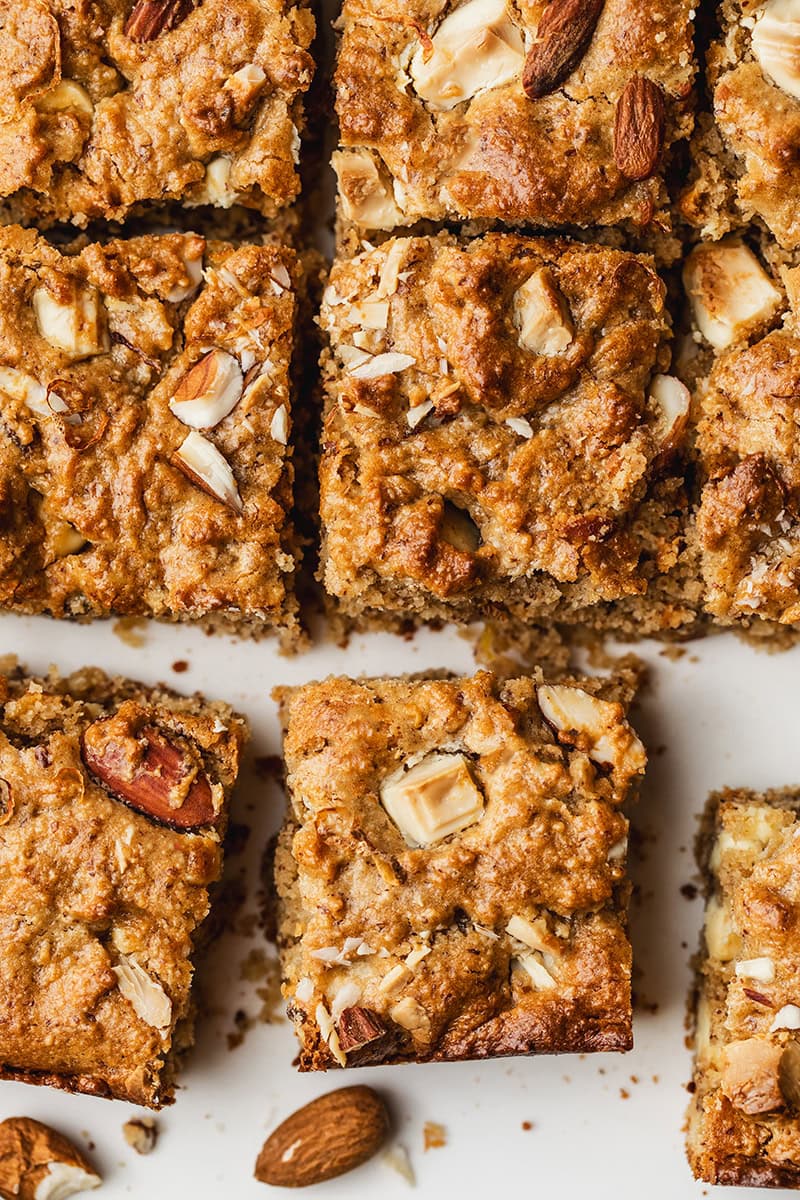
- Easy 5-ingredients almond cookies, super simple and quick to prepare
- Pineapple coconut Island sheet cake, packed with tropical flavors
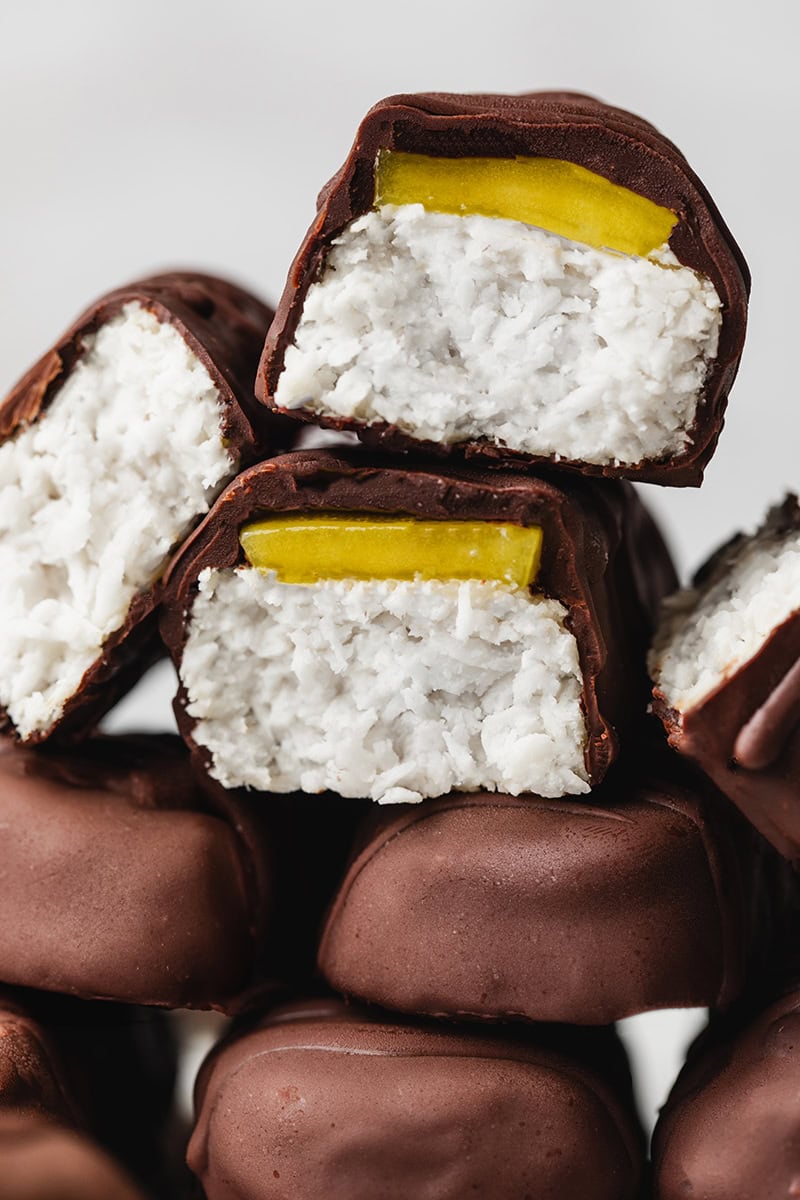
- Coconut and cookie dough raw square, for the sweet tooth
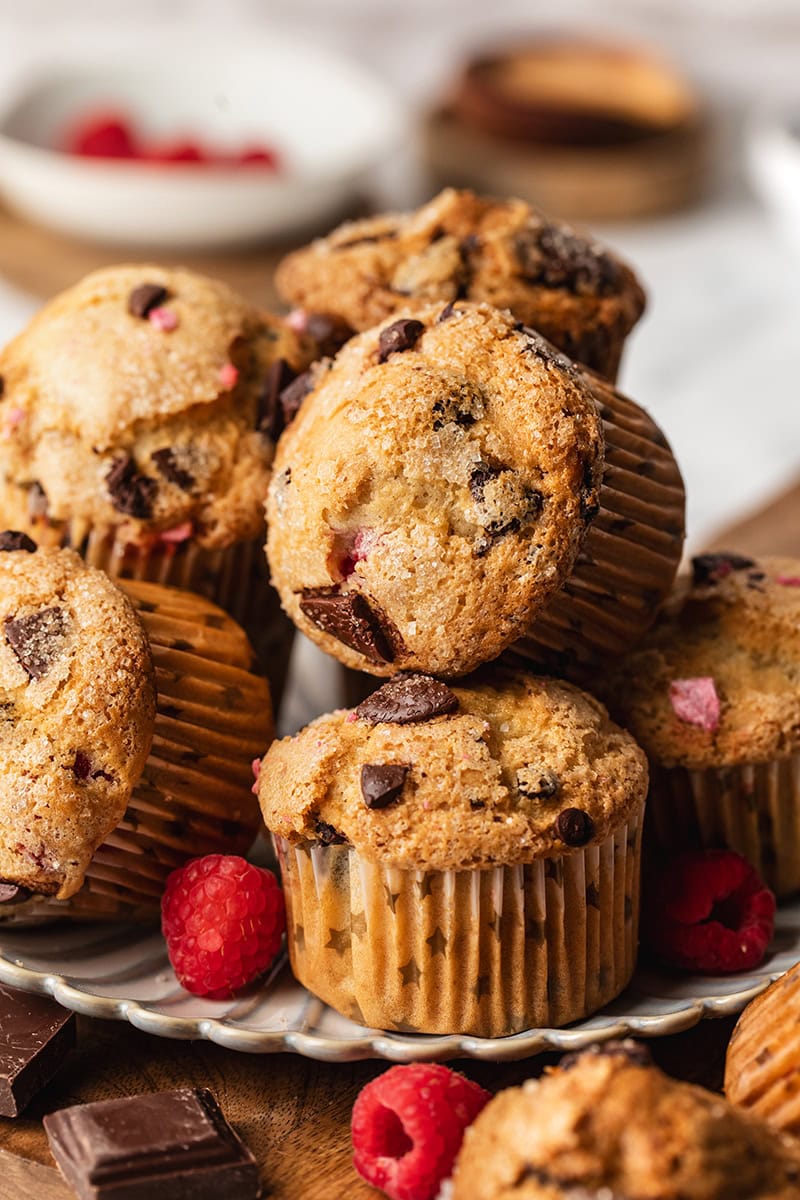
- Strawberry pistachio white chocolate bonbons, cause, well, chocolate
I love to see your creations! Don’t forget to tag me @alicepages on your photos on Instagram and give your feedback in the comments below if you make this recipe at home! Your opinion is my best reward.
PrintGingerbread cranberry cheesecake
This festive raw cheesecake is made of a gingerbread cookie crust and a soft and creamy cashew filling that hides a punchy orange and cranberry jelly.
- Total Time: 4 hours 30 minutes
- Yield: 6-8 servings
Ingredients
Orange cranberry jelly
- 1 + 1/4 cup freshly squeezed orange juice
- 1 cup dried cranberries
- 1 tbsp orange zest
- 2 tsp agar agar powder
Gingerbread cookies
- 1 tbsp ground flax seeds + 3 tbsp water
- 1/3 cup coconut oil, solid but soften
- 1/4 cup coconut sugar or brown sugar
- 1/4 cup maple syrup
- 2 tsp ground ginger
- 1 tsp ground cinnamon
- 1/4 tsp ground nutmeg
- 1/8 tsp ground clove
- A pinch of salt
- 1 cup brown rice flour
- 1/4 cup white rice flour
- 1/2 cup buckwheat flour
Cheesecake crust
- 1 batch of gingerbread cookies
- 1/4 cup coconut oil, soften
Cheesecake filling
- 1 + 1/3 cup dry cashews soaked in water
- 1 cup thick full fat coconut cream
- 1 tbsp maple syrup
- 1 tbsp coconut oil, melted
- 1 tsp vanilla extract
- A pinch of salt
Caramel sauce
- 5 pitted soft dates
- 1/4 cup unsweetened apple sauce
- 1/4 cup of water
- 2 tsp vanilla extract
- 1/4 tsp salt
Garnishes
- Orange supremes
- Gooseberries or fresh cranberries
Instructions
Orange cranberry jelly
- Mix the orange juice, dry cranberries and orange zest into a saucepan and bring to a boil. Then reduce to low medium heat and simmer for 5 minutes until the cranberries have absorbed some of the liquid and have soften.
- Transfer in a blender and mix until perfectly smooth.
- Return the mixture back into the saucepan and bring to a boil again. Dissolve the agar agar in a small mixing bowl with 2 tablespoon of water then add to the saucepan. Whisk to incorporate and continue to boil for 1 minute to activate the agar agar.
- Transfer the mixture in a lined mold of dimension slightly smaller than the one of your cheesecake, or on a lined deep tray, to form a 1,2 to 1,5-inch thick layer (for the final cheesecake assembly, you will have to cut a disc in the jelly to fit inside the cheesecake). Refrigerate for at least 1 hour to firm.
Gingerbread cookies
- Preheat the oven to 350F and line a baking tray with baking paper.
- Prepare the flax egg by mixing the ground flax seeds with water and let sit for 5 minutes to thicken.
- Meanwhile, beat the soft coconut oil vigorously to fluff up, by hand with a whisk or using a mixer. Then add the sugar, maple syrup, all the spices and the thickened flax egg, and mix until fluffy and creamy.
- Incorporate the flours and roughly stir with a wooden spoon. Then, continue to mix using your hands until you can shape a ball with the dough. The dough should be firm and sticky enough to hold its shape. If the dough is too crumbly/sticky, add a bit of maple/brown rice flour.
- Roll the dough between two large sheets of parchment paper to about 1/4 inches thick.
- Transfer to the baking tray and bake for 8 – 10 minutes until the edges of the cookie just start to darken. Then transfer on a cooling rack and allow to cool down for 10 minutes. The cookie will continue to dry and firm up.
Cheesecake crust
- Once the cookie has completely cooled down, break into large pieces and place in a food processor or a blender. Pulse to break the cookie pieces until you get a sandy texture.
- Then add the soften coconut oil and mix again to incorporate.
- Line the bottom of a 8-inch diameter springform or a round mold with baking paper. I highly recommend to use a springform with removable bottom to make it easier to unmold.
- Press the cheesecake crust firmly into the bottom of the mold to form an even and very compact layer. Place in freezer to firm up for 20 minutes.
Cheesecake cream
- Soak the cashews in water at room temperature for 6 hours or for 30 minutes in boiled water. Then rinse under running water and drain.
- Place the soaked cashews in a blender with the coconut cream, maple syrup, liquid coconut oil, vanilla and salt and mix on high speed until perfectly smooth and creamy.
Cheesecake assembly
- Remove the firmed orange cranberry jelly from the fridge and cut a disc with a diameter slightly smaller than the one of your cheesecake form. (The disc of jelly will be totally hidden inside the cheesecake).
- Remove the cheesecake springform from the freezer and place the disc of jelly over the harden crust, perfectly in the center.
- Pour all the cheesecake cream over to totally cover the jelly. Gently tap the edges of the springform to spread the cream and smooth the surface. Place in freezer to firm for at least 3 hours.
Caramel sauce
- Meanwhile, prepare the caramel sauce. Stone and roughly chop the dates. Make sure they are very soft (see notes).
- Place the dates with all the remaining ingredients in a blender and mix until perfectly smooth. If necessary and depending of the juiciness of the dates, adjust the quantity of water to get the desired texture: the sauce should be fluid enough to be drizzled but not too runny.
- Transfer in a jar and reserve in fridge.
Final assembly
- Once the cheesecake has completely firmed (the cream should be solid to the touch), carefully remove from the springform and place in a serving plate.
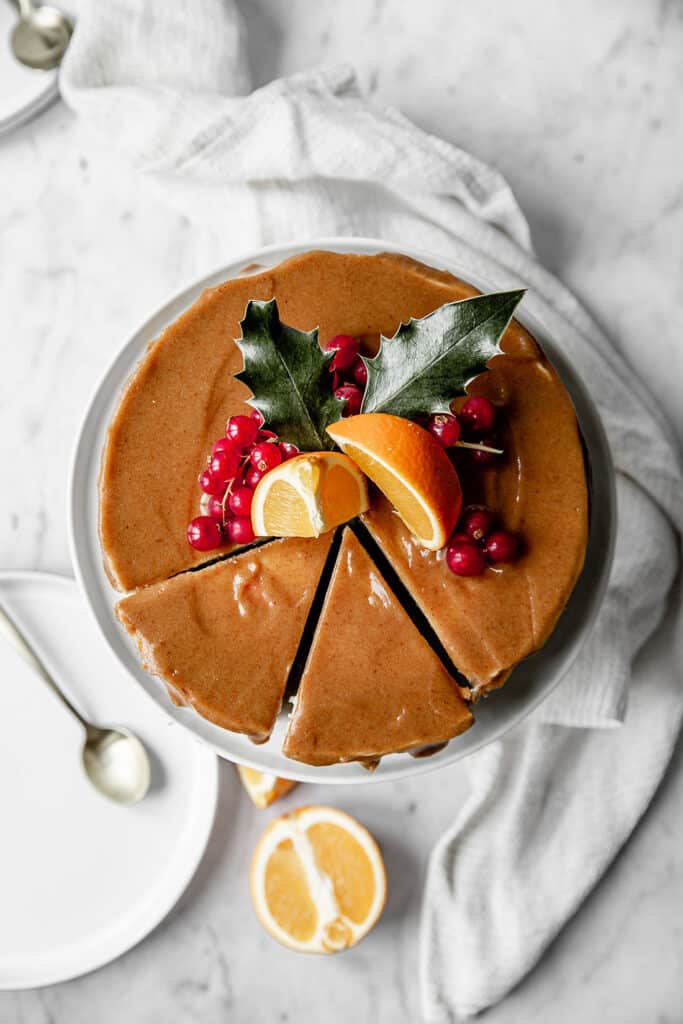
- Pour the caramel sauce over the cheesecake to completely cover the top and gently smooth the surface using a spatula.
- Decorate the cheesecake with supremes of orange, gooseberries or fresh cranberries.
- Allow the cheesecake to defrost at room temperature 10 minutes before serving.
Notes
- I recommend using medjool variety for the dates, which is very soft, juicy and sweet. If you can’t find medjool dates or if they are too dry, soak the dates in warm water for 15 minutes to soften before using.
- The caramel sauce can be stored in fridge in a clean glass jar or airtight container for up to 3 days. Whisk before using and add a splash of water if necessary.
- Prep Time: 4 hours
- Cook Time: 30 minutes
- Category: desserts
Recette version française
PrintCheesecake cranberry gingerbread
Ce cheesecake cru festif se compose d’une base gourmande façon pain d’épices et d’un crémeux aux noix de cajou qui renferme une savoureuse gelée aux cranberry et à l’orange.
- Total Time: 4 heures 30 minutes
- Yield: 6 – 8 parts
Ingredients
Gelée orange cranberry
- 310 ml de jus d’orange fraichement pressé
- 140 g de cranberries séchées
- 1 cache de zest d’orange
- 6 g d’agar-agar en poudre
Biscuit pain d’épices
- 10 g de graines de lin moulues + 4 càs d’eau
- 45 g d’huile de coco ramollie
- 30 g de sucre de coco ou sucre de canne
- 60 ml de sirop d’érable
- 2 càc de gingembre en poudre
- 1 càc de cannelle en poudre
- 1/4 càc de muscade en poudre
- 1/8 càc de clou de girofle en poudre
- 1 pincée de sel
- 100 g de farine de riz complet
- 35 g de farine de riz blanc
- 55 g de farine de sarrasin
Croûte du cheesecake
- 1 fournée de biscuit pain d’épices
- 60 g d’huile de coco ramollie
Appareil à cheesecake
- 180 g de noix de cajou crues préalablement trempées dans l’eau
- 200 g de crème de coco épaisse, non allégée
- 25 g de sirop d’érable
- 20 g d’huile de coco fondue
- 1 càc d’extrait de vanille
- 1 pincée de sel
Nappage au caramel
- 5 dattes tendres dénoyautées
- 70 g de compote de pomme sans sucre
- 60 ml d’eau tiède
- 2 càc d’extrait de vanille
- 1 pincée de sel
Décoration
- Suprêmes d’orange
- Cranberries ou groseilles fraiches
Instructions
Gelée orange cranberry
- Mélanger le jus d’orange, les cranberries séchées et le zest d’orange dans une casserole et porter à ébullition. Puis réduire à feu moyen et laisser mijoter pendant 5 minutes, jusqu’à ce que les cranberries se soient imbibées de jus et soient bien tendres.
- Transférer dans un blender et mixer jusqu’à obtenir une sauce parfaitement lisse.
- Verser la préparation dans la casserole et porter de nouveaux à ébullition. Dans un petit bol à part, délayer l’agar-agar dans 2 cuillères à soupe d’eau. Puis l’ajouter dans la casserole, remuer à l’aide d’un fouet pour l’incorporer au mélange et faire bouillir pendant 1 minute afin d’activer l’agar-agar.
- Puis verser la préparation dans un moule ou une plaque profonde chemisé de film étirable et de dimensions légèrement plus petites que celles du cheesecake, de façon à former une couche d’épaisseur 3 à 4 centimètres. (Pour l’assemblage final, il faudra pouvoir découper un disque de diamètre inférieur à celui du cheesecake). Placer au réfrigérateur pour 1 heure.
Biscuit pain d’épices
- Préchauffer le four à 180°C et chemiser une plaque de cuisson de papier sulfurisé.
- Dans un petit bol, mélanger les graines de lin moulues et l’eau et laisser le mélange épaissir pendant 5 minutes.
- Pendant ce temps, fouetter vigoureusement l’huile de coco ramollie, à la main ou à l’aide d’un batteur. Puis ajouter le sucre, le sirop d’érable, les épices et la préparation de lin épaissie et fouetter jusqu’à obtenir une préparation crémeuse.
- A l’aide d’une spatule en bois, incorporer les différentes farines. Puis continuer à mélanger à la main jusqu’à obtenir une boule de pâte bien lisse et homogène. La pâte doit être suffisamment ferme et humide pour être modelée. Si la pâte est trop sèche et s’effrite, ajouter un peu de sirop d’érable. Si au contraire elle est trop collante, ajouter un peu de farine de riz complet.
- Aplatir la boule de pâte entre deux feuilles de papier sulfurisé à l’aide d’un rouleau à patisserie en une couche de 5 mm d’épaisseur.
- Enfourner pour 8 à 10 minutes jusqu’à ce que les bords du biscuit commencent à brunir. Puis transférer sur une grille et laisser refroidir complètement. Le biscuit va continuer à sécher et à durcir.
Croûte du cheesecake
- Une fois que le biscuit a totalement refroidi, briser la plaque en morceaux et les placer dans le bol d’un mixer ou d’un blender. Mixer jusqu’à obtenir un mélange sablonneux.
- Puis ajouter l’huile de coco ramollie et mixer brièvement afin de l’incorporer dans le mélange.
- Chemiser de papier cuisson le fond d’un moule rond de diamètre environ 20 centimètres. Pour plus de facilité de démoulage, il est fortement conseillé d’utiliser un moule à manqué avec fond amovible.
- Répartir le mélange de biscuit pain d’épices dans le moule et presser fermement afin de former une couche uniforme bien compacte. Placer au congélateur pendant 20 minutes afin que la croûte durcisse.
Appareil à cheesecake
- Faire préalablement tremper les noix de cajou pendant 6 heures dans de l’eau à température ambiante ou pendant 30 minutes dans de l’eau bouillante. Puis rincer abondamment et égoutter.
- Placer les noix de cajou trempée dans un blender avec la crème de coco, le sirop d’érable, l’huile de coco liquide, la vanille et le sel et mixer jusqu’à obtenir une crème parfaitement onctueuse.
Assemblage du cheesecake
- Une fois qu’elle s’est raffermie, sortir la gelée de cranberry orange du réfrigérateur et découper un disque de diamètre légèrement inférieur à celui du cheesecake. (Le disque de gelée doit être caché au centre du cheesecake).
- Une fois la croûte durcie, retirer le moule à cheesecake du congélateur et placer le disque de gelée au dessus de la croûte, bien au centre.
- Verser la totalité de l’appareil à cheesecake au dessus de façon à totalement recouvrir la gelée. Tapoter légèrement les bords du moule afin de bien répartir la crème et de lisser la surface.
- Placer au congélateur pour environ 3 heures, jusqu’à ce que le crème ait totalement durcie.
Nappage au caramel
- Pendant ce temps, préparer le nappage au caramel. Dénoyauter et hacher grossièrement les dattes. Assurez-vous qu’elles soient bien tendres (voir les Notes pour plus de détails).
- Placer les dattes et le reste des ingrédients dans un blender et mixer jusqu’à obtenir un mélange parfaitement lisse. Si besoin ajouter un peu d’eau afin d’obtenir la bonne texture: la sauce doit être suffisamment fluide pour être versée mais tout de même assez onctueuse. Réserver au frais.
Assemblage final
- Une fois que le cheesecake a complètement pris (la crème de cajou doit être solide au toucher), démouler avec précaution et placer dans un plat à service.
- Verser le nappage au caramel au dessus de façon à complètement le recouvrir et lisser la surface à l’aide d’une spatule.
- Décorer le cheesecake de suprêmes d’orange et de cranberries ou groseilles fraiches.
- Sortir le cheesecake 10 minutes à température ambiante avant de servir.
Notes
- Je recommande d’utiliser des dattes de variété medjool qui sont les plus juteuses et sucrées. A défaut ou si vos dattes sont très sèches, les faire préalablement tremper dans de l’eau chaude pendant 15 minutes pour les attendrir.
- Le nappage caramel peut être conservé au réfrigérateur pendant environ 3 jours dans un bocal hermétique. Si besoin, ajouter un peu d’eau et remuer avant utilisation afin de la fluidifier.
- Prep Time: 4 heures
- Cook Time: 30 minutes
- Category: desserts


Wow! Je suis absolument abasourdie par la qualité de tes photos. Ton cheesecake a l’air absolument sublime <3
Oh merci infiniment, ça me fait super plaisir 🙂
Hi! I dont have brown rice flour, how can I replace it? I want to try this cheesecake so much! 🙂
Hi Martyna! You can replace the brown rice flour with white rice flour or oat flour (ground oats), or even all purpose flour if you’re not gluten intolerant. However make sure to slightly adjust the quantity of wet ingredients to get the right consistency. I’m sure you’ll love it 😉
Thank u! 🙂