

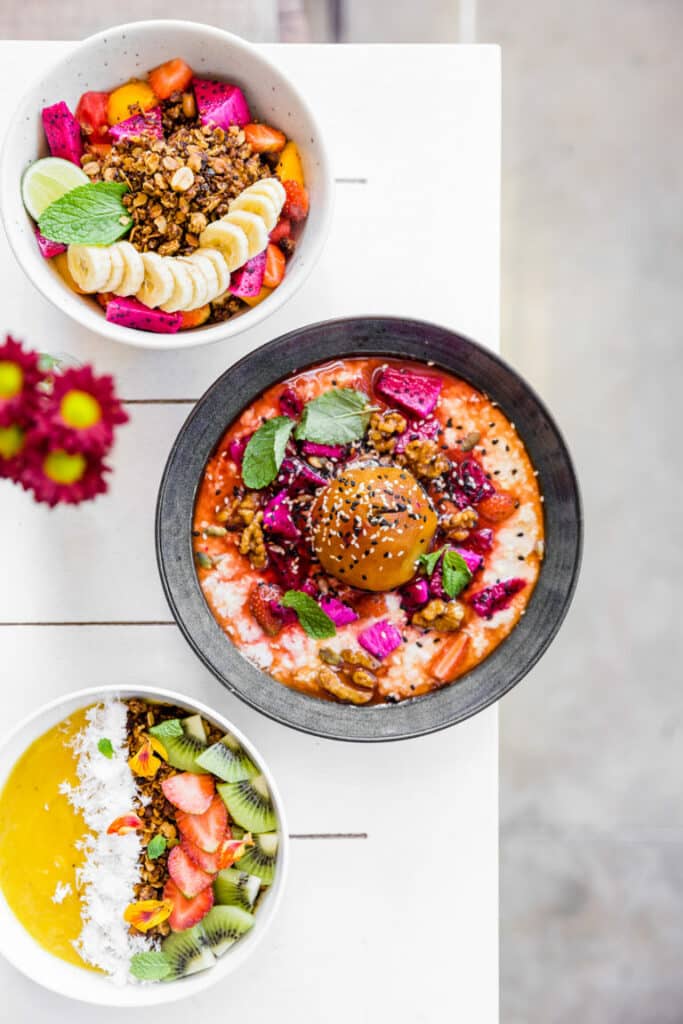
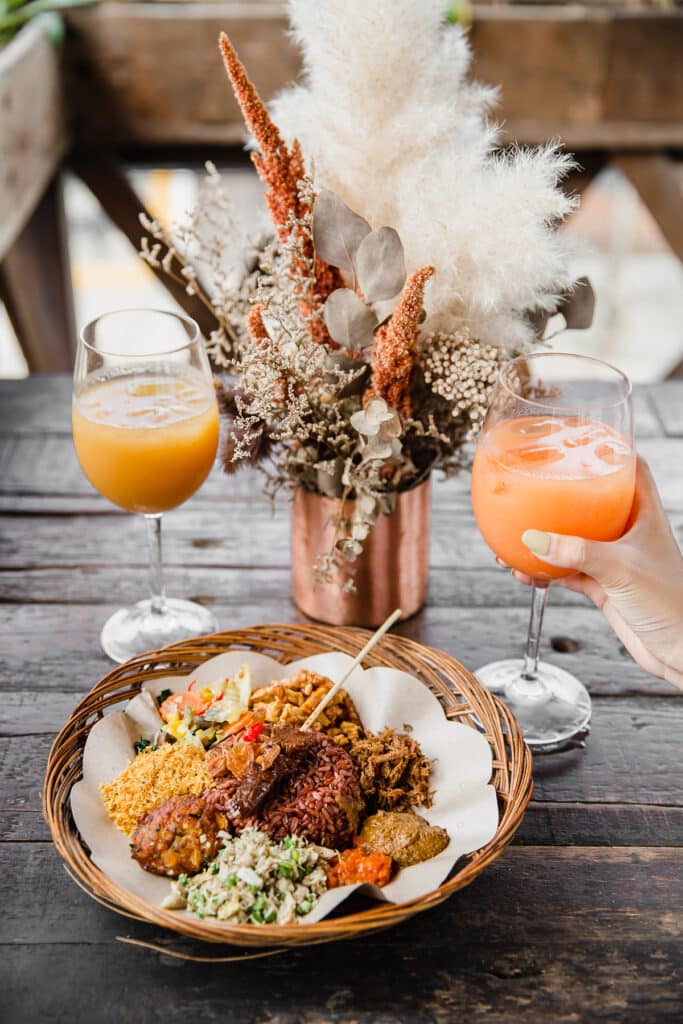
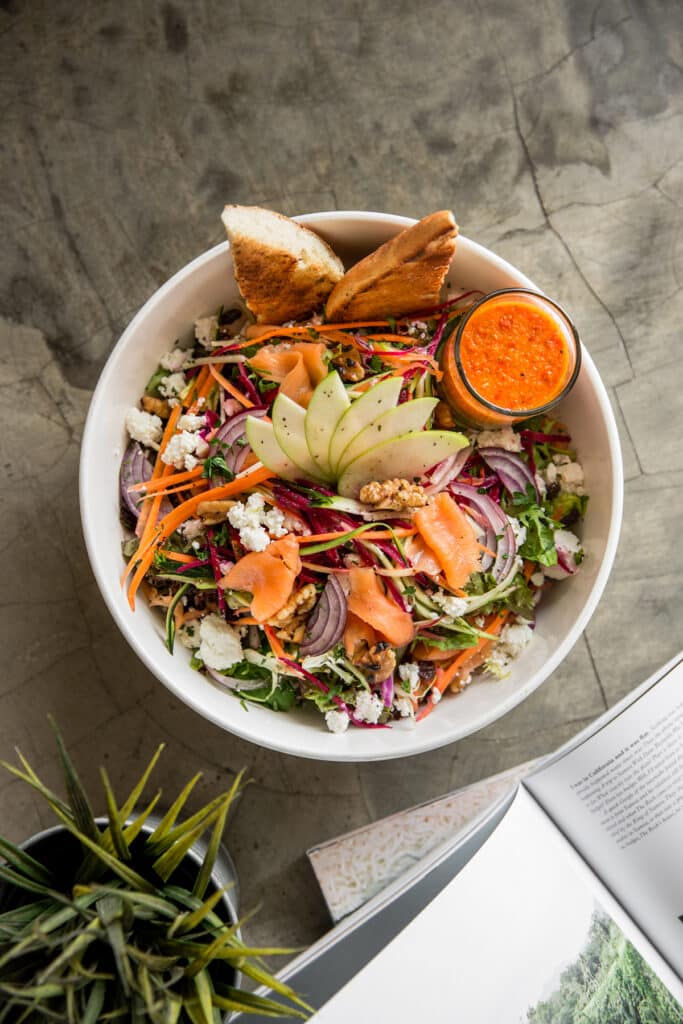
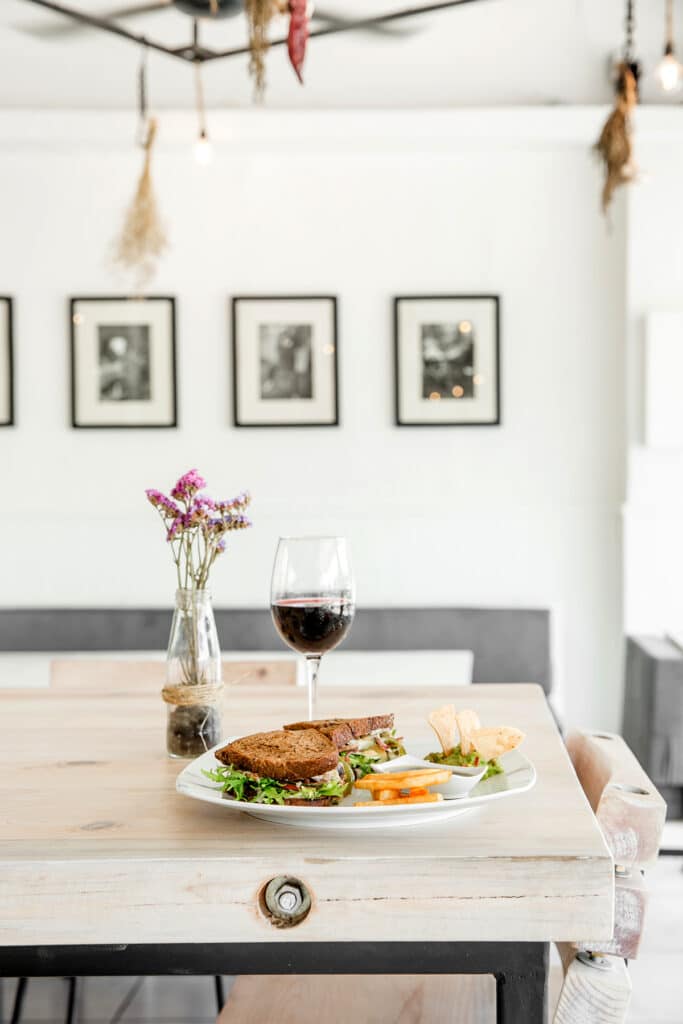
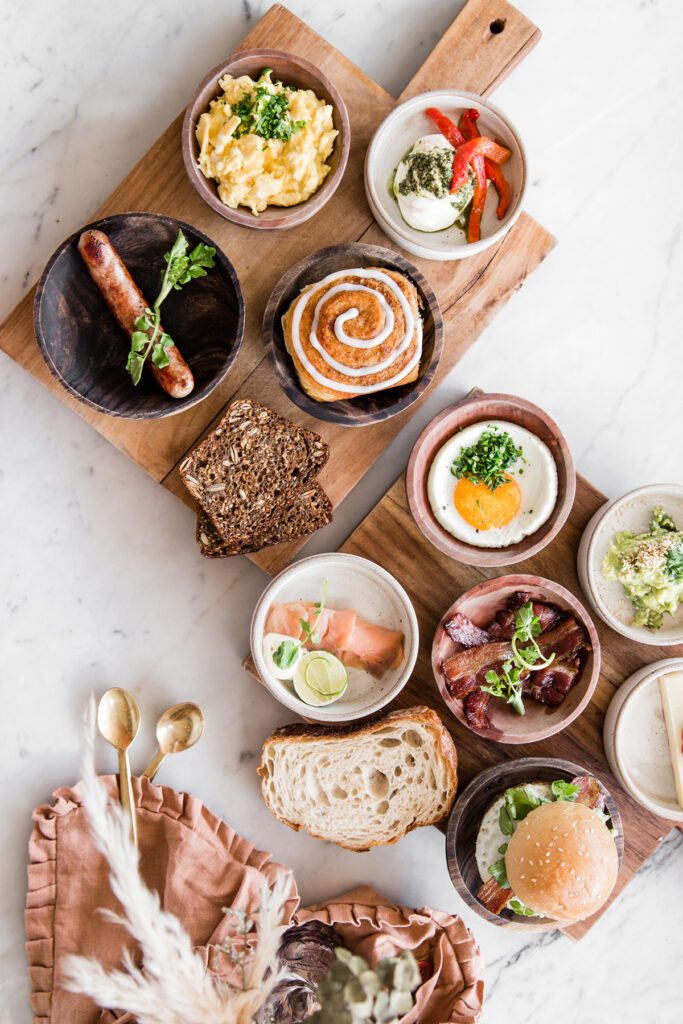
This is a topic you have been asking me a lot on Instagram : how can I start shooting for restaurants ? I know many of you dream to do the same but don’t really know where to start. Here I’m sharing with you 5 useful steps to reach your dream restaurants and get the most of it.
1. Get the right equipment
Sounds obvious, but first thing before you start to reach restaurants is to make sure you are equipped for that. When I say equipped, I don’t mean to get the heavy super expensive professional stuff. To be honest, my gear is very light when I shoot in a restaurant : my camera, one or two lenses, and that’s all. I mean getting a decent camera and a lens, DSLR is better but you can absolutely start with a compact or a bridge.
When shooting in restaurant, it is very important to be flexible, adaptative and reactive. You will have to deal with various situations, a light you’re not familiar with, limited equipment, client specifications … So I really recommend to go for a lens which is also adaptative. A zoom lens with a focal length ranging from 24 to 100 mm is great to face every situation. If you prefer prime lenses, it’s totally fine too, but you’ll probably have to switch constantly. Some reflectors and diffusers can also be a good idea to arrange the light.
For more details about the gear I’m using daily for food photography, read my camera bag post. You’ll find lots of useful references and recommendations, whether you’re a beginner or an advanced.
Whatever you choose, I strongly recommend to be comfortable with your equipment before starting to shoot. Make sure that you know how to use it and are familiar with the basic settings : you’ll save a lot of time and look way more professional.
2. Build a portfolio
This is one of the most important thing. The more you’re able to show your work, the more people will trust you and want YOU for their restaurant. OKAY, I can ear you : but how can I build a portfolio if I’ve never worked in a restaurant? There are different situations :
- You have already shooted in a couple of restaurants : then you do have some content to show up. You can create a website to beautifully showcase your work. Plus it’s very handy to link in your pitching emails and accessible from everywhere. OR, you can print some of your best clichés for a very impressive effect.
- You have never shooted in a restaurant but you have background as commercial food photographer / blogger / or any other kind of photography. Create a portfolio anyway with what you have. Then you’ll have opportunities to round off with your fresh restaurant work.
- You have never shooted in a restaurant and have ZERO background in photography. Hey, we all have to start somewhere! What I recommend is to start training at home, shooting some dished you’ve made, trying to recreate a “restaurant atmosphere”. It will give you nice content.
But in the two last cases, my biggest advice is to ask some locals restaurants, preferably small businesses with a strong identity, to shoot for free. You simply ask them to come and take some pictures of their food during a calm moment of the day, just to train. They will be happy to have you and get some free content, and you’ll often go back home with the food hehe.
3. Reach people – and think big
Now that you’re equipped and have a portfolio, it’s time to reach some clients! Actually, this tip is not really one, there is NO secret : if you want to get clients, you have to reach for them. Except is you’re pretty famous and known for your incredible work they won’t come to you and say : “We absolutely need you!” So be prepared to send (and resend) tons of emails, be active on social media and go for a visit.
The easiest way to contact restaurants is to send a pitching email. No need for an endless speech, something short and efficient is great, but it has to be perfectly curated, clear and still natural and personal. You can start by introducing yourself and tell how you’ve heard about them or a fun fact related to the place, or anything personal. Follow up by explaining clearly what you’re doing, what you can propose, how you could help them. Link your portfolio and other useful ressources, and wait for their answer 🙂
Sometimes, you’ll never get answer. Actually, it depends a lot of the country you’re working in. Some countries work only by emails while others are all about Instagram or facebook … try to identify what works the best and go 100% in it. Also going directly to the place can be a good idea if you don’t have answer from your email. It will show your motivation. And even if you won’t always be able to meet the manager, you can always go back with an answer or a business card to contact.
4. Get paid
This is the tricky part : should I be paid? And how much should I rate? It depends of your experience and what you’re looking for. If we go back to point 2, you’re a novice and want to build a portfolio, then shooting for free is a fair solution. But if you already have some experience and want to become serious about it, hell YES you have to be paid! If you want to be a professional, think like a professional and act that way. Every work desserves its due and restaurant photography takes a lot of time and energy (think about the preparation, the shooting and all the editing). So be clear with your client and explain that you’re working for money and give your rates.
About the rates, again it depends of many factors including : your experience, the content of the photo shoot, who you’re working with, the country you’re working, your social statut and much more. What I recommend if you’re new in is to first set a price that sounds fair to you and then target a little higher. That way you can keep room for potential negotiations. But the more you work, the easier it will be for you to find your rates and stick to it. Whatever, never do this mistake of underestimating your work! You’re doing an amazing job and there are a lot of people out there waiting for your magic!
5. Prepare your photo shoot
This last tip is also my favorite part of the job! Preparing your photo shoot is SO important for 3 main reasons : you’ll save a huge amont of time during the photo shoot, you’ll look way more professional, and you’ll minimise unexpected events and negative stress. Preparing your photo shoot shouldn’t take hours and hours, but just a little time to make sure you’re totally clear with what you want, and in line with your client.
My usual ways to prepare my photo shoots are :
- Discuss with my client days before the photo shoot. Clarifying what they are looking for, what kind of photos they need : food, interior, lifestyle? What mood? What kind of plates they are going to prepare?
- If possible, visit the place before. Just going for a little visit to check the place, the decoration, the layout, the light and start to identify nice spots to shoot. If you can’t visit before, ask them for some pictures of the location.
- Sketch my photo shoot. This might sound a little “too much”, but I can’t tell how much it helped me! I nearly always sketch my photo shoot before. On a paper, I simply draw a couple of compositions and images that would be interesting and that I would love to try. You’ll be more efficient and avoid this “I don’t know what to do” situation.


0 Comments