Let’s talk about sugar! Did you know that sugar is the most addictive substance on earth? I mean, more than any drug, tobacco, alcohol and so on? Actually sugar is definitely a drug and you can become totally addict to sugar and struggle to quit. Well, not surprising that we all want this second piece of cake even after we have finished the first one, or that we cannot resist the call of this candy bar lying onto the table. Manufacturers have clearly understood this strong dependance and voluntary put lot of sugar, more than even necessary, in your favorite treats to make you come back again and again… and you would be surprised to see how easy and quick it is to fall into this sugar dependance. OK, that’s not a very funny way to start this post that actually will end with a delicious cereals recipe, but I thought it was important to make you realize that sugar is a real danger and the number one killer in the USA, far above car accident and criminality, and you might agree this cannot continue. So I would like to speak about my relation with sugar and why make sugar detoxes time to time, and how it can help you feeling good and energize! It won’t be about restriction and frustration, but about challenging yourself in a nice and happy way that will make you want to extend your 7 days challenge to 2 weeks then whole life!
To begin with, I had never be a sugar lover, actually I even didn’t like sugar at all when I was young. My mother accustomed my sister and I to eat very low sugar, but nutritious unprocessed whole food. At home, there was never candies, treats, chocolate bars, industrial cookies, except for events like birthdays. Instead, she gave us for snack nuts and seeds mix with raisins or dry fruits, rye bread with chocolate paste or fresh fruits. And I was pretty happy with that. I was more like a savory person, eating garlic croutons for 4pm snack, always declining dessert and removing the custard cream from the mille-feuilles. And that lasted for a long time, maybe until 4 years ago. At this moment, I totally didn’t care about food and cooking, and along with my student situation, I started introducing sugar in my diet, but occasionally. I mean, I wasn’t totally disgusting by sugar anymore but that didn’t mean that I would have rushed on a piece of cake. Then, with my interest for cooking growing, I started to bake and make my own recipes, but always using non refined sweetness like maple, agave, date and in low quantity. I always cut at least by two the sugar quantity in the recipes! I loved this little sweet taste and it was far sufficient for me.
One year ago, I made a radical sport diet, totally cutting sugar for about 4 months. I didn’t eat anything industrial or even bought, and at this moment I didn’t carve sugar. After this diet, while I slowly came back to a regular diet, I realized how my taste has adapted to low sugar; my taste buds have been kind of reset. I was happy with very low sugar amont and it was nearly impossible for me to eat an industrial cake because I felt nauseous after after the second bite! That what a pretty good habit and I didn’t want to change it anymore. But obviously, we all have different periods, ups and downs, moments when we are more tempted to eat sugar, and it was my cas lately when I decided to relax my all-the-time control on food. I started to eat more sugar than usually and step by step I became used with it until I was able to finish this industrial cake that disgusted me a couple of months ago. This is where sugar detox happens!
For me, sugar detox is not a diet. The aim is not to deprive yourself of all your favorite foods or to stop you from going to the restaurant with your friends, no, it’s more about becoming aware of what you put into your body, the incredible amount of refined sugar hidden in the industrial food you buy, and to reset your taste buds. Basically, the more sugar you eat, the more you need for your body to feel satisfied and kick that craving. So by reducing your sugar consumption, you will accustom your body to moderate level of sugar and make all these cravings and snacking disappear! Ultimately, this sugar detox is designed to help build long lasting, sustainable healthy habits and feel good and glow.
I used to make sugar detox several times in the year, when I feel my body and mind need it, or for instance after excess periods like holidays to reset the levels, and I always feel far better after, recharged, re-energized, and better able to avoid sweeteners during times I’m not following the detox guidelines. If you feel like this is for you, but you are a little bit scared about it, just try 3 or 4 days and you’ll already feel the benefits. Then, make yourself a little challenge and go for 3 days more, one week, then two! The guidelines during sugar detox is to avoid sugar, obviously refined sugars which are the worst, but also unrefined sugar like maple, agave, coconut nectar, date syrup … even if they are better forms of sugar they still are sugar and play the same role in your sugar taste and habits, and are often unnecessary enhancements to foods. Try it! I also recommend to avoid or limit the consumption of dry fruits. But then, you are totally free to eat all the vegetables grains you want and you’ll see that it doesn’t mean flavorless food! On the contrary, you’ll be forced to find some smart alternatives, the occasion to experiment with new recipes and amazing discoveries!
To help you through your sugar detox journey and after, below is a list of refined sugar and natural sweeteners and how you can use them. The main difference between refined and unrefined sugar is their nutritional value. Because it is extremely processed, refined sugar doesn’t have any nutritional value and can possibly containing harmful chemicals. On the opposite, unrefined, natural sugar retains much more of sugar’s natural nutrients, such as calcium, iron and magnesium, have a lower glycemic index and thus is more interesting from a nutritional point of view.
– Maple syrup: is one of the most popular unrefined sweetener and also one of the most versatile. Can be used in preparations like cakes, cookies, granola, crumble, to sweeten hot drinks, in smoothies, or simply to drizzle over pancakes or yogurt. Can also be used in savory cuisine, to make sweet and savory preparations, like caramelized carrots, or sweet peanut sauce.
– Agave syrup: like maple syrup, can be used in many ways, in cakes, pancakes, cookies, fruit salads, savory sauces … and particularly for cold drinks like iced tea, juices or cocktails as it dissolves easily in cold water.
– Coconut nectar: comes from the sweet sap that is produced from coconut blossom. It looks like maple syrup but thicker and with a sweet mineral dense flavor (doesn’t taste like coconut).
– Yacon syrup: Yacon root syrup is one of the lowest glycemic sweeteners and is comparable to coconut nectar in taste. It is a dark brown syrup with a rich flavor that is often described as a combination of caramel and molasses.
– Molasse: it is a pure sweetener made from sugarcane juice. It is very thick and with a strong specific flavor. Works well in baked goods for softer cookies and crustier bread, as a topping for pancakes just like maple.
– Coconut sugar: it’s a natural sugar made from coconut palm sap. Similar to brown cane sugar in texture, it has the same utilization. Because of its earthy flavor, works very well in chocolate making, to sweeten hot drinks like tea or coffee, in cakes or even in savory recipes for caramelized veggies.
– Medjool date: the best and juiciest variety of dates. Medjool dates are basically less dry than the other varieties, like deglet, and even if significantly more expensive, it really worth it! Can be eaten as a snack, stuffed with tahini, or blended into a paste to be used in smoothies, cookies, granola, energy balls or any raw dough.
– Dry fruits: raisins, cranberries, dry apricots, figs, mango, pineapple… are really good and delicious option for a snack or as a topping in a breakfast bowl. However, be careful of the composition of the dry fruits you buy: they often involved oil and added sugar!
– Fruit purées: made of very ripe fruits like simply mashed banana or by slow cooked fruits like apple sauce. Can be used in cakes as wet and binding ingredient (think banana bread), in granola to create big chunks, in smoothies or simply as it is.
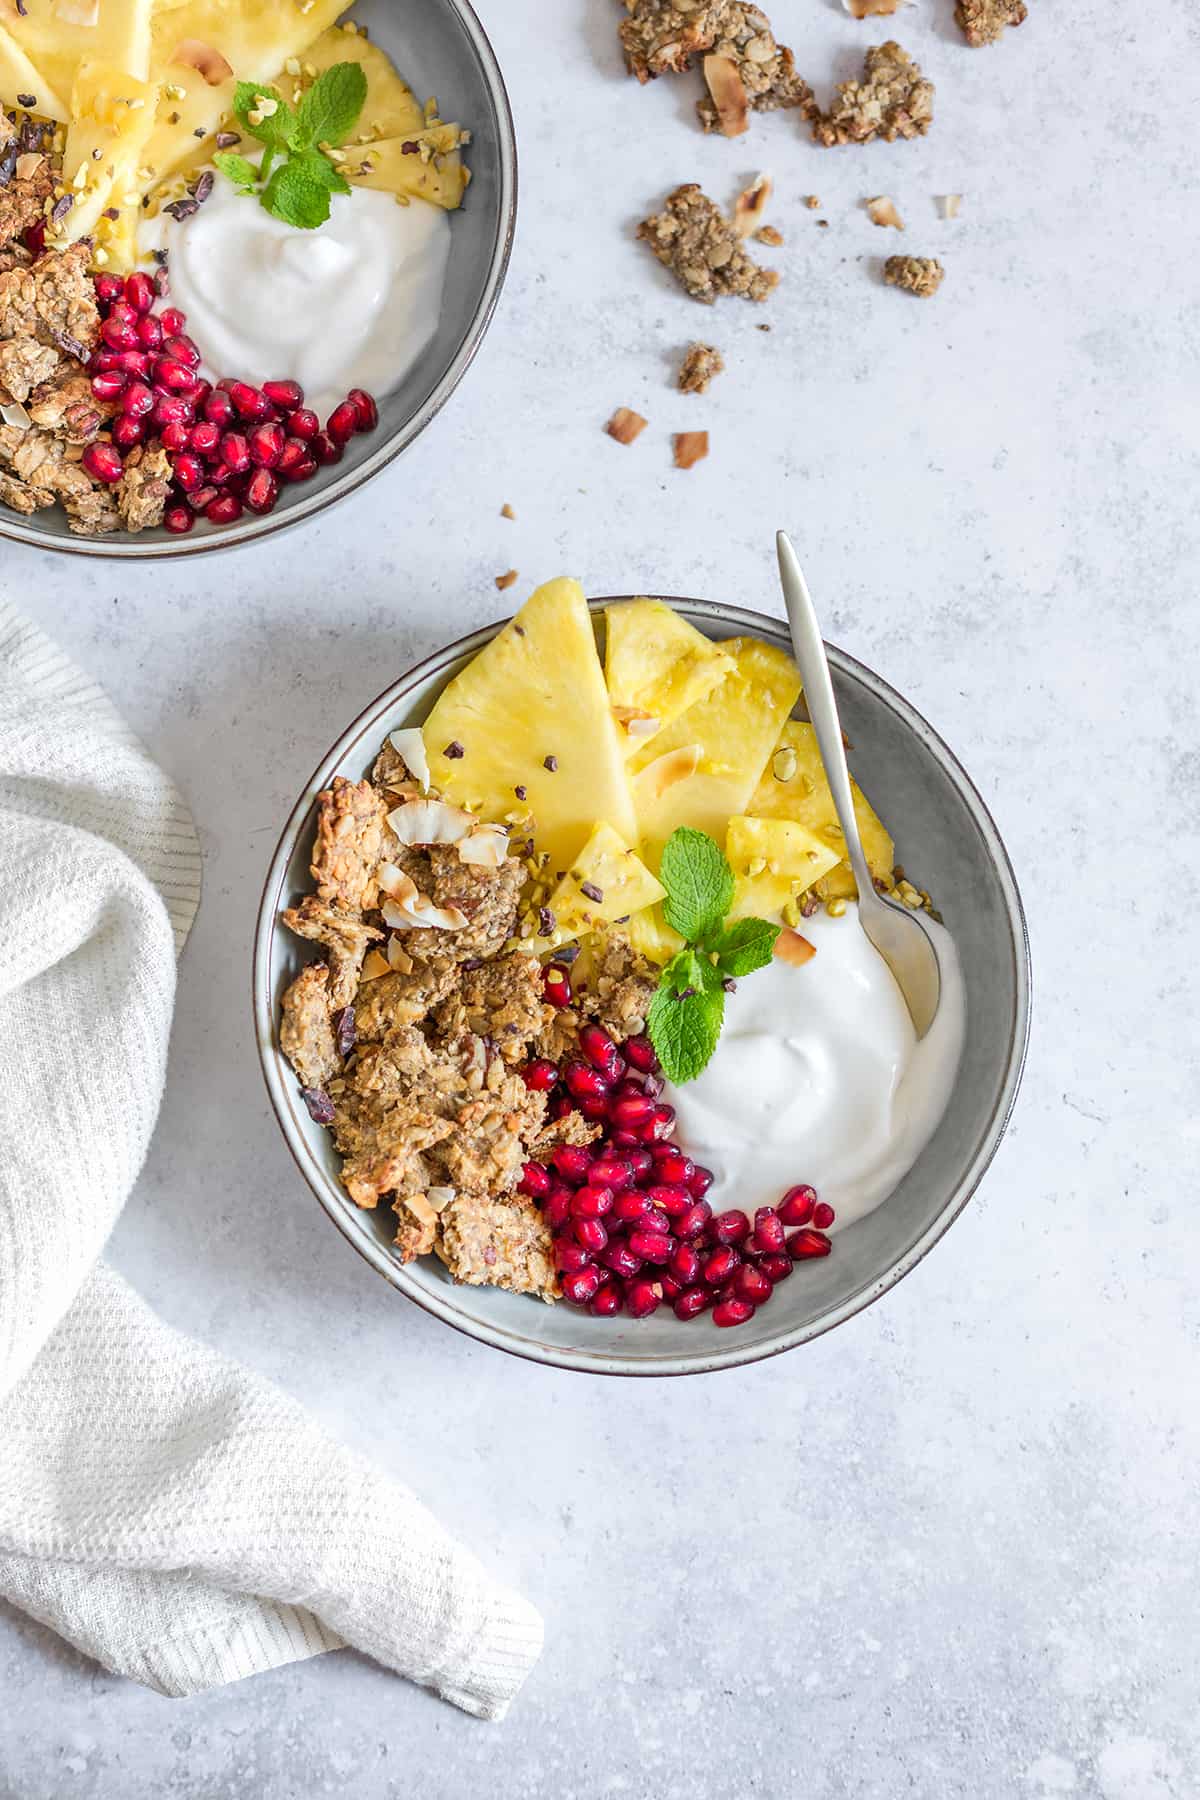
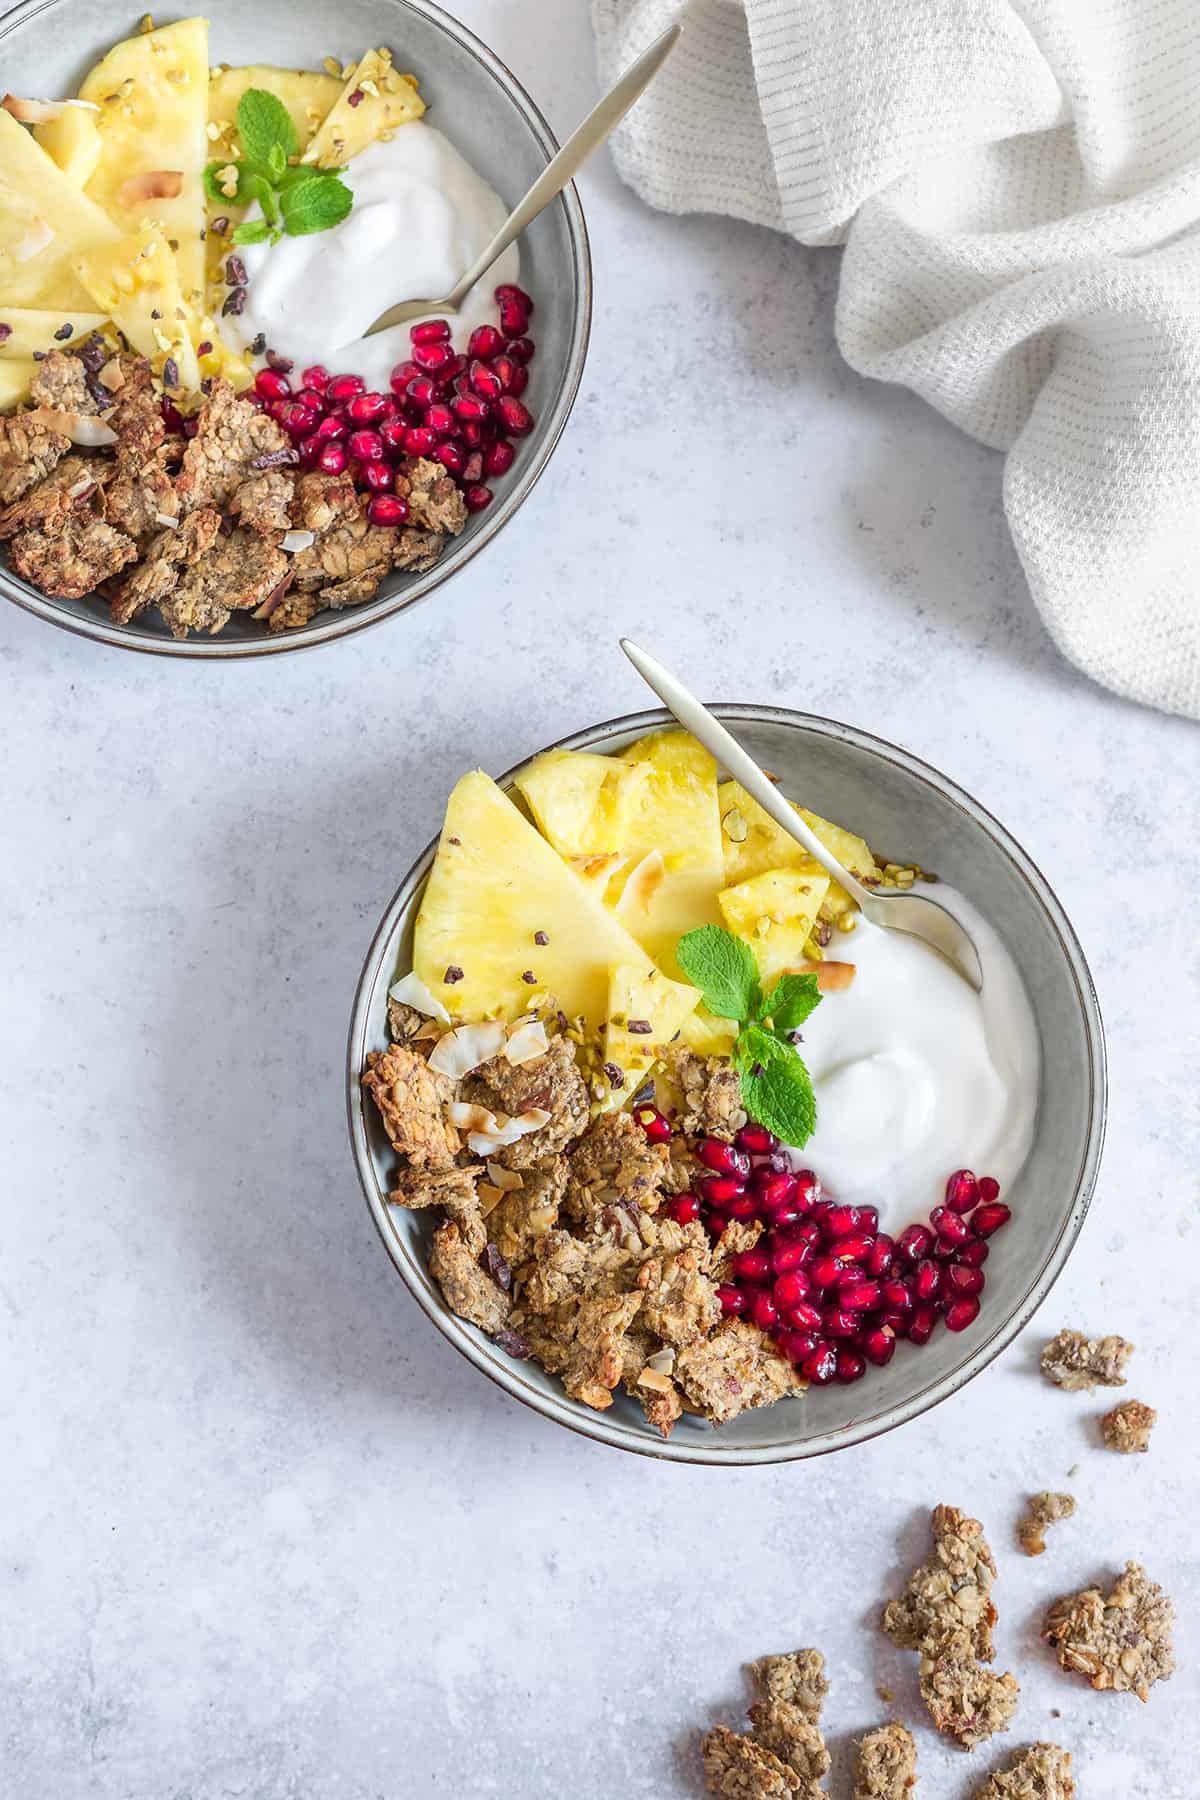
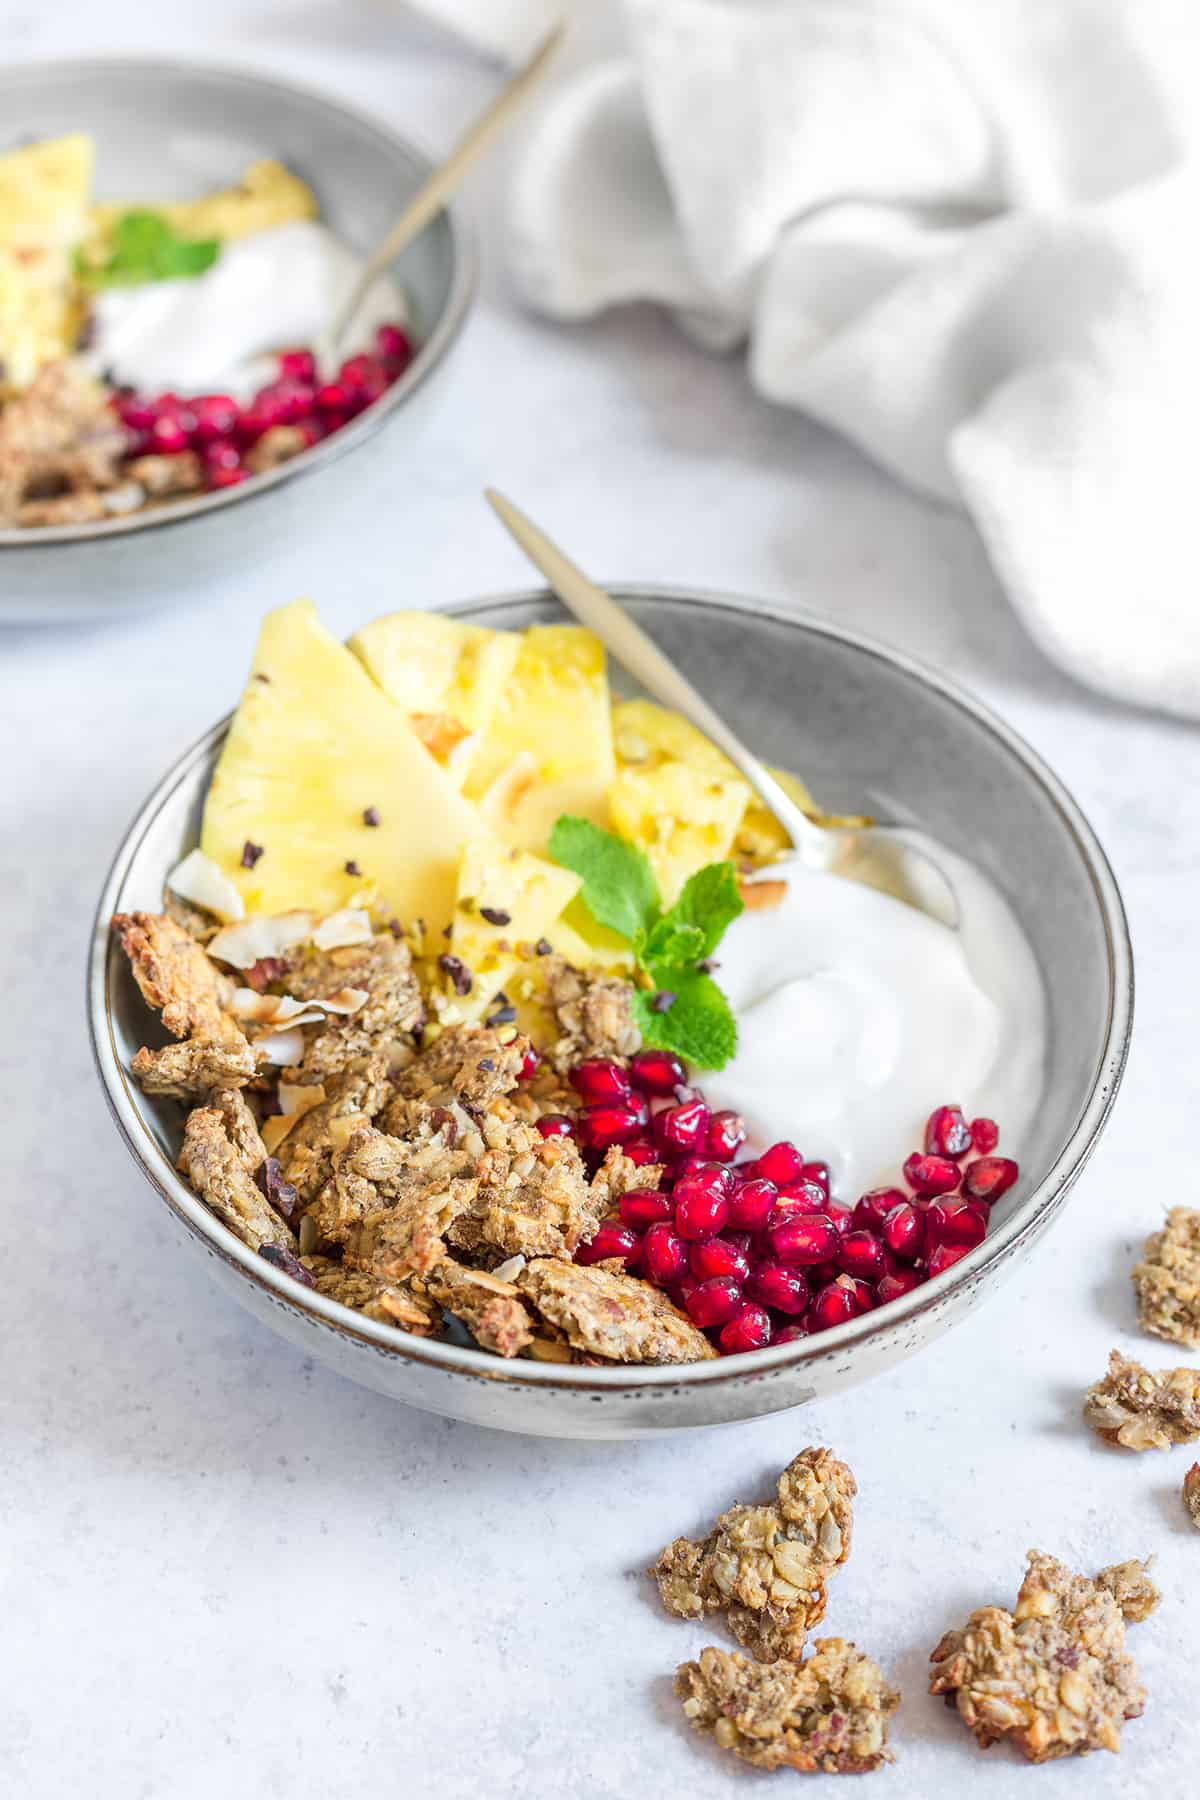
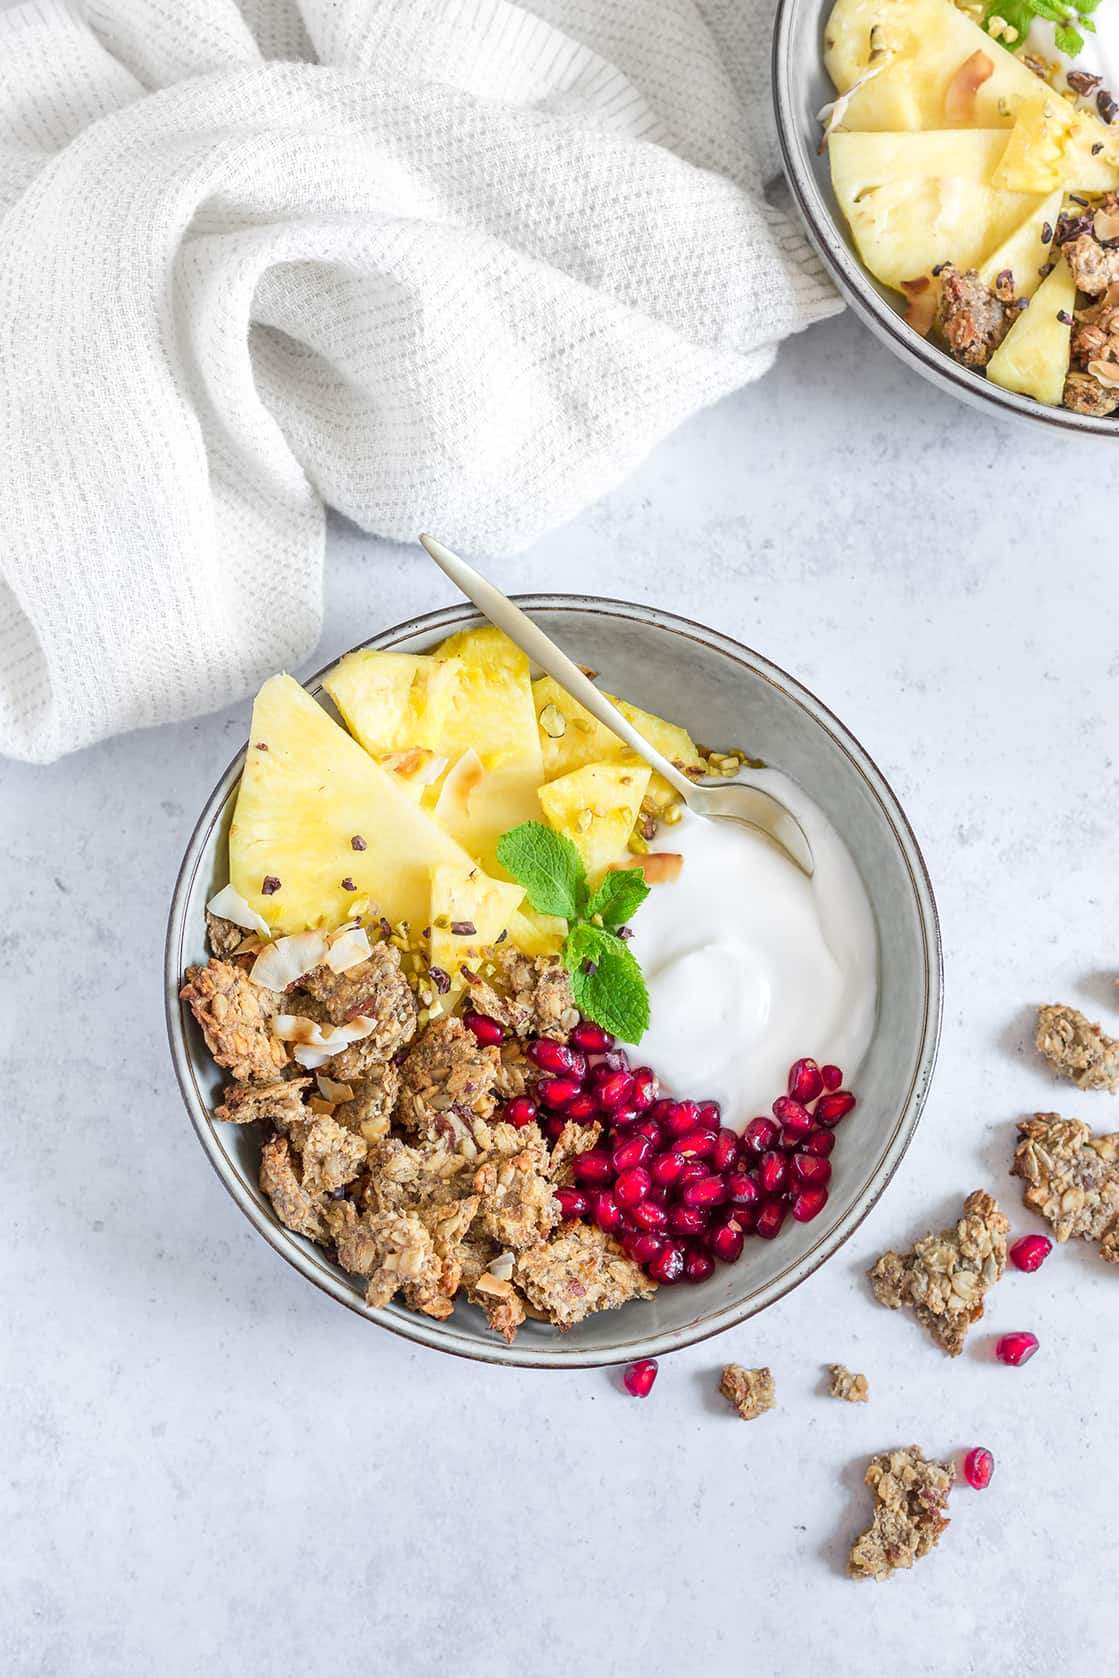
To start your sugar detox and prove that you can eat sugar-free an delicious, I want to share with you this amazing recipe of granola cereals. This is totally added sugar free, all the sweetness come from the ripe mashed banana, and you won’t even notice that there is no sugar. They are crunchy as a regular chunky granola, very nutritious, rich in fibers to keep you full and energized all the morning. Also, they are super easy to prepare, with a short ingredients list. They are definitely one of my favorite breakfast, I love to eat them with a coconut yogurt and fresh fruits, or as a topping for a chocolate smoothie bowl with peanut butter.
I hope you will like it and give this sugar detox challenge a try! Let me know how it turned for you, how did you feel after and how it has changed your relation with sugar and food! I would love to have your feedbacks.
xx Alice
GRANOLA CEREALS
Prep time: 10 minutes
Baking time: 40 minutes
Serves: 2-3 servings
INGREDIENTS:
Dry ingredients:
– 1/2 cup rolled oats (gluten free if needed)
– 1/2 cup barley flakes (can be subbed by more oats)
– 1 tbsp almonds, roughly chopped
– 1 tbsp pecan, roughly chopped
– 1 tsp cinnamon powder
– 1/4 tsp grated tonka
– pinch of salt
Wet ingredients:
– 1 ripe banana
– 1 tbsp tahini or any other nut butter
– 1 tsp vanilla extract
– 1 chia egg (1 tbsp chia + 3 tbsp water)
INSTRUCTIONS:
1. Preheat the oven to 300F and line a baking pan with parchment paper.
2. Make the chia egg by combining the chia seeds with the water in a bowl and stirring. Let sit to thicken for 5 minutes while you prepare the rest.
3. In a large bowl, mix all the dry ingredients.
4. In a separate bowl, mash the banana using a fork and mix in the tahini, chia egg and vanilla extract. Stir until well combined.
5. Pour the wet mixture in the large bowl over the dry one and stir well using a spatula until everything is evenly coated.
6. Spread the mixture evenly on the baking pan, forming a compact and thick rectangle, and bake for 15 minutes.
7. After the 15 minutes, remove from the oven, break in large crumbs and flip. Return to the oven for 15 minutes.
8. After the 15 minutes, remove from the oven and break in smaller pieces, final size. Return to the oven for the last 10 minutes.
7. Remove from the oven and allow to completely cool down before serving or storing. The cereals will continue crisping as they cool.
8. Serve as is, with coconut yogurt, smoothie or fruits. To store, place the cooled granola in a glass jar or an airtight container. Can be kept for about a week in a dry place away from light.
CEREALES AU GRANOLA CROUSTILLANTES
Temps de préparation: 10 minutes
Temps de cuisson: 40 minutes
Quantité: environ 2-3 portions
INGREDIENTS:
Ingredients secs:
– 1/2 cup de flocons d’avoine (sans gluten si besoin)
– 1/2 cup de flocons d’orge
– 1 c.à.s d’amandes, hachées
– 1 c.à.s de noix de pecan, hachées
– 1 c.à.c de cannelle en poudre
-1/4 c.à.c de fève tonka (optionnel)
– une pincée de sel
Ingredients humides:
– 1 banana bien mure
– 1 c.à.s de tahin ou n’importe quel autre beurre de noix
– 1 c.à.c extrait de vanille
– 1 chia egg ( 1 c.à.s de graines de chia + 3 c.à.s d’eau)
INSTRUCTIONS:
1. Préchauffer le four à 150°C et chemiser une plaque de cuisson de papier cuisson.
2. Préparer le chia egg en mélangeant dans un bol les graines de chia avec l’eau. Bien remuer puis laisser reposer pendant 5 minutes, le temps que le mélange s’épaississe.
3. Dans un grand bol, mélanger tous les ingrédients secs.
4. Dans un autre bol séparé, écraser la banane à l’aide d’une fourchette et y ajouter le tahin, l’extrait de vanille et le chia egg. Bien mélanger jusqu’à homogénéisation.
5. Verser le mélange liquide dans le bol d’ingrédients secs et mélanger à l’aide d’une spatule jusqu’à ce que tout soit bien enrobé.
6. Etaler le mélange sur la plaque chemisée et à l’aide d’une spatule, former un rectangle compact et assez épais. Enfourner pour 15 minutes.
7. Au bout de 15 minutes, retirer la plaque du four et découper le rectangle en gros morceaux puis les retourner sur la plaque. Replacer au four pour 15 minutes supplémentaires.
8. Au bout de 15 minutes, retirer la plaque du four et casser les morceaux en morceaux plus petits, ce sera leur taille finale. Replacer au four pour 10 minutes.
9. Sortir du four et le laisser refroidir complètement. Les céréales vont continuer à sécher et devenir craquantes en refroidissant.
10. Consommer tel quel, avec du yaourt ou un smoothie et des fruits. Pour le conserver, placer le granola refroidis dans un récipient hermétique. Il peut être ainsi gardé pendant une semaine environ, dans un endroit sec et à l’abris de la lumière.




0 Comments
Trackbacks/Pingbacks