

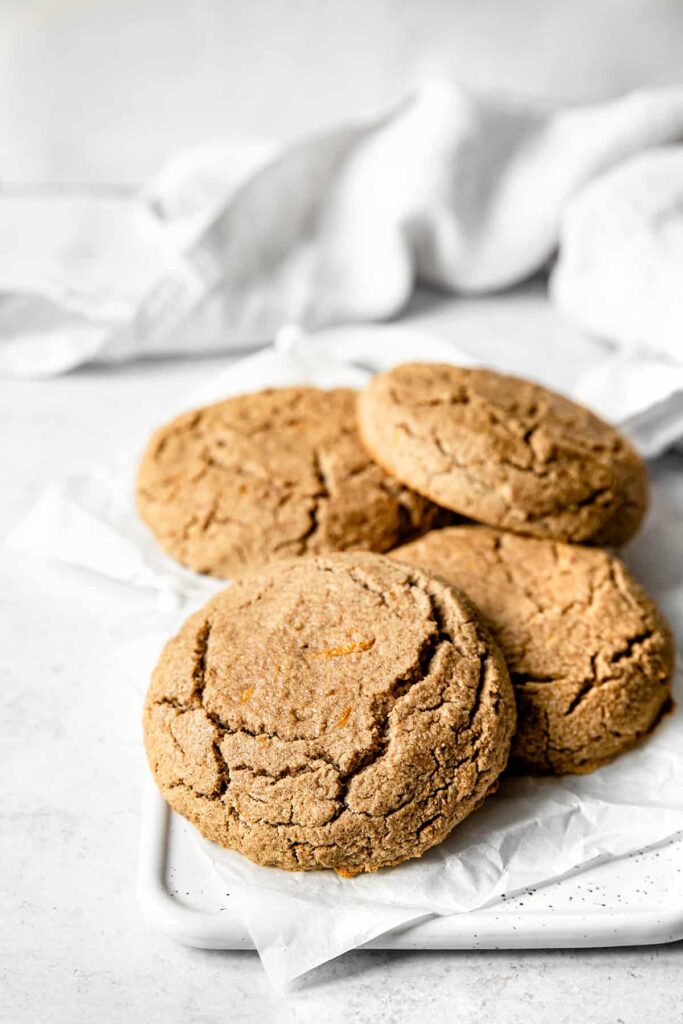
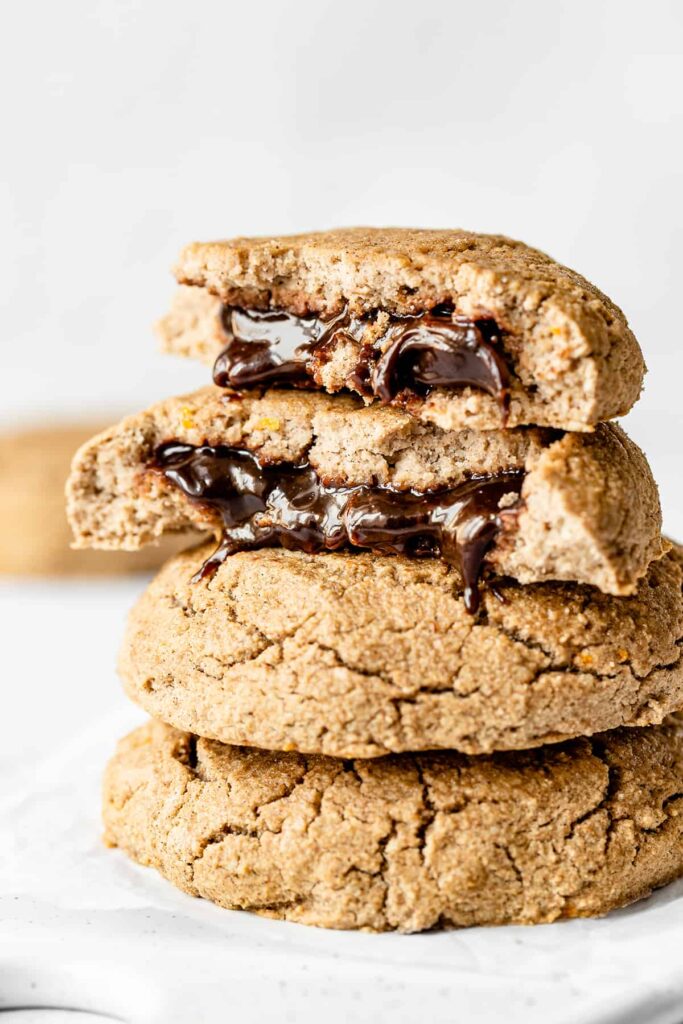
Wether you’re looking for a healthy snack, a comforting breakfast or a decadent dessert, this recipe is for you! These chocolate filled buns are ultra fluffy, moist, lightly sweetened and hide an irresistible heart of chocolate spread filling that will make your heart melt. They are so good and decadent that you’ll never believe these are vegan, gluten-free, oil-free and sugar-free. Finally a delicious treat that ticks all the boxes.
This post is sponsored by KORO, a European online shop that promotes healthy, high quality and sustainable products. For more information about the brand and its values, visit their website and enjoy 5% OFF everything on the FRENCH store using the code ALICE5.
Cette recette est sponsorisée par KORO, une boutique en ligne qui propose un large choix de produits sains, responsables et de haute qualité à prix juste. Pour découvrir la marque et ses merveilleux produits, rendez-vous sur leur boutique et profitez de 5% DE REDUCTION avec le code ALICE5.

Healthy and delicious buns
Lately, I’ve been experimenting a lot with baking and especially healthy alternatives to replace eggs, oil and sugar. And every time, I’m totally amazed by the result! Many people believe that a good cake relies on butter and sugar, but really guys I can now promise you that it’s not! You can make very delicious, rich and super decadent treats with only simple and healthy ingredients. If you don’t believe me, just try these chocolate filled buns.
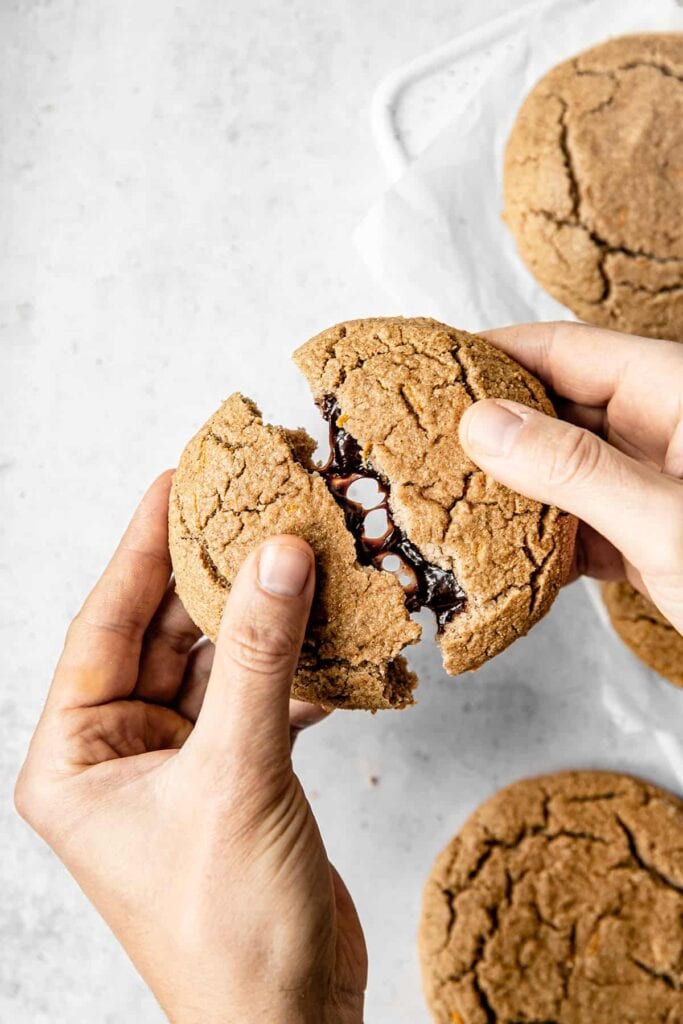
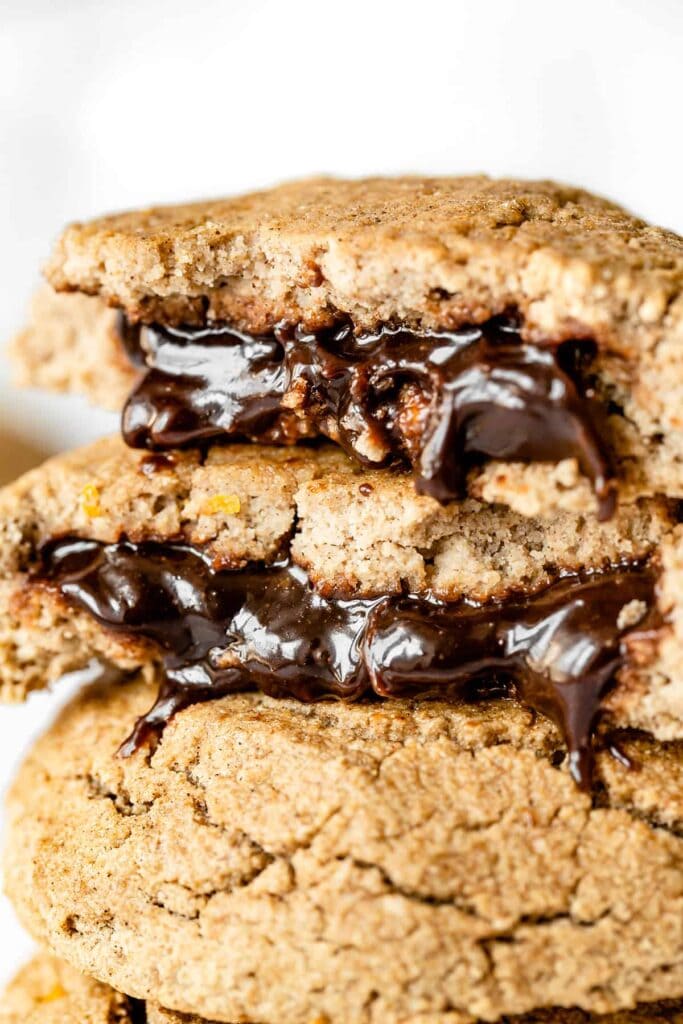
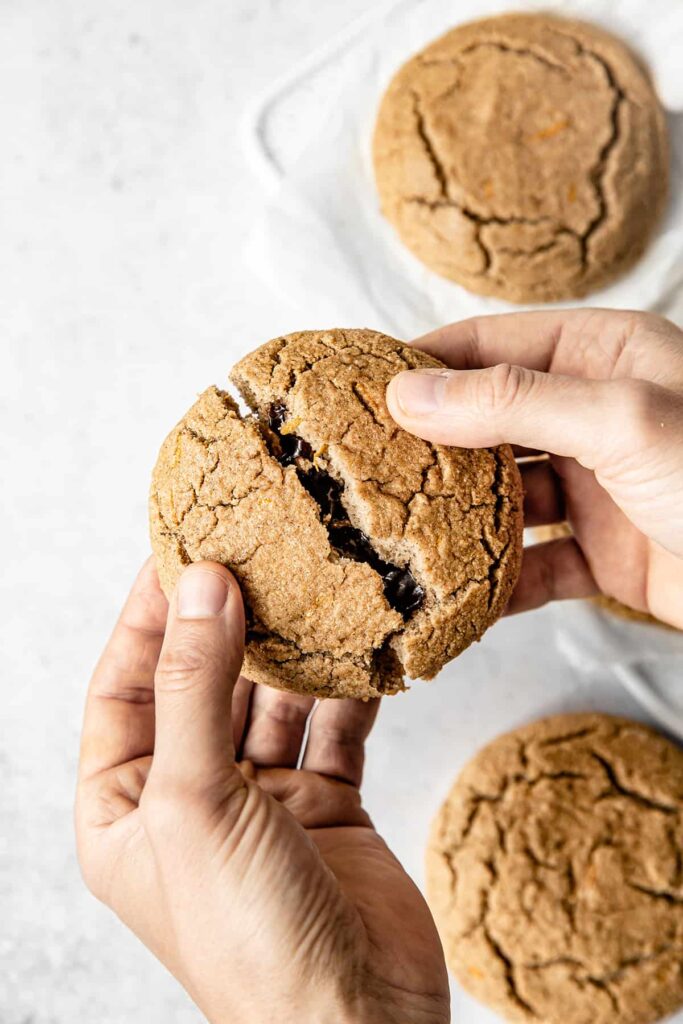
These are perfect if you’re looking for a healthy snack, yummy breakfast or a decadent dessert without compromising the taste. These buns tick all the boxes as they are vegan, gluten-free, oil-free and added sugar free, but Oh-so good. They are soft and very fluffy, with an irresistible melting chocolate spread heart. A surprise everybody will love.
To make these chocolate filled buns gluten-free, I’ve used white rice flour and almond flour. These are my favorite naturally gluten-free flours to work with as they are very versatile, light in taste and can replace all-purpose flour in nearly a 1:1 ratio.
In this recipe, I’ve used apple sauce to replace the oil and add moisture, as well as a sweet touch. Using fruit purées in cakes to replace butter or oil is an amazing option. I love apple as it is light in flavor and very easy to find. I recommend to use a good quality unsweetened apple sauce. If you think these buns are not sweet enough, just wait to bite into this indecent chocolate spread heart. It’s the perfect balance to my mind.
By the way, let’s talk about this chocolate filling, because this is definitely the heart of the recipe -if not one more reason to eat chocolate spread. For this recipe, I’ve used my favorite Organic chocolate hazelnut spread ever from KoRo. Seriously guys, I’m obsessed with this thing! It is so good I could literally eat the whole jar by the spoonful. This spread is absolutely amazing as it only contains 3 ingredients: dates, hazelnuts and cocoa. That’s it, not oil, no added sugar. Only natural ingredients. Simple things are the best.
How to make these chocolate filled buns
These chocolate filled buns are SO good and easy to prepare that I easily made them three times in the same week. They are these kind of go-to recipes when you’re craving a healthy snack or something sweet for breakfast, but don’t want to wait for hours. This recipe is really simple, all you have to do is to mix, shape, bake and enjoy! No complicated preparations, no equipments, no rising time.
make the dough
First step to make these chocolate filled buns is to prepare the dough. In bakery, I personally prefer to prepare separately the dry ingredients and the wet ingredients, and mix the two at the end. That way, I can ensure all the ingredients are well distributed in the dough. This is especially important for preparations that involve baking powder, as you want your buns to rise evenly and to want to find lumps into your batter.
In a large mixing bowl, mix all the dry ingredients and stir until combined. In a separate bowl, mix all the wet ingredients, and stir until you get a smooth and uniform preparation. Then, pour the wet preparation into the dry ingredients and stir using a spatula until well combined. If you prefer, you can also mix all the dry ingredients in a bowl first, then add in successively the wet ingredients, it’s up to you.
The texture of the dough is pretty important. As this recipe is gluten-free and oil-free, don’t expect to get a traditional dough texture. The dough should be a little wet and spongy, but firm enough to form balls. For all the recipes in bakery, don’t hesitate to adjust the quantities of ingredients if you’re not happy about the textures. This is a very important point. If you feel the dough is too wet to be shaped into buns, then add a little rice flour. If it’s too dry, add a splash of almond milk. I truly believe that baking is half precision and half intuition. You have to be precise in following a recipes and the quantities, but there are always discrepancies because of the measuring tools and ingredients, so don’t be shy to adjust.
Roll the dough
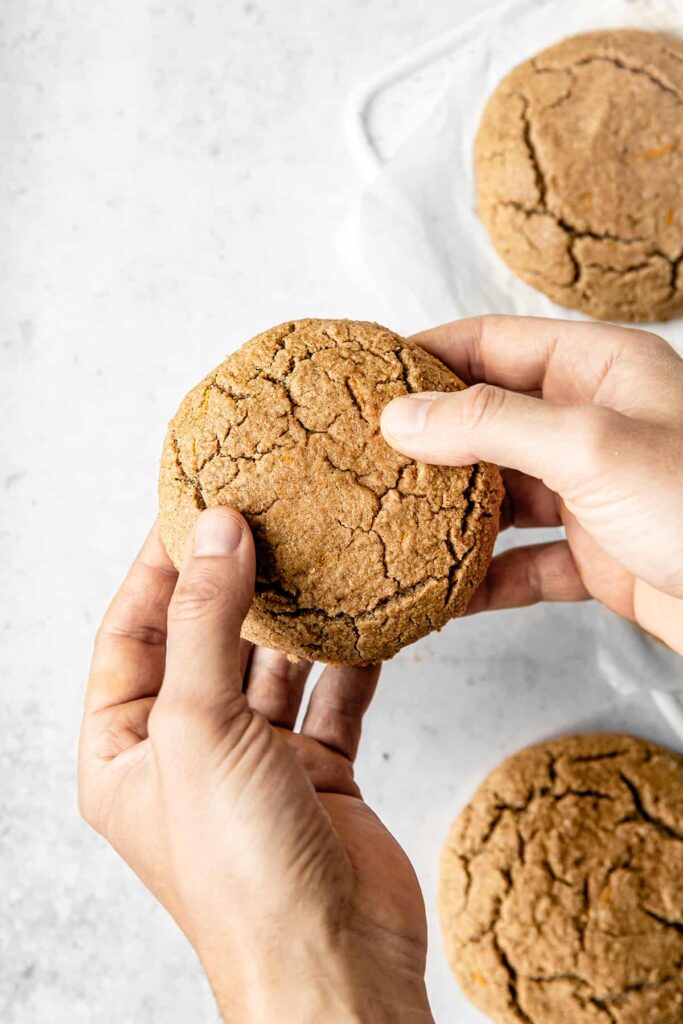
Now that the dough is ready, it’s time to form the buns. To do so, start by dividing the dough into 4 equal portions to form 4 buns (or more or less if you’ve changed the quantities). Roll each portion of dough between your hands to form a ball. I recommend to lightly humidify your hands with water to avoid the dough to stick to your hands.
Place the balls on a piece of baking paper and press with the palm of your hand to flatten into a circle, and make a little well in the center. Fill with about one tablespoon of chocolate spread. The KORO Organic date hazelnut spread works perfectly here has it is naturally firm. If you’re using an other spread, make sure it is firm enough to hold without spreading. If not, you can freeze spoons of spread beforehand. Finally, close the dough tight by rolling the dough to completely cover the spread, and shape into a bun. Arrange the balls on the lined baking tray and gently press them down with the palm of your hand to slightly flatten.

Bake the buns
Bake the buns for 15 minutes at 340°F / 170°C. I fond a moderate temperature works better for this kind of recipe.
While the buns are baking, prepare the brushing mixture. This step is optional, but it is so quick and will add a golden bright finish touch to your buns, that I really recommend you to do it. Mix one teaspoon of maple syrup and one teaspoon of almond milk. For a totally sugar-free recipe, you can use almond milk only.
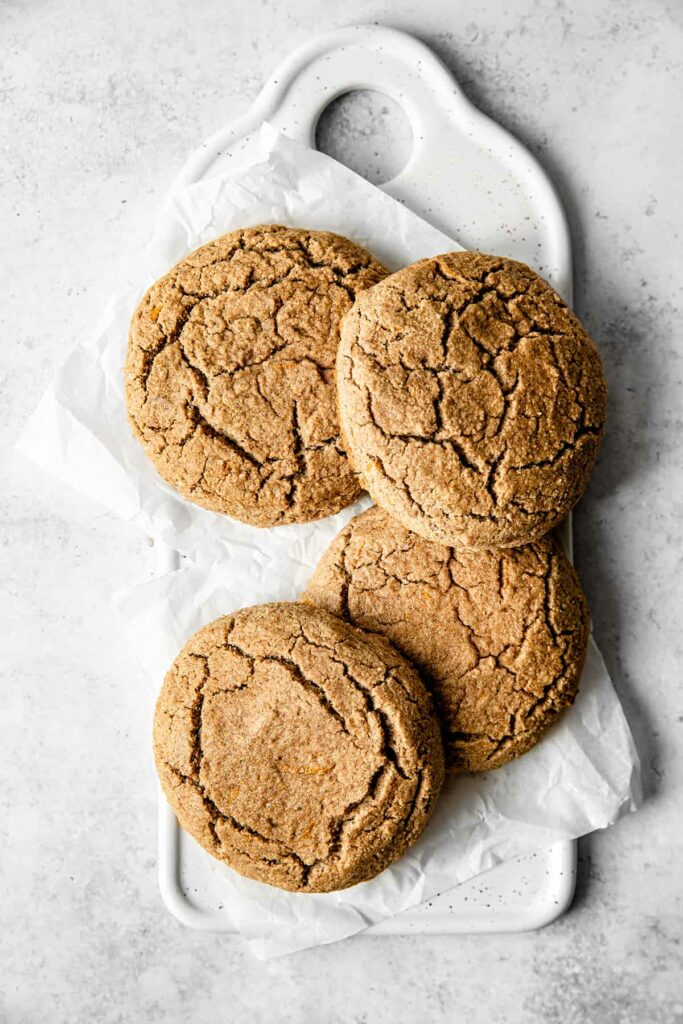
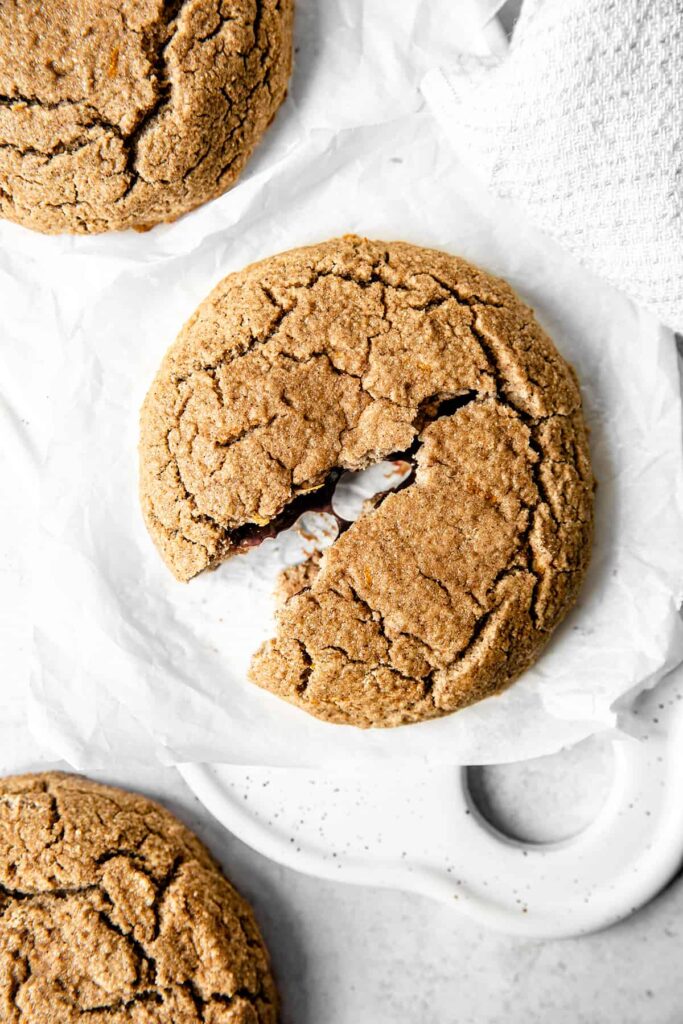
Once the buns are baked, remove them from the oven and brush the top with the wash. Return to the oven and bake for 3-4 minutes more, until they are golden brown.
Finally, transfer the buns to a wire rack and let cool down for a few minutes. Enjoy immediately, while the filling is still melty and the buns warm and soft.
Substitutions
I absolutely love this recipe as it is and haven’t try any modifications. However, if there is an ingredient missing in your kitchen cupboard, or if you have any preferences, you can check the substitution options below. If you try something, let me know how it turned in the comments below!
- Almond flour can be replaced by white all-purpose flour in a simple 1:1 ratio, in theory. But if substituting, I recommend to start with a little less all-purpose flour and then increase if necessary. If you are gluten-free, you can substitute almond flour with oat flour. To make oat flour, grind rolled oats in a food processor or high-speed blender until they are finely ground.
- Apple sauce can be replaced by any other fruit purée. Apple is a great choice as it has a light taste, but pear, quince or even mango also work. You can also replace by mashed banana or thick plant-based yogurt for a very low sugar version.
- Almond milk can be replaced by any other plant-based milk, like soy, oat, cashew, or a light coconut milk.
- Orange zest and orange blossom water are optional in this recipe. They add a delicious orange flavor to the buns, but if you can’t find them -or if you’re not a huge orange fan, substitue with more vanilla extract.
- The chocolate spread is the heart of this recipe. Here I’ve used my favorite KORO Organic date hazelnut spread. It is perfect as it has a thick and creamy texture, very easy to work with. However, you can use whatever spread you want. I recommend to choose a good quality and firm spread.
Check these recipes for more healthy and delicious snacks
- Cinnamon Roll Mug Cake, the amazing taste of cinnamon roll in a treat ready under 5 minutes
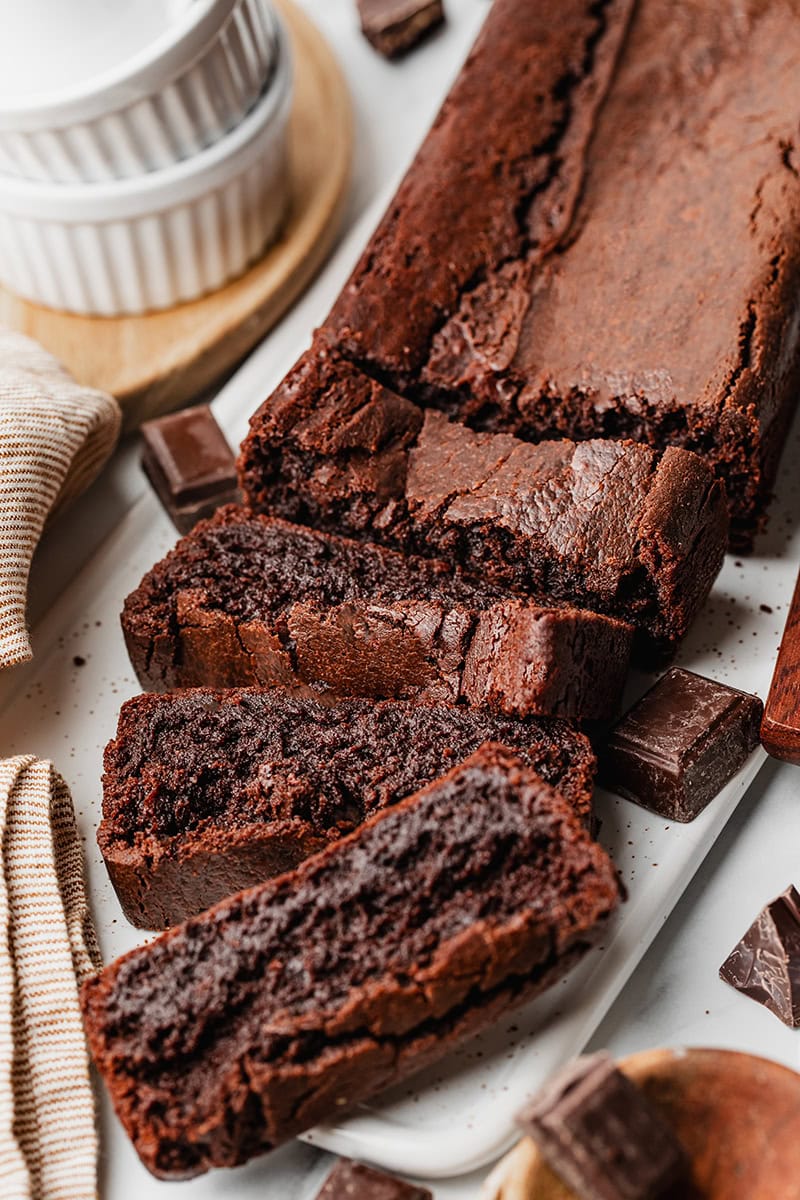
- Mini Chocolate Loaf Cakes GF, the best and easiest chocolate cake recipe ever
- Healthy Chocolate Pecan Cookie Bars, when you’re craving cookies but want something different
- Raw Energy Balls 3 ways, the ultimate healthy and easy snack when you need a boost of energy
- Salted Caramel Protein Smoothie, packed with proteins and amazing flavors
I love to see your creations! Don’t forget to tag me @alicepages on your photos on Instagram and give your feedback in the comments below if you make this recipe at home! Your opinion is my best reward.
PrintChocolate filled buns
Fluffy, moist and delicious small buns that hide an irresistible melting chocolate spread heart. These are vegan, gluten-free, oil-free and sugar-free, for a super easy and healthy snack, breakfast or decadent dessert.
- Prep Time: 20 minutes
- Cook Time: 20 minutes
- Total Time: 40 minutes
- Yield: 4 buns
- Category: snack, desserts
- Method: oven
- Diet: Vegan
Ingredients
- 1 cup white rice flour
- 1 cup almond flour
- 2 tsp baking powder
- 1 tsp ground cinnamon
- 1/2 tsp ground cardamom
- 1 pinch of salt
- 2/3 cup unsweetened apple sauce
- 1/2 cup almond milk
- 1 tsp vanilla extract
- 1 tsp orange zest
- 1 tsp orange blossom water (optional)
- 4 tbsp KORO Organic date hazelnut spread
- 1 tsp KORO organic maple syrup
- 1 tsp almond milk
Instructions
- Preheat the oven to 340 degrees F and line a baking tray with baking paper.
- In a large mixing bowl, mix the white rice flour, almond flour, baking powder, cinnamon, cardamom and salt to combine.
- In a separate bowl, mix the apple sauce, almond milk, vanilla extract, orange zest and orange blossom water.
- Pour the wet ingredients into the dry ingredients and stir with a spatula until well combined. The dough should be wet and spongy, but firm enough to be shaped. If the dough is too wet and sticky, add a little more rice flour.
- Working with wet hands, divide the dough into 4 equal portions and roll each portion into a ball. With the palm of your hand, flatten each ball into a disk. Fill each disk with 1 tablespoon of KORO Organic date hazelnut spread. Close the dough tight by rolling the dough to cover the spread, and shape a ball.
- Arrange the balls on the lined baking tray and gently press them down with the palm of your hand to slightly flatten. Bake the buns for 15 minutes.
- Meanwhile, prepare the brushing mixture by mixing 1 teaspoon of maple syrup and 1 teaspoon of almond milk. Remove the buns from the oven and brush with the wash. Bake for 3-4 minutes more, until golden brown.
- Let the buns cool down on a wire rack for 10 minutes. Enjoy immediately, while the filling is still melty and the buns warm and soft.
Notes
- Store the buns at room temperature in an airtight container for up to 2 days. The filling with slightly firm up after a few hours. I personally recommend to enjoy these buns straight after they’re baked, or on the same day.
Recette version française
PrintPetits pains fourrés à la pâte à tartiner
Ces délicieux petits pains tendres et moelleux renferment un irresistible coeur fondant de pâte à tartiner. Ils sont vegan, sans gluten, sans matières grasses et sans sucres ajoutés, pour un snack ou un dessert sain et ultra gourmand.
- Prep Time: 20 minutes
- Cook Time: 20 minutes
- Total Time: 40 minutes
- Yield: 4 buns
- Category: snack, dessert
- Method: four
- Diet: Vegan
Ingredients
- 150 g de farine de riz blanc
- 60 g de farine d’amande
- 11 g de levure chimique
- 1 c. à c. de cannelle moulue
- 1/2 c. à c. de cardamome moulue
- 1 pincée de sel
- 170 g de compote de pomme sans sucre
- 110 ml de lait d’amande
- 1 c. à c. d’extrait de vanille
- 1 c. à c. d’eau de fleur d’orange
- 1 c. à c. de zest d’orange
- 4 c. à s. de crème dattes noisettes Bio KORO
- 1 c. à c. de sirop d’érable Bio KORO
- 1 c. à c. de lait d’amande
Instructions
- Préchauffer le four à 170°C et chemiser une plaque de cuisson de papier sulfurisé.
- Dans un grand saladier, mélanger la farine de riz, la farine d’amande, la levure chimique, la cannelle, la cardamome et le sel, et remuer.
- Dans un bol à part, mélanger la compote de pomme, le lait d’amande, la vanille, le zest d’orange et l’eau de fleur d’oranger.
- Verser la préparation liquide dans le bol d’ingrédients secs et remuer avec une spatule jusqu’à ce que tous les ingrédients soient bien mélangés. La pâte doit être légèrement humide et spongieuse, mais suffisamment ferme pour pouvoir être travaillée. Si la pâte est trop humide, ajouter un peu de farine de riz.
- Séparer la pâte en 4 portions égales, et former des boules en les roulant entre vos mains légèrement humidifiées pour éviter qu’elle ne colle. Aplatir les boules de pâte, former un petit puit au centre et le garnir d’une cuillère de crème dattes noisettes Bio KORO. Rabattre la pâte pour recouvrir complètement la garniture et refermer les boules.
- Déposer les boules sur la plaque de cuisson et appuyer délicatement avec la paume de la main pour les aplatir légèrement. Enfourner pour 15 minutes.
- Pendant ce temps, préparer la dorure en mélangeant le sirop d’érable et le lait d’amande. Au bout de 15 minutes, retirer les petits pains du four et les badigeonner de dorure à l’aide d’un pinceau. Enfourner pour 3 à 4 minutes supplémentaires, jusqu’à ce qu’ils soient bien dorés.
- Laisser les petits pains refroidir sur une grille pendant 10 minutes, puis déguster immédiatement, encore bien tièdes et moelleux.
Notes
- Les petits pains dans un récipient hermétique à température ambiante pendant environ 2 jours. La pâte à tartiner va commencer à se raffermir au bout de quelques heures, c’est pourquoi je conseil de les déguster rapidement dans la journée.


1cup =??grams,is it all same for all ingredients??
Hi Divya! All the English recipes are in cups. You can find measuring cups in every grocery store. For the equivalence in grams, you can refer to the French version which is just below the English recipe. You can also easily find the equivalencies on Google. Hope it helps! Thank you!