

Vegan and gluten free sweet potato pie
It’s this moment of the year when you’ve already made all the pumpkin recipes possible and you start to be a little bored by this dear Jack Pumpkinhead. Well, don’t be sad cause lady sweet potato is here to take over and has many secrets to surprise you! Just like pumpkin, sweet potato is a very interesting ingredient to work with in the kitchen. It is soft and tender once baked, becomes super creamy when blended, and has this unique naturally sweet, nutty, caramelized flavor! In brief, it’s perfect to make the transition from winter to spring.
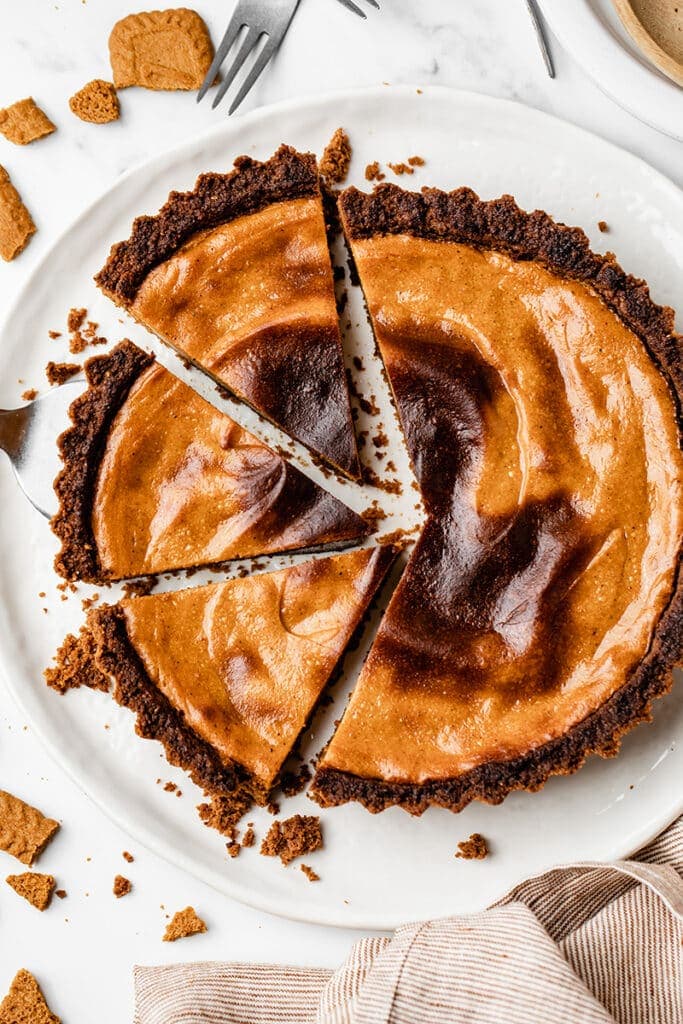
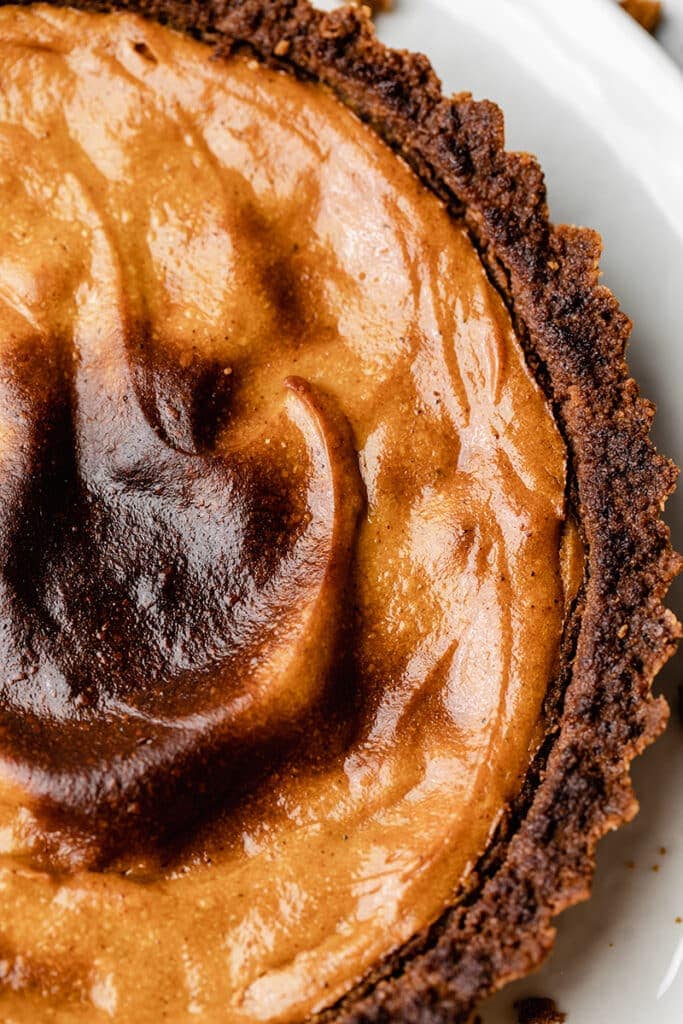
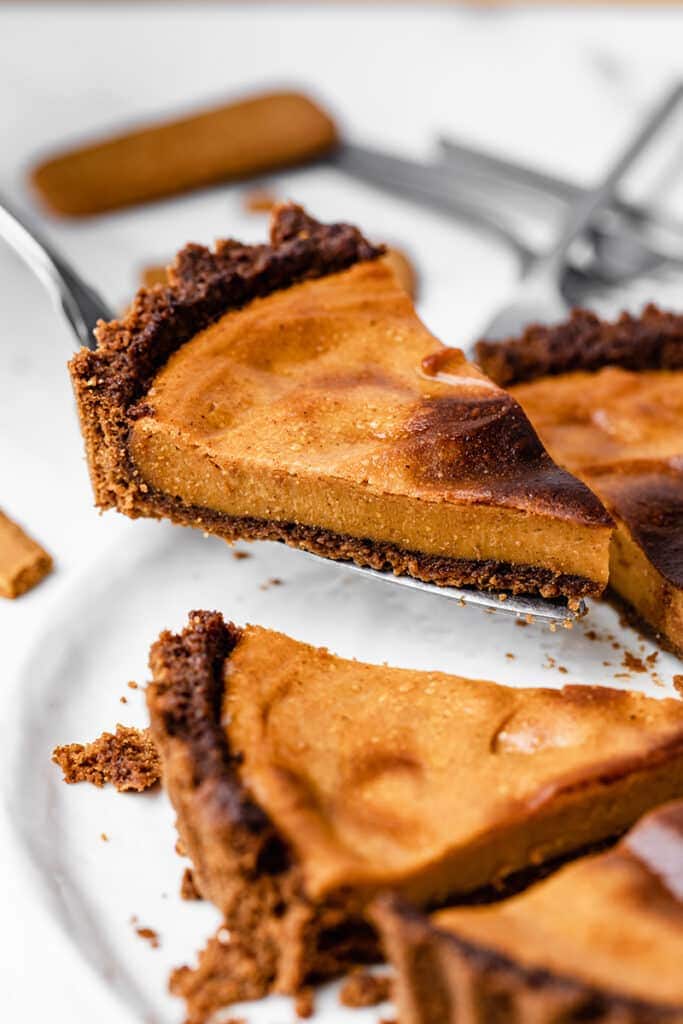
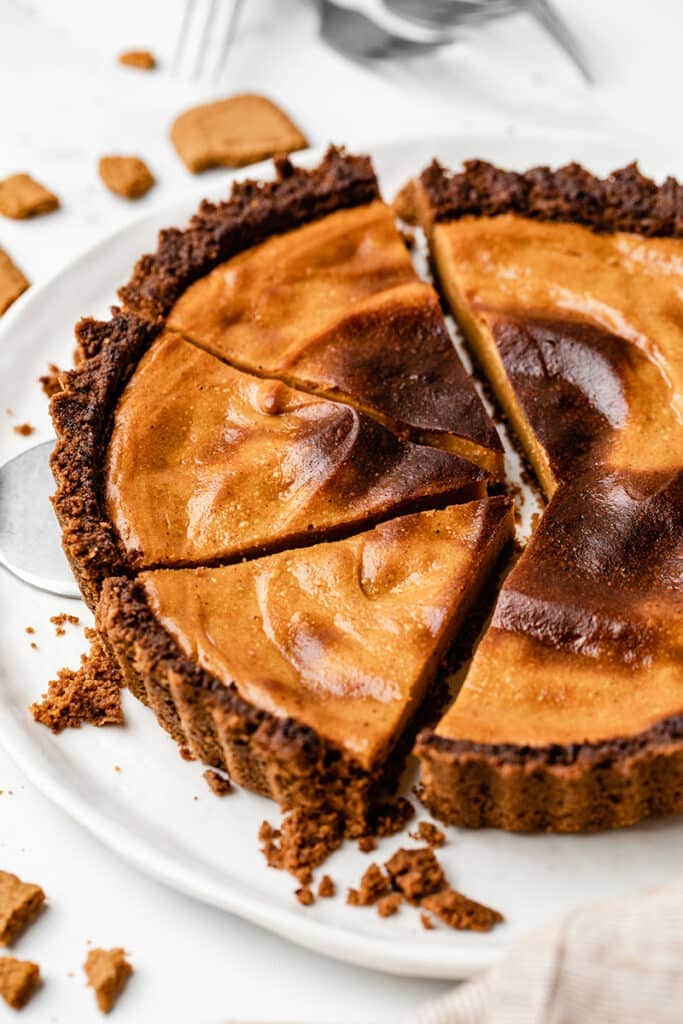
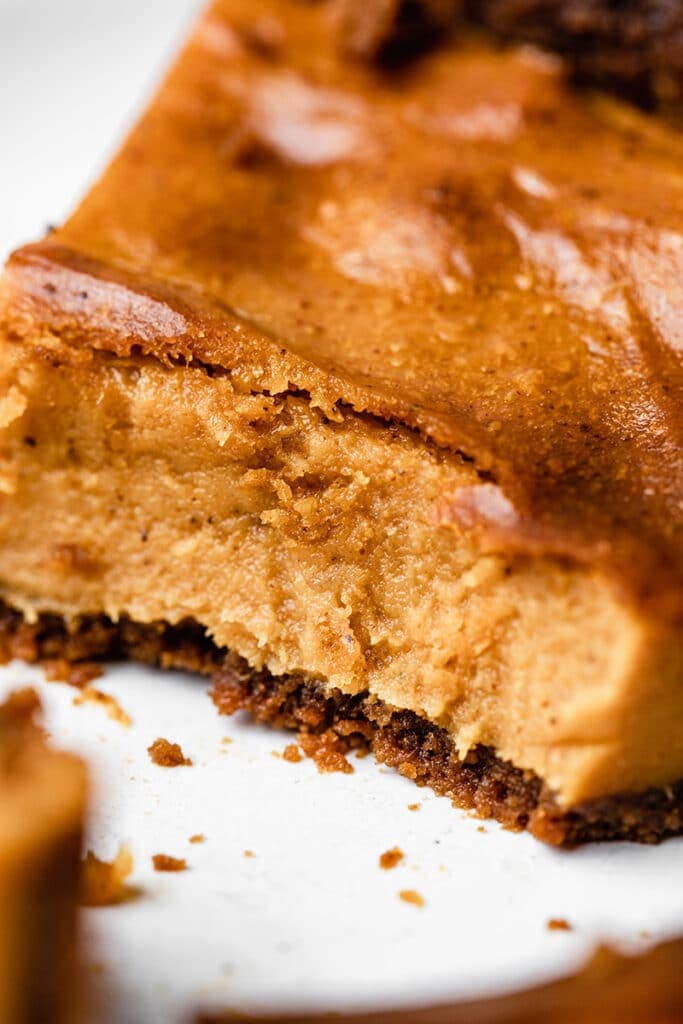
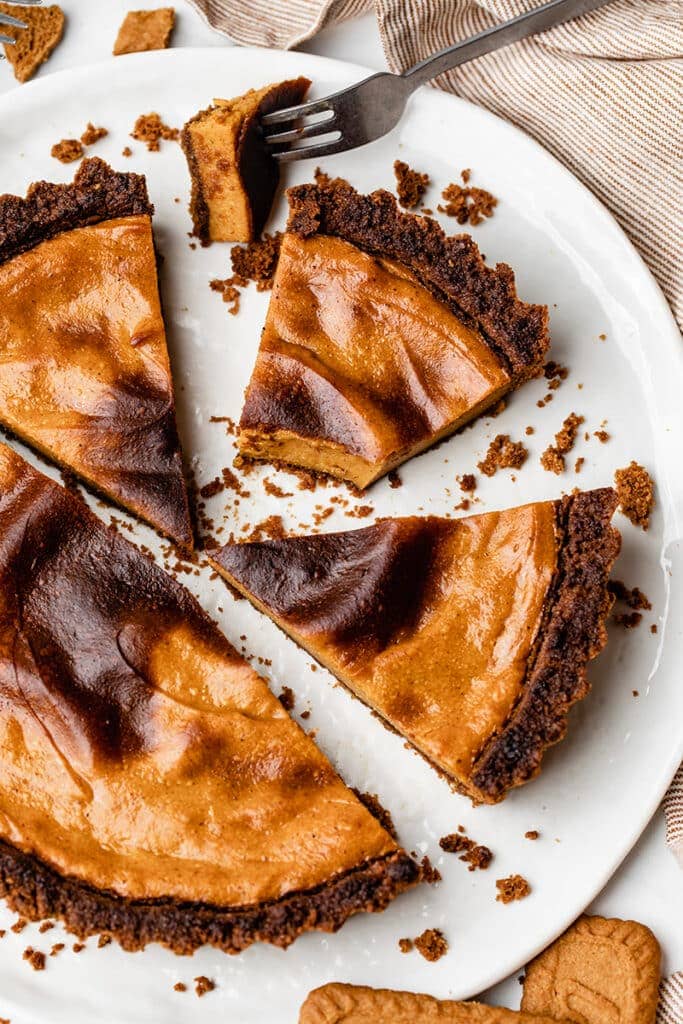
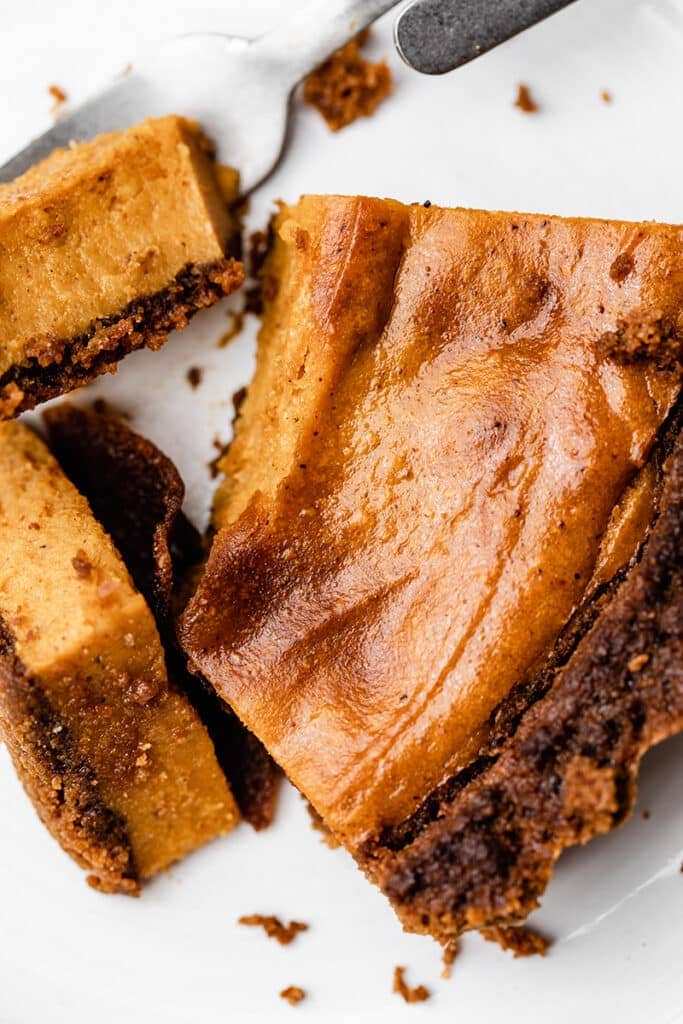
The sweet potato pie is a classic of American cuisine. It’s a simple but delicious family dessert that can be prepared for any occasions. It’s the perfect combination of a crisp caramelized crust and a creamy filling. My version of the sweet potato pie is composed of an easy biscoff crust and a sweet potato puree made from scratch. It’s vegan, dairy-free, and with just a tiny bit of added sugar (in addition of the biscoff cookies that are already sweet).
Why you’ll love this sweet potato pie:
- It’s comforting, rich, luscious and sweet.
- It’s vegan and made with raw sweet potato.
- It’s easy to make with simple staple ingredients.
- You can make it the day before and keep in your fridge for a few days.

Ingredients you need & substitutions
For the crust
- Biscoff – Biscoff cookies, also popularly known as “Lotus Biscoff” or “Speuloos”, are a beligian-based product created in 1932 by a Belgian baker named Jan Boone Sr. “Biscoff” is allegedly a combination of “biscuit” and “coffee” as the cookie is designed to perfectly pair with coffee. Lotus Biscoff are like brittle shortbread cookies, with a distinctive spiced and caramelized flavor. Lotus Biscoff are vegan friendly and contain no artificial colors, no flavors and no preservatives. You can find them everywhere in the world. However you can use any other digestive biscuits band or make your own using this gingerbread cookies recipe.
- Sugar – biscoff cookies are already sweet, so we’re just adding a tablespoon of granulated sugar to add a deep caramel like feel to the crust. You can use either coconut or cane sugar.
- Coconut oil – melted coconut oil is the best option as it becomes solid when it cool, so perfect to bind the crust. If you don’t like the taste of coconut, use deodorized coconut oil.
- Almond butter – acts like a binder to hold everything together. You can substitute almond butter for any other nut or seed butter, like peanut, cashew, hazelnut, sunflower or tahini.
For the sweet potato filling
- Sweet potato – is the main component for the pie filling. For a 6-8 servings pie, you’ll need about 1 large sweet potato or 2 smaller ones. I recommend using organic sweet potato that you’ll bake in oven to make the sweet potato puree. You can also use canned sweet potato, but I haven’t tried, and actually can’t find it in France.
- Cornstarch – it acts as a binder to thicken and firm up the filling once it bakes then cools. You might be able to substitute cornstarch with tapioca starch or potato starch, but I haven’t tried before so can’t ensure the result.
- Coconut milk – for a thick and creamy sweet potato pie filling I recommend to use full-fat coconut milk. I like to keep can of coconut milk in my fridge, then scoop only the thick layer that has formed on top.
- Almond butter – for a rich and creamy filling, as well as a delicious nutty flavor. I love almond butter cause it has a light flavor compare to others, but you can substitute almond butter for any other nut or seed butter, like peanut, cashew, hazelnut, sunflower or tahini.
- Maple syrup – sweet potatoes are already naturally sweet, but I recommend to add a few tablespoons of maple syrup for more sweetness and caramel flavor. You can also use agave or coconut syrup.
- Sugar – You can use either coconut or cane sugar.
- Vanilla – I mainly use natural vanilla flavor.
- Spices – You can use already ground spices or buy whole spices and grind them yourself. I LOVE spices so you probably have noticed that I put them eveywhere. If you’re not a big fan of spices, I recommend to start with half the quantity, taste the filling and increase gradually if you want.
How to bake the sweet potato
Making sweet potato pie is very easy, but takes a little time if you make everything from scratch. The first thing to do is to bake the sweet potato. This is the longer step of the recipe as we oven bake the whole sweet potato.
Heat the oven to 400F/200°C and line a baking tray with parchment paper.
Wash and dry the sweet potato, then pierce the skin several times with a fork. Don’t cut the sweet potato!
Place the whole sweet potato on the tray and bake for about 60 to 70 minutes, until it’s tender. The time of baking depends of the size of the sweet potato. The biggest, the longest! The potato is properly cooked when a knife easily cut the flesh to the center.
Remove the potato from the oven and allow to cool down before removing the skin.
Make easy vegan crust
The crust of this sweet potato pie is made with biscoff cookies. It’s a very handy option to make an express and delicious crust! Lotus Biscoff (also called speculoos in Europe) are vegan and have this unique addictive flavor. You can basically use whatever brand of digestive biscuits. Just make sure to check the ingredients list if you have any specific eating habits or allergies.
To make the crust, start by heating the oven to 350F/180°C.
Grease the bottom and the edges of an about 8-inch tart pan with oil or a nonstick spray. This is very important to get a crisp crust, and to make the pie easy to remove from the pan, without sticking or falling appart.
Add the biscoff to a food processor and pulse to break them and get a granular powder.
Add the sugar, melted coconut oil, almond butter and salt to the bowl, and pulse briefly or mix by hand with a spatula until everything is well combined and you get a crumbly dough.
Transfer the dough to the pan. Press the dough using a flat bottomed object like glass or a cup, or use your fingers to spread it evenly into the bottom and edges of the pan.
Blind bake the crust for about 10 to 12 minutes until it is lightly golden and smells good. Remove from the oven and allow the crust to cool completely in the pan.
Make the sweet potato filling
Once the sweet potato has cooled, pull the skin off using a knife. If the sweet potato is properly cooked, the skin should come off very easily.
Cut the flesh of the sweet potato in pieces and place in the bowl of a blender or a food processor. Blend until you get a perfectly smooth puree.
Add the rest of the ingredients and blend again until everything is well combined. Taste and adjust the seasoning depending on your preferences, adding a little more spices or sugar if you want is sweeter.
Finally, you can pour the sweet potato filling over the pie crust and spread it evenly with a spatula.
Bake the pie for about 45 to 60 minutes at 350F/180°C, until the center of the pie is only slightly jiggly. If the crust begins to brown too much, cover the pie with a foil paper and continue to bake.
Tips for the best sweet potato pie
- Use a food processor to make the crust. This is a game-changer! Not only it ensures the right consistency of the crust but it also makes it so quick and easy to make. You can use a blender as well, but make sure you’re pulsing and not blending continuously.
- Coconut cream. Use full-fat coconut cream for a thick and luscious filling. I like to keep can of coconut milk in my fridge, then scoop only the thick layer that has formed on top.
- Properly grease your pan. This is very important to both get a crisp golden crust, and to make the pie easy to remove from the pan, without sticking or falling appart. Make sure to grease the bottom and the edges of the pan with oil or a nonstick spray before pressing the crust dough.
- Allow the pie to cool. Time is the key component in this recipe. First, you need to bake the pie longer enough, then to leave it cool completely, ideally for 2 hours, to allow the filling to firm up.
- Pimp your pie. This sweet potato pie is already delicious as it is. To turn it in an even more delightful dessert, serve with vegan whipped cream or a scoop of ice-cream. You can also drizzle homemade caramel sauce on top and garnish with roasted pecan or nuts.
- Make it ahead. This sweet potato pie is the perfect dessert to make in advance as it’s even better the next day. You can make and bake it the day before, then let it sit covered in the fridge overnight. When ready to serve, remove from the fridge, then slice and enjoy!
How to store the pie
In the refrigerator – If you intend to consume the pie within the few days, store it in the fridge. Once the pie has cooled completely, cover it tightly and store in the refrigerator for up to 3 days. You can leave the pie in the pan, and simply cover it with an aluminum or reusable foil. When ready to serve, remove from the fridge, then slice and enjoy!
In the freezer – If you want to keep the sweet potato pie for longer, freezing it is the best option. Once the pie has cooled completely, cut it and wrap the slices individually in plastic wrap. Store the slices in the freezer for up to 1 month. When ready to serve, thaw until at room temperature.
For more comforting desserts and pies, check out these recipes:
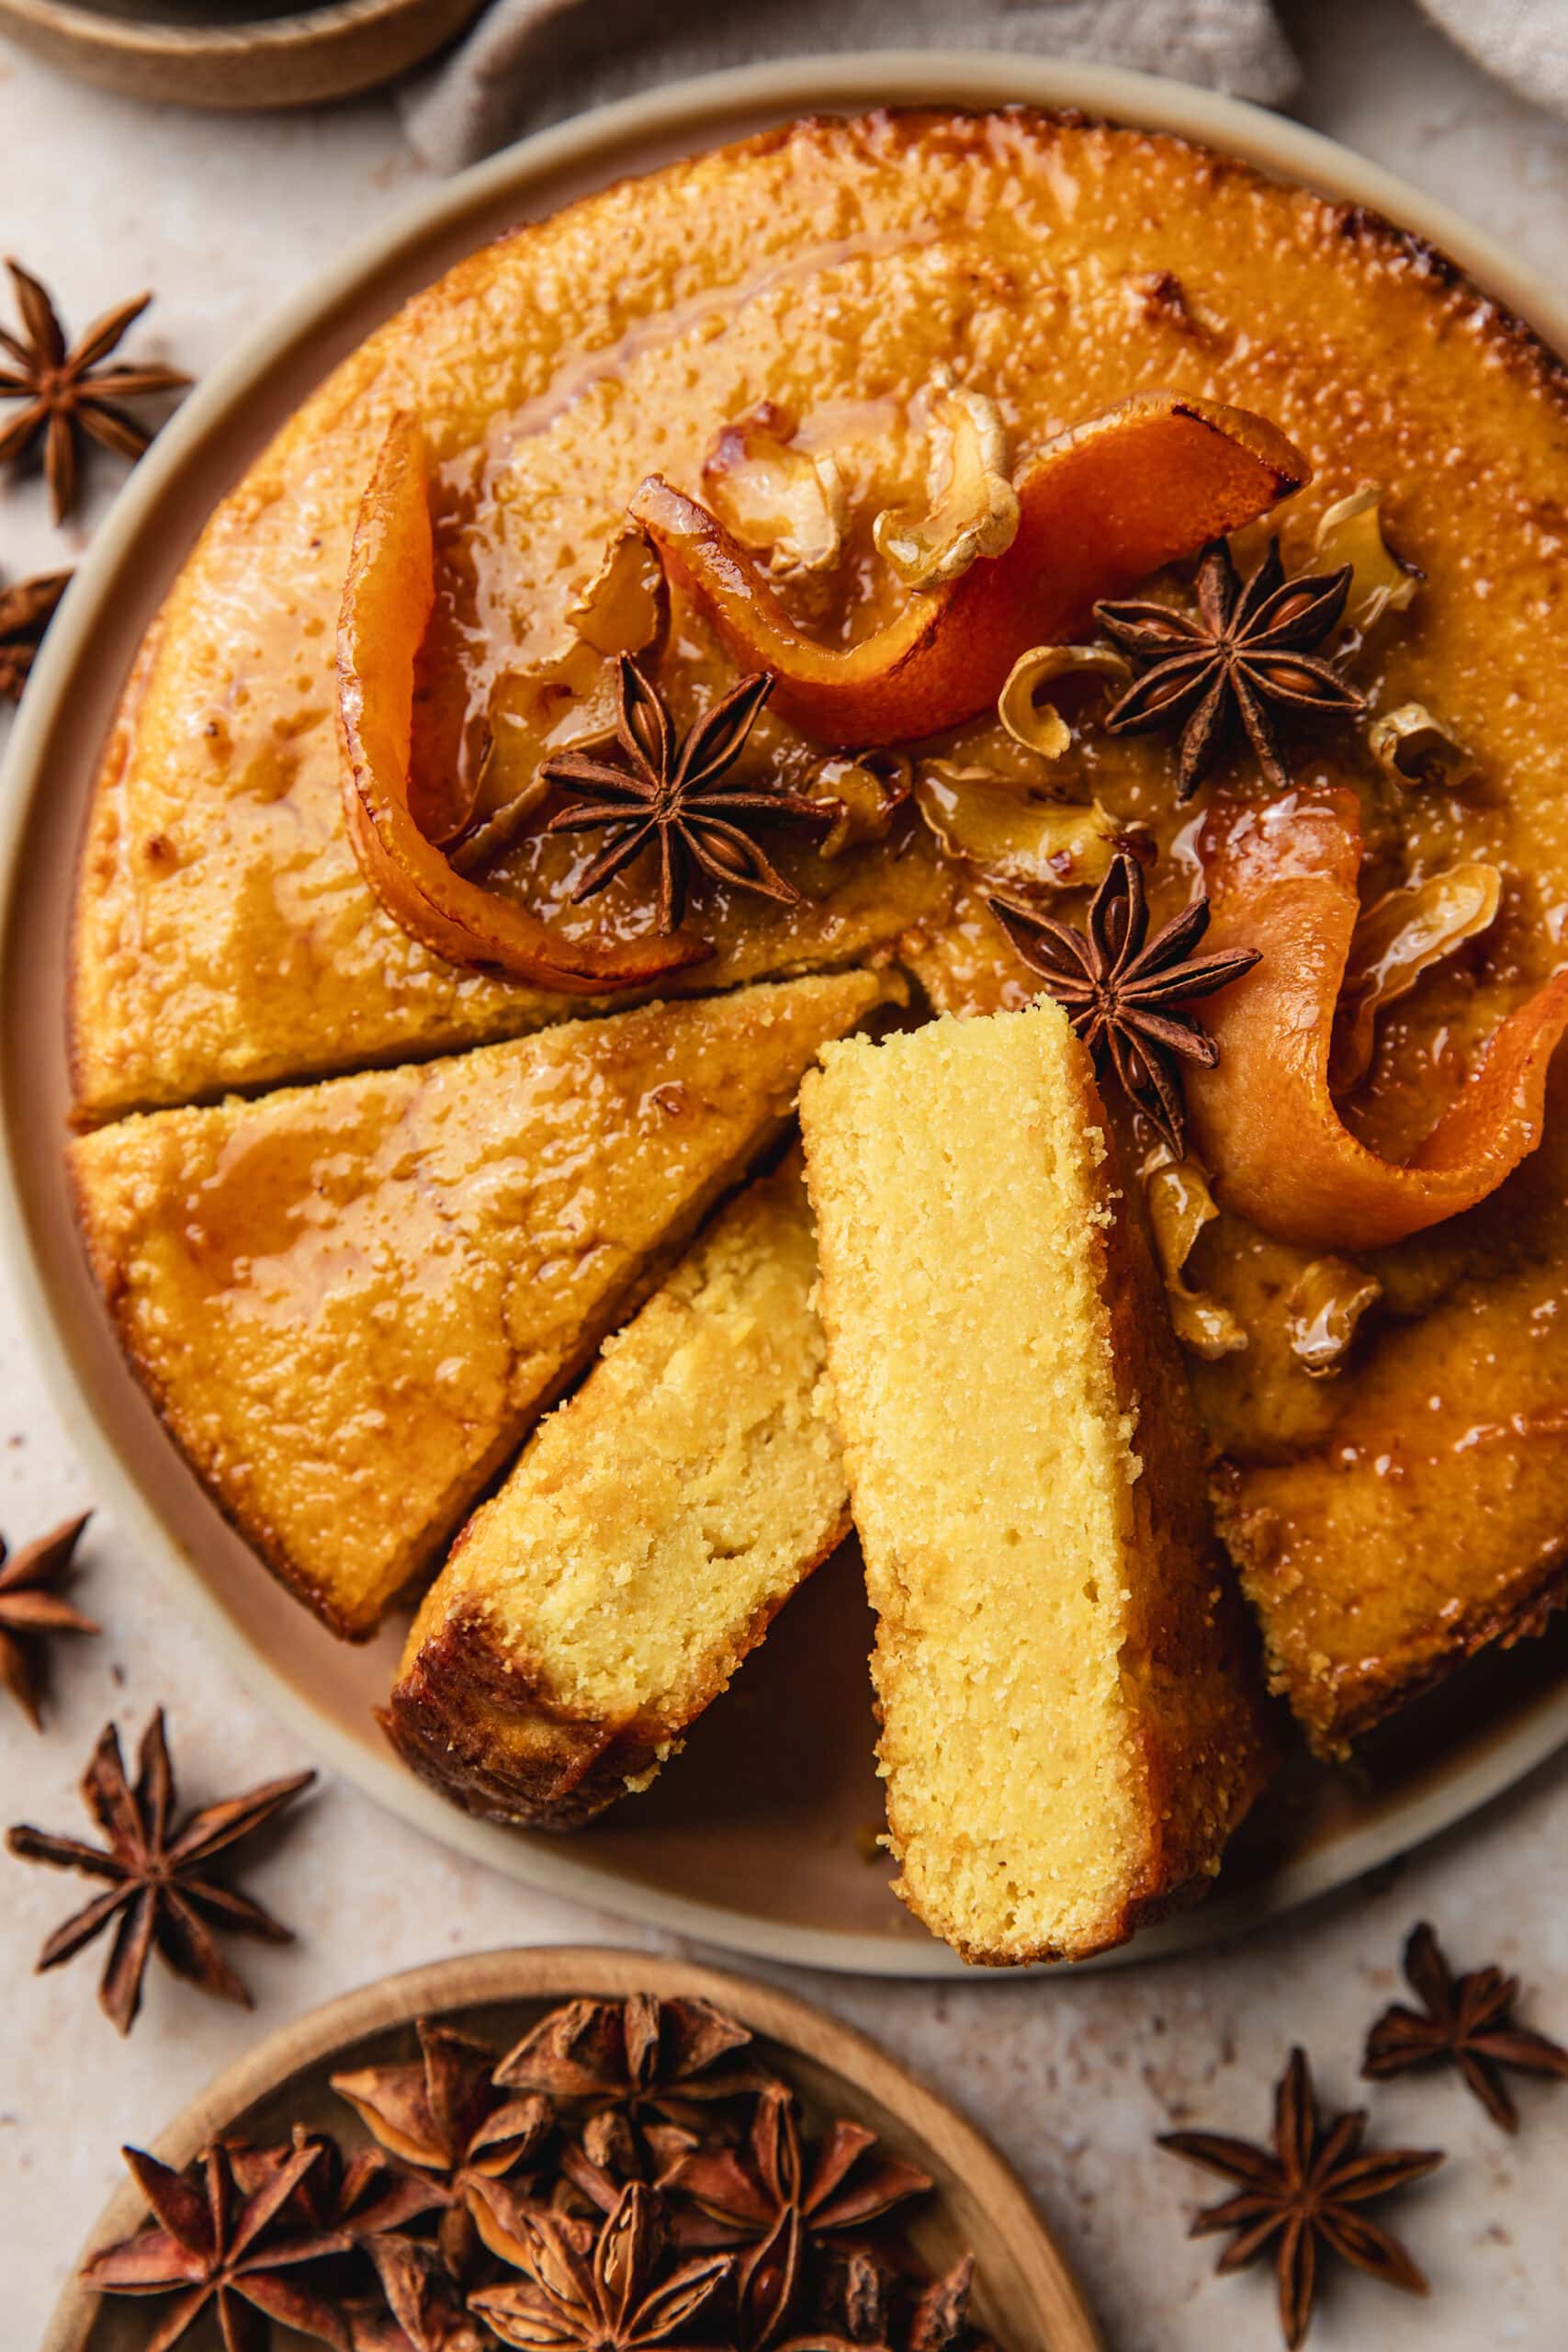
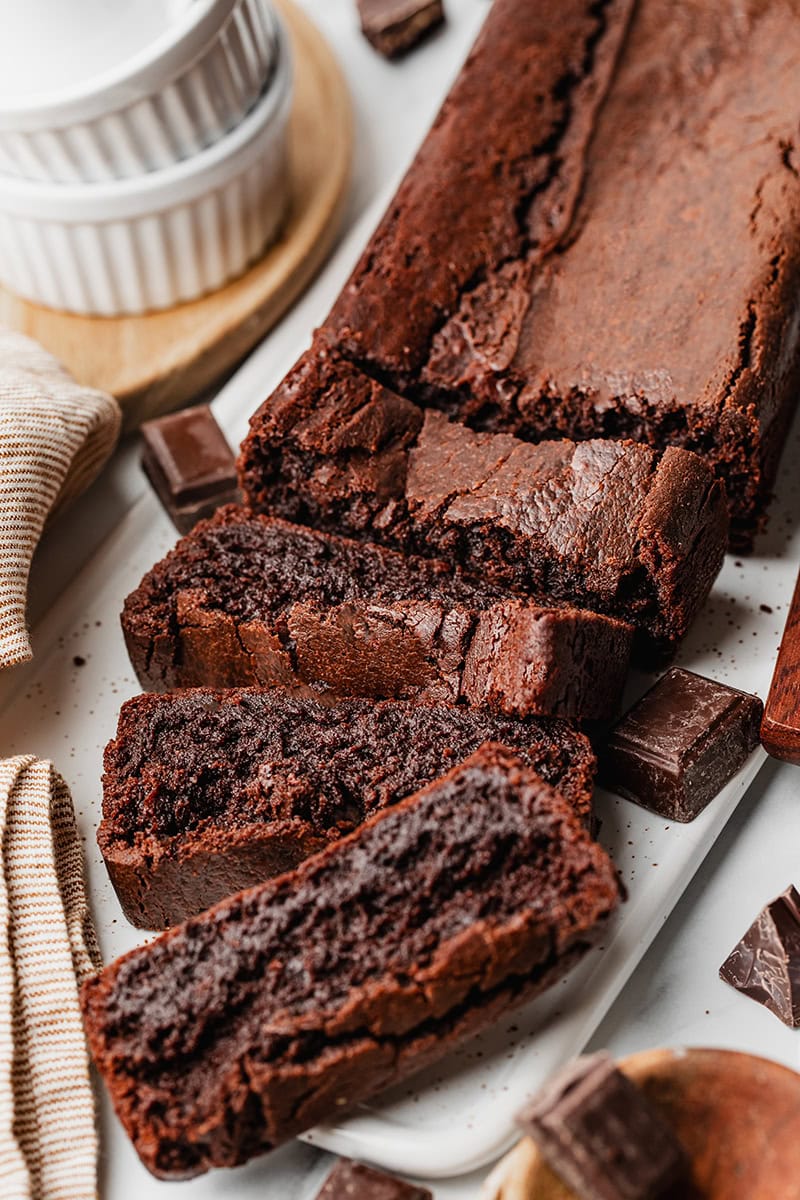
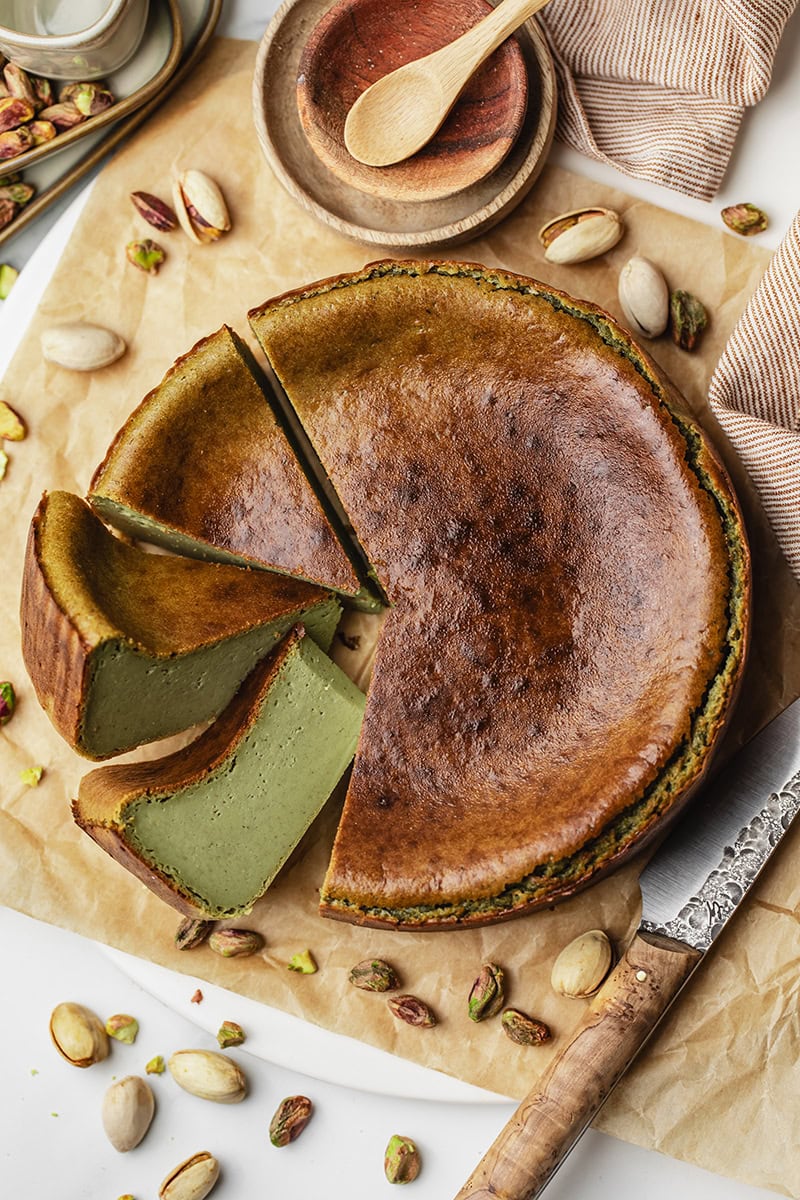
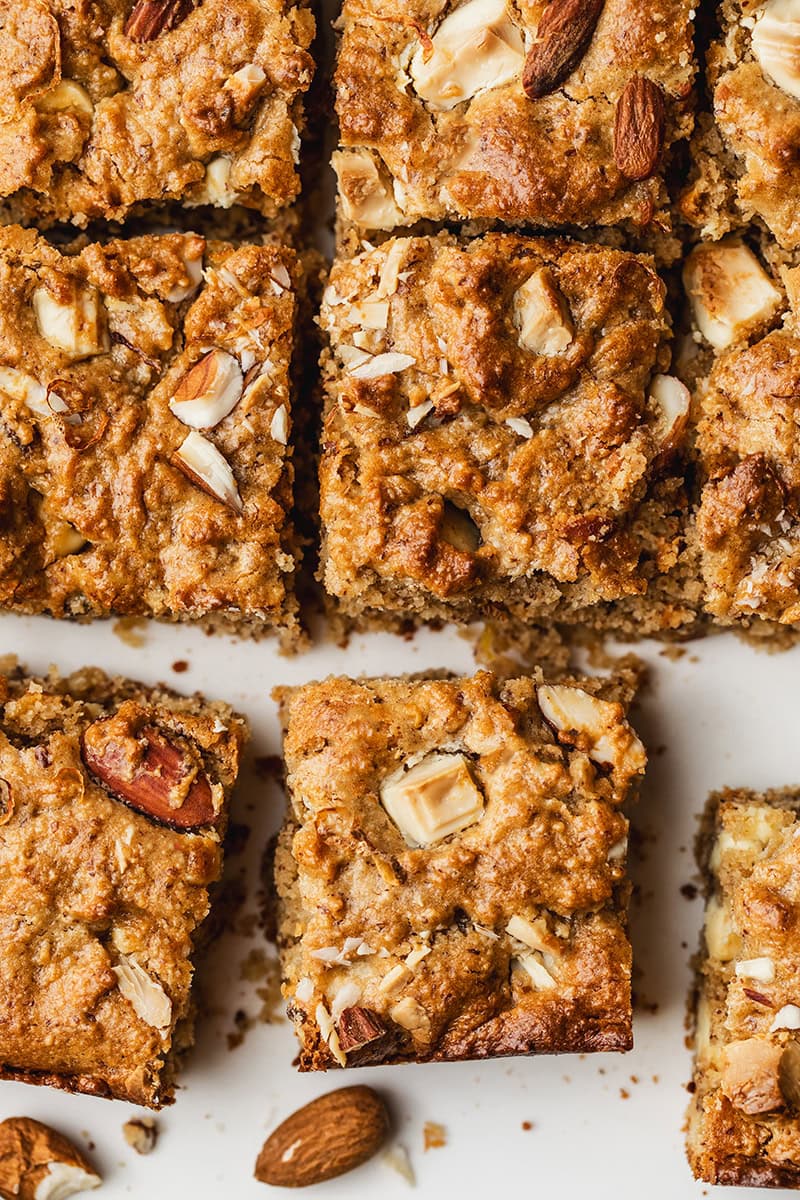
- Banana Tarte Tatin (GF)
- Rustic Apricot and Pear Galettes
- Hazelnut and Tonka Cheesecake (GF)
- Cookie Dough Caramel Cheesecake (GF)
- Strawberry and Rhubarb Crisp (GF)
- Peach and Blueberry Crumble (GF)
I love to see your creations! Don’t forget to tag me @alicepages on your photos on Instagram and give your feedback in the comments below if you make this recipe at home! Your opinion is my best reward.
Print
Sweet Potato Pie
This vegan sweet potato pie is rich, creamy, and packed with cozy flavors. It has a caramelized biscoff crust and an homemade sweet potato filling. It’s very easy to make and is perfect for simple or festive dessert.
- Total Time: 2 hours 30 minutes
- Yield: 8 slices
Ingredients
Crust
- 2 cups biscoff cookies (180g)
- 1 tbsp coconut or cane sugar (15g)
- 2 tbsp melted coconut oil (30g)
- 2 tbsp almond butter (50g)
- 1/4 tsp salt
Filling
- 500g sweet potato (about 1 large or 2 small), or 350g sweet potato purée (about 1 2/3 cup)
- 1/4 cup cornstarch (25g)
- 1/4 cup coconut milk (50g)
- 2 tbsp almond butter (50g)
- 2 tbsp maple syrup (50g)
- 1 tbsp cane or coconut sugar (15g)
- 1 tsp vanilla extract
- 1 tsp ground cinnamon
- 1/2 tsp ginger powder
- 1/4 tsp ground nutmeg
- 1 pinch of salt
Instructions
- Preheat the oven to 400F / 200°C. Wash the sweet potato then pierce the skin several times with a fork. Place the whole sweet potato on a lined baking tray and bake for 60 to 70 minutes, depending on the size of the sweet potato. The potato is cooked when a knife easily cut the flesh to the center. Remove from the oven and allow to cool down.
- Meanwhile, prepare the crust. Reduce the oven temperature to 350F/180°C and grease or line a 8-inch tart pan.
- Mix the biscoff cookies in a food processor to break them and get a granular powder.
- Add the coconut sugar, melted coconut oil, almond butter and salt to the bowl, and pulse briefly or mix by hand with a spatula until everything is combined and you get a crumbly dough.
- Transfer the dough to the greased pan. Press the dough using a flat bottomed glass or your fingers to spread it evenly into the bottom and edges of the pan.
- Bake for 10 to 12 minutes until the crust is lightly golden. Remove from the oven and allow the crust to cool down completely.
- When the sweet potato has cooled, remove the skin and place the flesh in a blender or a food processor. Blend until you get a perfectly smooth puree.
- Add the rest of the ingredients and blend again until everything is combined.
- Pour the sweet potato filling into the baked pie crust and spread it evenly with a spatula. Bake for about 45 to 60 minutes at 350F/180°C, until the center of the pie is only slightly jiggly. If the crust begins to brown too much, cover the pie with a foil paper and continue to bake.
- Remove the pie from the oven and transfer it to a cooling rack. Allow the pie to cool down for at least 1 to 2 hours, allowing it to firm up, before slicing and serving.
Notes
- Keep the cooled sweet potato pie tightly covered in the refrigerator for up to 3 days.
- Serve the pie with whipped coconut cream or a scoop of vanilla ice cream for the ultimate experience.
- Prep Time: 20 minutes
- Cook Time: 2 hours 10 minutes
- Category: desserts
- Method: Oven
- Cuisine: American
- Diet: Gluten Free
Recette version française
Print Tarte à la patate douce
Cette tarte vegan à la patate douce, crémeuse et réconfortante, se compose d’une pâte croustillante aux spéculos et d’une garniture fondante à la patate douce. Facile à préparer, c’est le dessert parfait pour toutes les occasions!
- Total Time: 2 heures 30 minutes
- Yield: 8 parts
Ingredients
Pâte aux spéculos
- 180g de biscuits spéculos
- 15g de sucre de coco ou de canne
- 30g d’huile de coco fondue
- 50g de beurre d’amande
- 1/4 cuil. à café de sel
Garniture patate douce
- 500g de patate douce (environ 1 grosse ou 2 plus petites patates douces), ou 350g de purée de patate douce
- 25g de fécule de maïs
- 50g de crème de coco
- 50g de beurre d’amande
- 50g de sirop d’érable
- 15g de sucre de coco ou de canne
- 1 cuil. à café de cannelle en poudre
- 1/2 cuil. à café de gingembre en poudre
- 1/4 cuil. à café de muscade en poudre
- 1 pincée de sel
Instructions
- Préchauffer le four à 200°C. Laver la patate douce et percer la peau à plusieurs endroits avec une fourchette. Déposer la patate douce sur une plaque de cuisson chemisée. Cuire pendant 60 à 70 minutes en fonction de la taille de la patate douce, jusqu’à ce que la chair soit bien tendre. Elle est cuite lorsque la pointe d’un couteau rentre sans resistance. Retirer du four et laisser refroidir.
- Pendant ce temps, préparer la pâte. Baisser la température du four à 180°C et huiler un plat à tarte de 20 cm de diamètre environ.
- Mixer les biscuits spéculos au blender ou au robot mixeur pour les réduire en une poudre granuleuse.
- Ajouter le sucre, l’huile de coco fondue, le beurre d’amande et le sel. Mixer brièvement ou mélanger à la spatule jusqu’à obtenir une pâte homogène, légèrement friable.
- Verser la pâte dans le plat à tarte et l’étaler en appuyant doucement avec le fond d’un verre plat pour la répartir en une couche uniforme, sur le fond et sur les bords.
- Enfourner pour 10 à 12 minutes, jusqu’à ce que le pâte soit légèrement colorée. Retirer du four et laisser la pâte refroidir.
- Pendant ce temps, préparer la garniture. Retirer la peau de la patate douce et placer la chair dans le bol d’un blender ou d’un mixeur. Mixer pour obtenir une purée bien lisse.
- Ajouter le reste des ingrédients et mixer de nouveau pour tout bien mélanger.
- Verser la garniture dans le plat au dessus de la pâte précuite, et la répartir avec une spatule. Enfourner pendant 45 à 60 minutes à 180°C, jusqu’à ce que la garniture soit juste sèche au toucher. Si les bords commencent à brunir rapidement, couvrir la tarte avec une feuille de papier aluminum et prolonger la cuisson.
- Retirer la tarte du four et laisser refroidir complètement sur une grille, pendant au moins 1 à 2 heures. La garniture va se raffermir tout en refroidissant. Couper en parts et servir.
Notes
- Une fois refroidie, couvrir et conserver la tarte au réfrigérateur jusqu’à 3 jours. Vous pouvez également congeler des parts en les emballant individuellement. Laissez-les simplement se réchauffer à température ambiante avant de déguster.
- Pour encore plus de gourmandise, servez la tarte avec de la crème chantilly végétale, de la sauce caramel ou une boule de glace vanille!
- Prep Time: 20 minutes
- Cook Time: 2 heures 10 minutes
- Category: Dessert
- Method: Four
- Cuisine: Américaine
- Diet: Gluten Free


0 Comments